Restoration of an old saw, or the thought of it, can be scary. Fortunately, it is not so difficult if you learn a few things. The main thing to remember is that doing less is really doing more. That’s right – stop lest you end up “doing too much”. Before proceeding, an evaluation of the saw must be made to determine if that old tool is even worth restoring or refurbishing.
An old saw can be sourced at flea markets, tool shops, antique stores, and estate sales. Friends and relatives may have old tools in a forgotten or inherited toolbox. If you trust buying over the internet, consider it a source. Just know that you are buying sight unseen except for a picture or two. It is important that the saw blade is straight and it is not too rusty.
As you get better at reclaiming saws, you can straighten, joint, and sharpen a wonky blade.
I plan to restore one that I found while tool hunting.
Here are a few things to consider when choosing an old saw:
- dirt, grime, rust
- physical condition of the saw blade
- tools and supplies on hand for the restoration
- value, not necessarily price
- confidence and mindset
Candidate for restoration
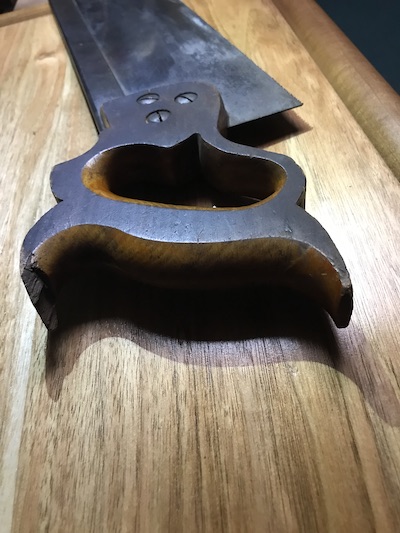
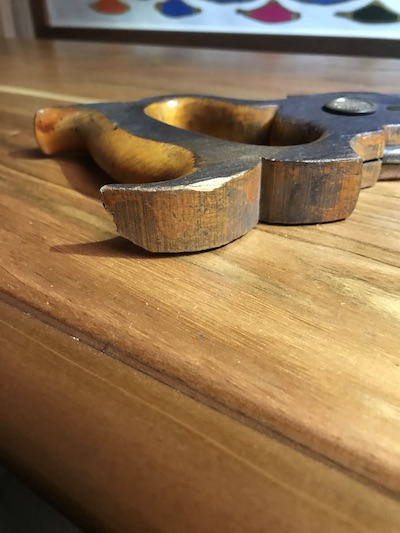
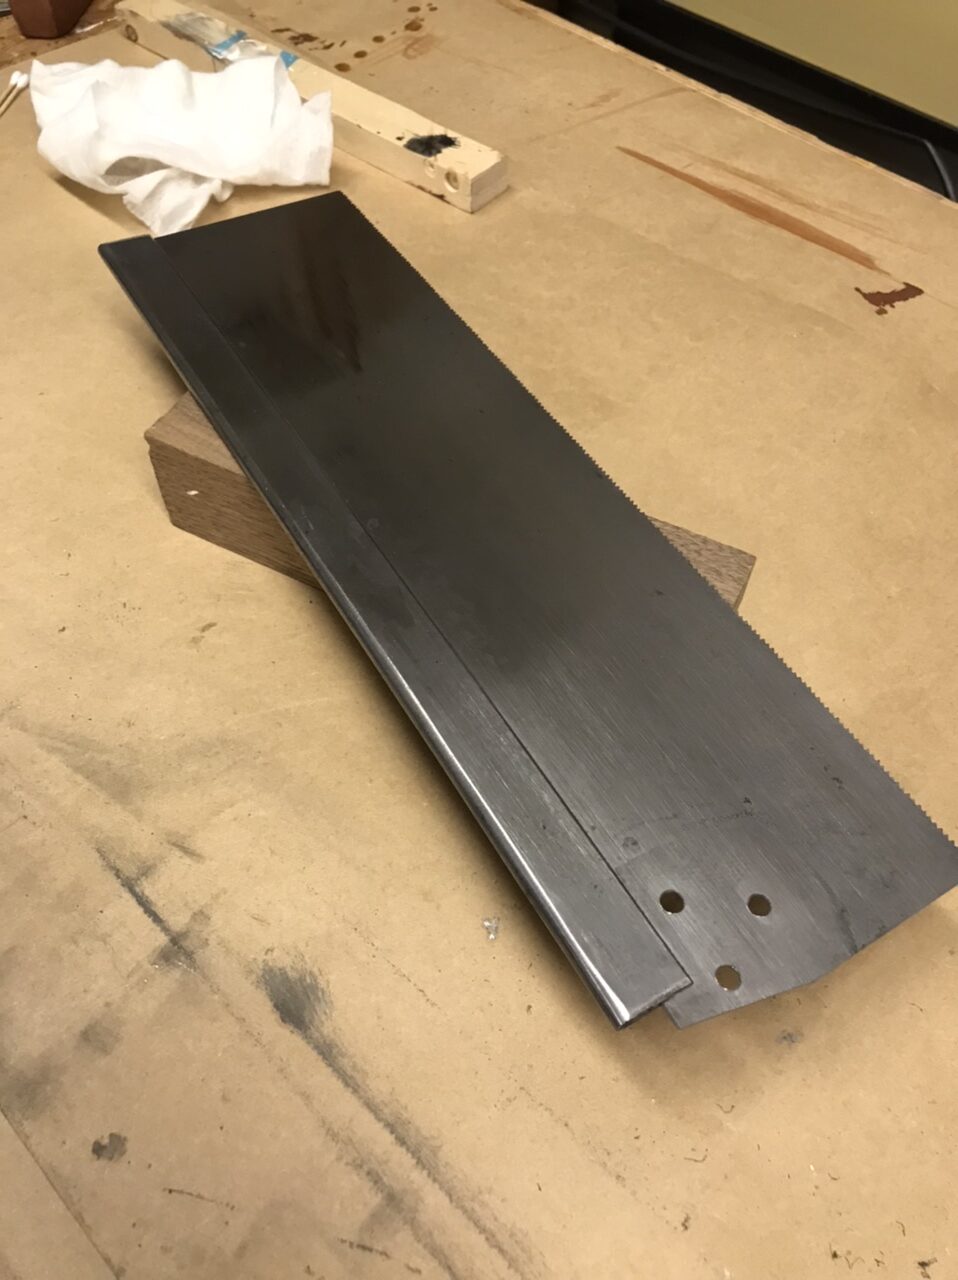
Up for consideration is an old 14″ Atkins Sheffield crosscut pattern backsaw with 14 ppi and 3-1/4″ under the saw back.
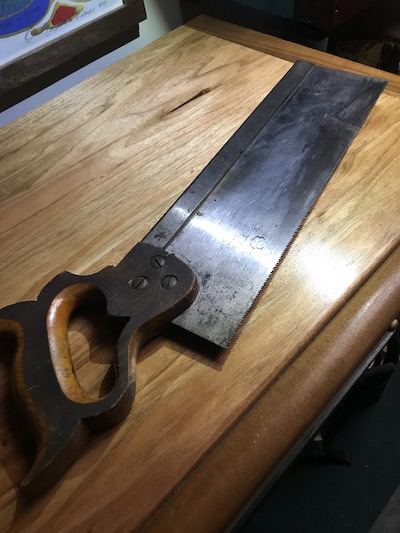
It has a chipped horn on the wood handle which I plan to repair. The overall condition of the saw is good. The saw blade needs to be cleaned and the teeth sharpened.
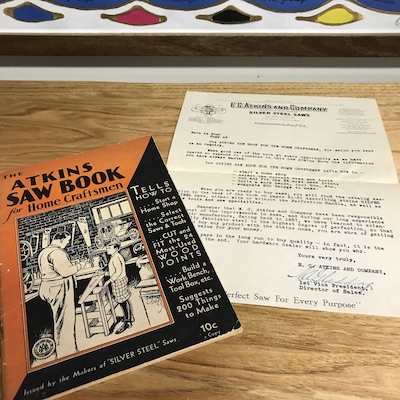
This tool was made after the 1930s by Atkins Saw Company based at the time in Indianapolis. Atkins was a respectable major manufacturer of saws, knives, and related equipment. The company was in business from 1855 – 1970. It is now defunct.
After you’ve developed that eye for diamonds in the rough beneath the grime of neglect, long-term storage or use, you will find that a restored tool is a very nice thing to use in your shop.
I want to use my refurbished saw for making miter cuts and shoulder tenon and dado joints.
Supplies
For the metal blade:
- clean rags
- rust remover
- razor blade
- plastic scraper
- metal polish or wax
- mineral spirits
For the wood handle:
- sandpaper
- scraper
- wood for making repair blocks
- glue
- wood finish
About rust
Rust on old tools is not anything to be afraid of. It can be cleaned off of most surfaces. A paste made from salt and lemon juice will safely exfoliate and clean skin.
Tetanus is not caused by rust, but by a bacterium called clostridium. The bacteria exists and breeds in conditions that are conducive to rust such as old dump piles and abandoned buildings. That’s where old forgotten middle earth tools are frequently found! A lot of discarded items may live in those places, exposed to moisture, heat, and eventually, rust.
⛑
Check beforehand if you can, but if your tetanus shot record is out of date, seek immediate medical attention if you are cut with rusty tools or stabbed by an old nail!
Preparation for cleaning the saw blade
Gloves are nice to have for grip and protection from sharp teeth. Two pairs of gloves on hand is even better. One rubber pair would be for handling the wet moments. The other pair, a heavy duty cloth or leather pair would protect against cuts. Personally, I don’t like for my cloth/leather gloves to get wet or messy with rust.
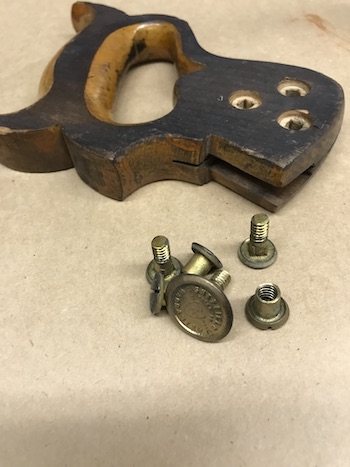
Take the saw apart
It did not take much to remove the fasteners with a saw nut screwdriver. The handle wiggled away with a firm grip.
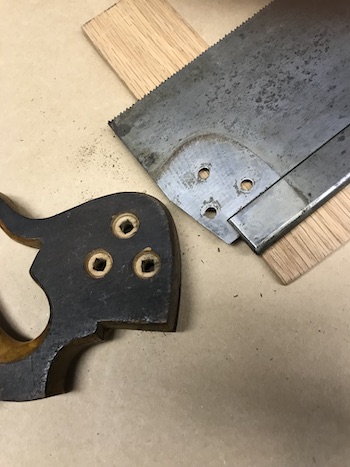
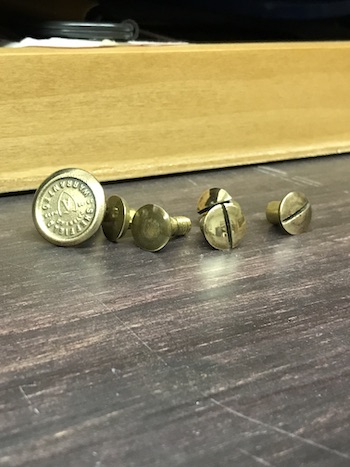
All of the saw nuts, including the medallion, were in good condition.
Inspect and clean the saw blade
I experimented with a rust removing gel. The remover was applied only on the rusty areas with an industrial cotton swab. I let it sit for 15 minutes.

Dealing with the unexpected
I rinsed the goo from the blade after 15 minutes. To my disappointment, dark oxidation covered the areas where the gel sat. It contrasted considerably with the untouched parts of the blade. It resembled scarring from a bad skin burn. Believe me, I thought the blade was ruined. It looked liked a chemical hair treatment gone very bad.
It was not the effect that I desired. I usually go with the gentlest chemical treatment that I can. Sometimes that can end with no significant change or result. That is when I resort to a little muscle and elbow grease.
To be fair, no method used in a small work shop is going to be 100% effective. Every situation is different. Every situation is an experiment. Here, I went against my better judgement and it didn’t work. Thankfully, this wasn’t my hair!
A problem loomed: if I allowed this minute to pass, the scarring would be permanent. Yikes! Like an emergency room surgeon, I hurriedly wiped, sanded, and buffed the blade. There was not even a split second to take a photo. With a rag and a lot of elbow grease, I got a clean blade.
Fortunately, I avoided “scarring” the blade. To put it mildly, I narrowly avoided disaster. Next time, I will stick with a razor blade!
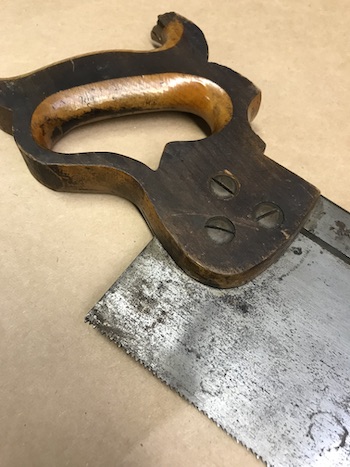
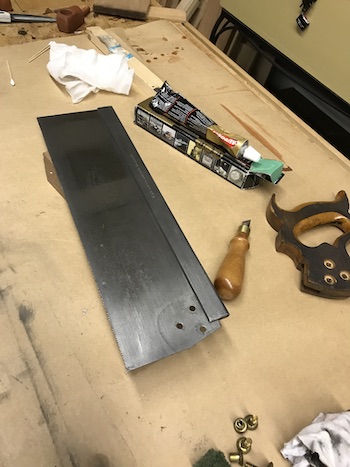
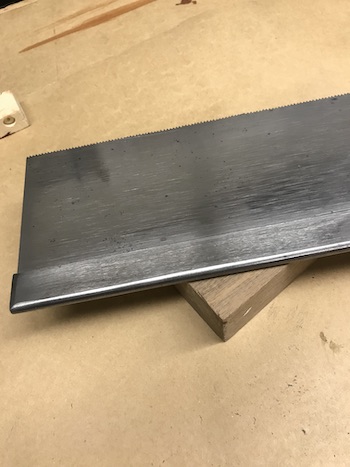
Here is a closer look at the saw blade and saw back after polishing.
Clean the brass fittings
These were in good shape. I used a little metal polish to clean the saw nuts and medallion.
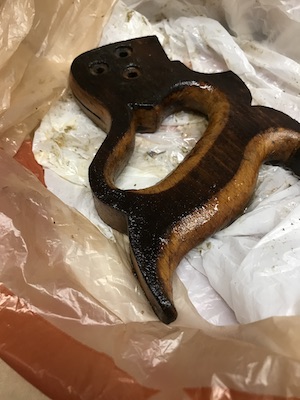
Inspect horn on handle to determine repair
The horn was chipped. I traced the handle on paper in order to have a reference. Then, I extrapolated the missing tip on the tracing. It is a matter of analyzing the horn to determine how much work needed to be done. It wasn’t a major repair, but an easy one is not guaranteed.
First, I tried to debride the tip so that the the new wood had something to interlink or join. It was quickly evident that that idea was not going to work. Eventually, I cut off the rest of it to keep the repair simple.
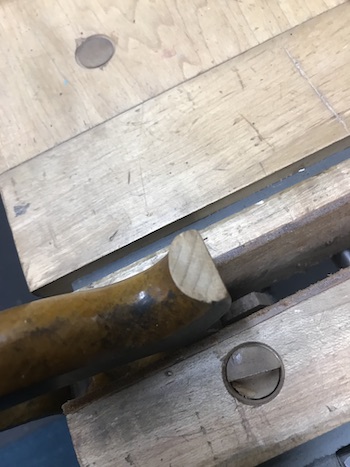
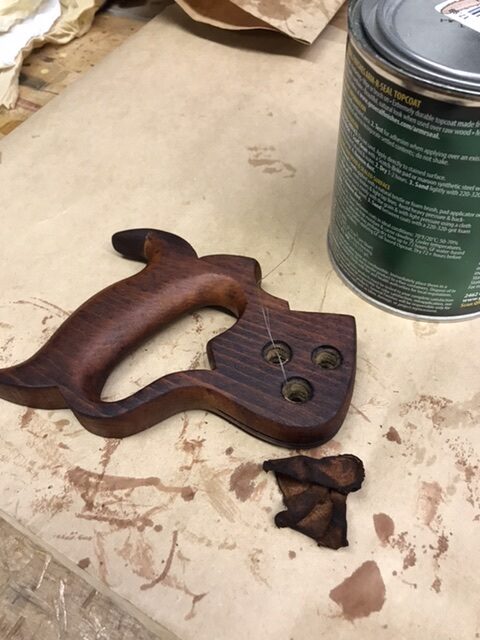
I tried to find a small block of wood to attach to the horn and fashion a tip. I think the handle was made from fruitwood. Honestly, nothing I had on hand was to my liking. A small walnut block with a similar grain orientation and contrasting color proved to be an interesting and attractive choice.
I knew that I might have a problem because of the cut across the horn. The cut surface on the horn and its mate needed an anchor or mini-dowel to strengthen the joint. I drilled holes in both the cut horn flat and walnut block for inserting a very short 1/8″ dowel.
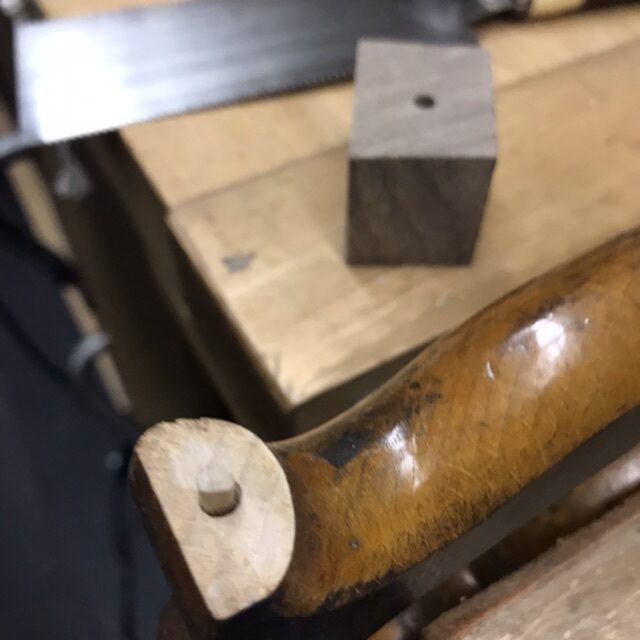
and walnut repair block with drilled hole..
After dry-fitting, I squeezed super glue (cyanoacrylate) in the holes and on the horn flat. I meshed them together until they held and secured the joint with a couple of rubber bands.
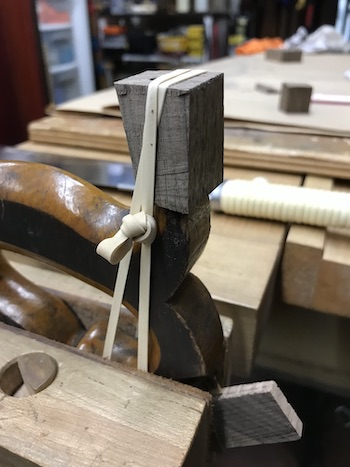
I left the glued up contraption to dry overnight.
Shaping the horn
I chiseled and rasped the walnut block to conform to the handle.
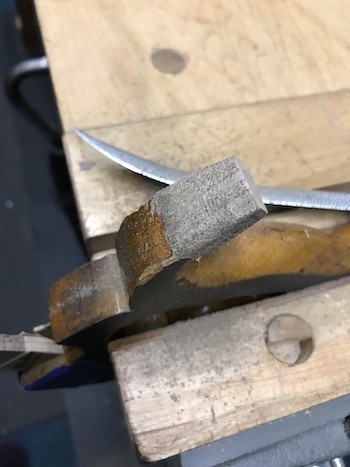
The tracing came in handy to monitor progress.
It looked good but I stopped short for now. Further refinement would be made during the final, overall sanding of the stripped handle.
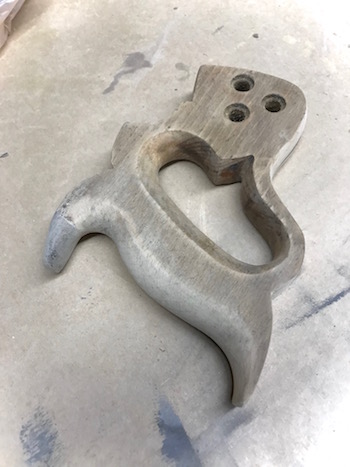
Next, the old lacquer finish and grime are removed with chemical stripper and sandpaper. This time a chemical process was satisfactory!
of stripper. The key is gentle sandpapering. Brute force is not required.
After letting the dissolver do its work, I cleaned the residue and old finish away. I used acetone to rinse away any remaining bits of residue. The holes were cleaned with tiny industrial cotton swabs. The handle was left to dry.
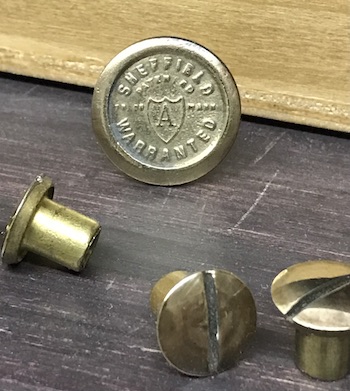
“Sheffield Warranted” which surrounded the Atkins “A” and shield in the center.
A realization
By the way, I believe the handle had a two-tone stain and lacquer finish.
Initially I thought that the dark tone was the result of years of grime. The border lines were too precise. Still, I did not like the effect.
Whether it was original to the saw, I cannot say. I suspect that the saw is not anywhere near the top of the line in the Atkins saw family.
Woodworkers have modified their tools since the beginning of time. The handle could have been a replacement. That’s when many quirky modifications are made. After all, I am doing it now.
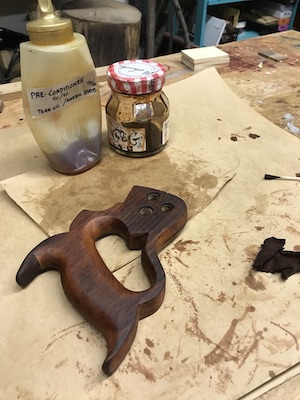
After a final finish sanding with 150 grit sandpaper, the handle was preconditioned with a 50/50 blend of teak oil finish and mineral spirits. I let it dry a couple of days. Then, I applied the finish that I made up for the finger joint tool box project.
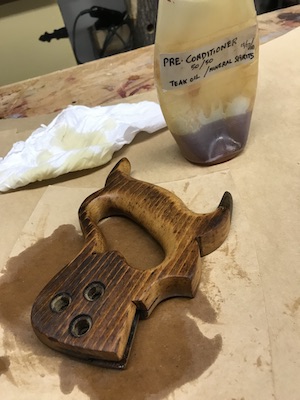
Pre-conditioning coating.
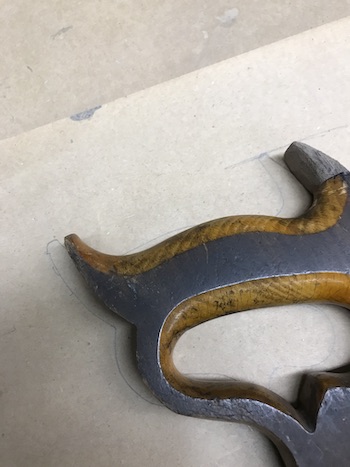
After the handle dried completely, a coat of protective clear finish was applied.
Reassembling the saw
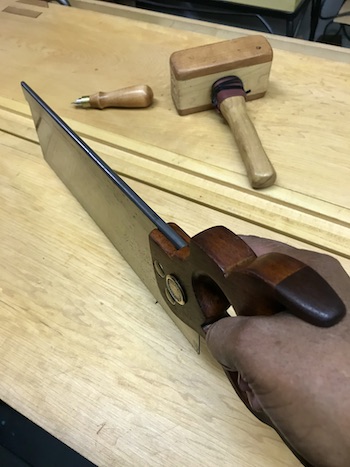
Now, let’s put this saw back together.
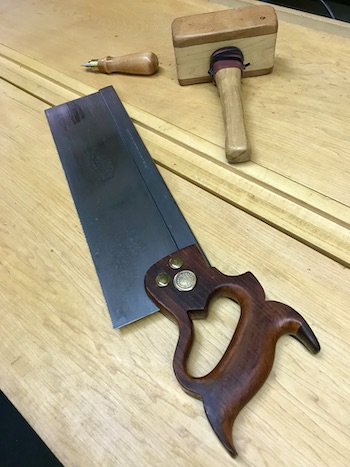
Here is another view.
Baadaye
Shirley J 💜
———–
Ok. I have a cleaned up saw and a saw vice. I just can’t leave it at that…
Next time: A saw sharpening primer.

2 thoughts on “● Old Saw Restoration – Cleaning”
Your work is exquisite and your descriptions of the methods are really crystal clear!
Thank you for the compliment, Brian.
Comments are closed.