Let’s finish a saw vise for sharpening. The ability to sharpen your own saws keeps your work flowing. There is no need to leave it at a saw sharpening shop, that is, if you can even find one.
You can learn to perform this task. First thing to determine is how the saw blade will be secured in order to do a safe job. A saw vise will help to sharpen a blade nicely. A variety of vises, vintage or new, are available. Or you, as a woodworker, can make one from wood. That is what I started in part 1.
When I left off, the vise was looking pretty good.
Purpose of the saw vise legs
The maple legs define the saw sharpening experience in this way:
- the short leg rests on the bench and determines how much you have to bend over your work,
- the longer leg is securely clamped in the leg vise and holds the entire operation steady.
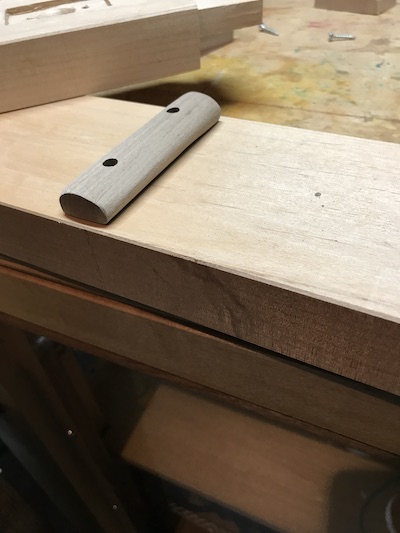
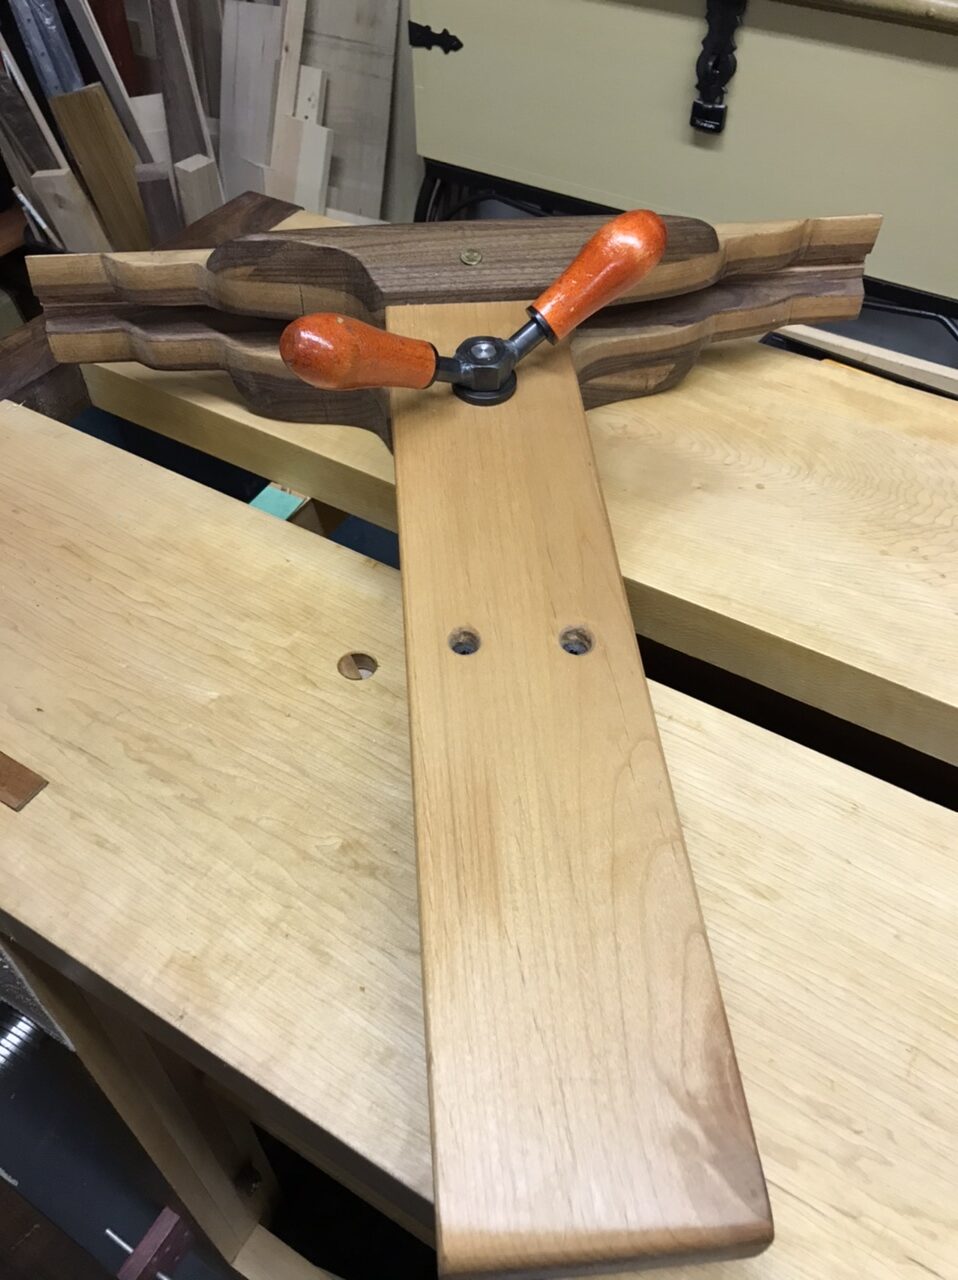
I cut tenons on the end of both legs to insert and pin them into the mortised jaws of the vise.
Handling the saw vise
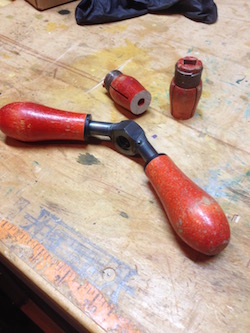
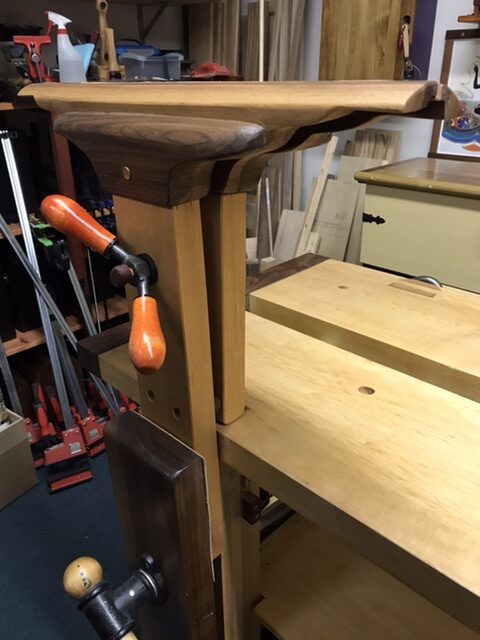
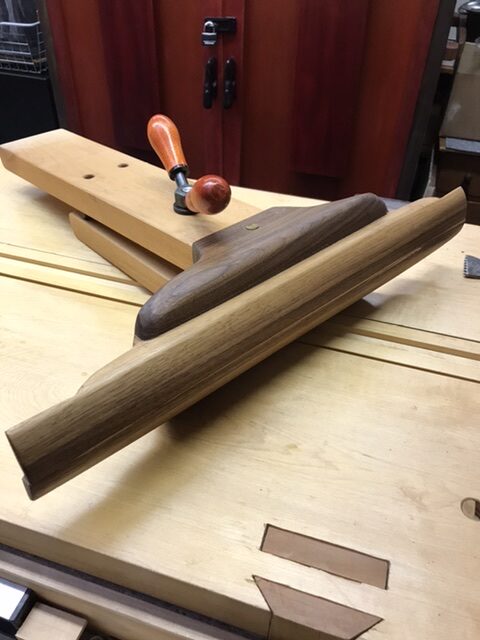
I did not like the cold metal hardware grips. I found two old Disston file handles and adapted them as grip covers.
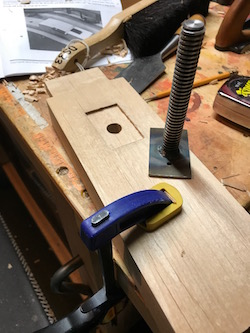
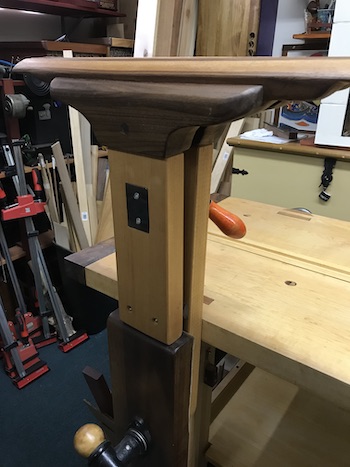
A shallow mortise is chiselled out of the back of the short leg. This stabilizes the acme screw plate that will facilitate controlling and tightening the vise jaws by way of the rotating handled grips.
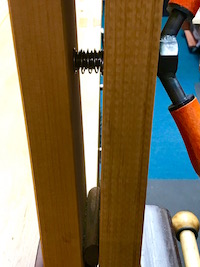
The jaws open and close by pulling them apart slightly (again by way of the acme screw), inserting the saw and then spinning the grips to tighten. I fitted a spring over the screw bound by the legs to make the jaws move a bit easier.
Note the screw and pivot block below.
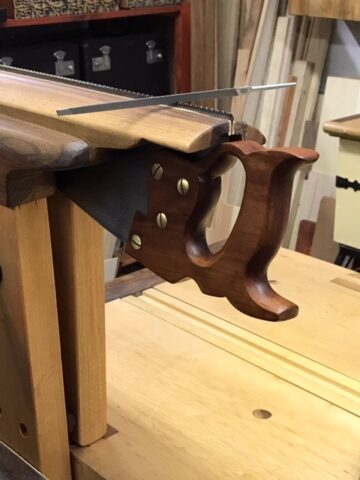
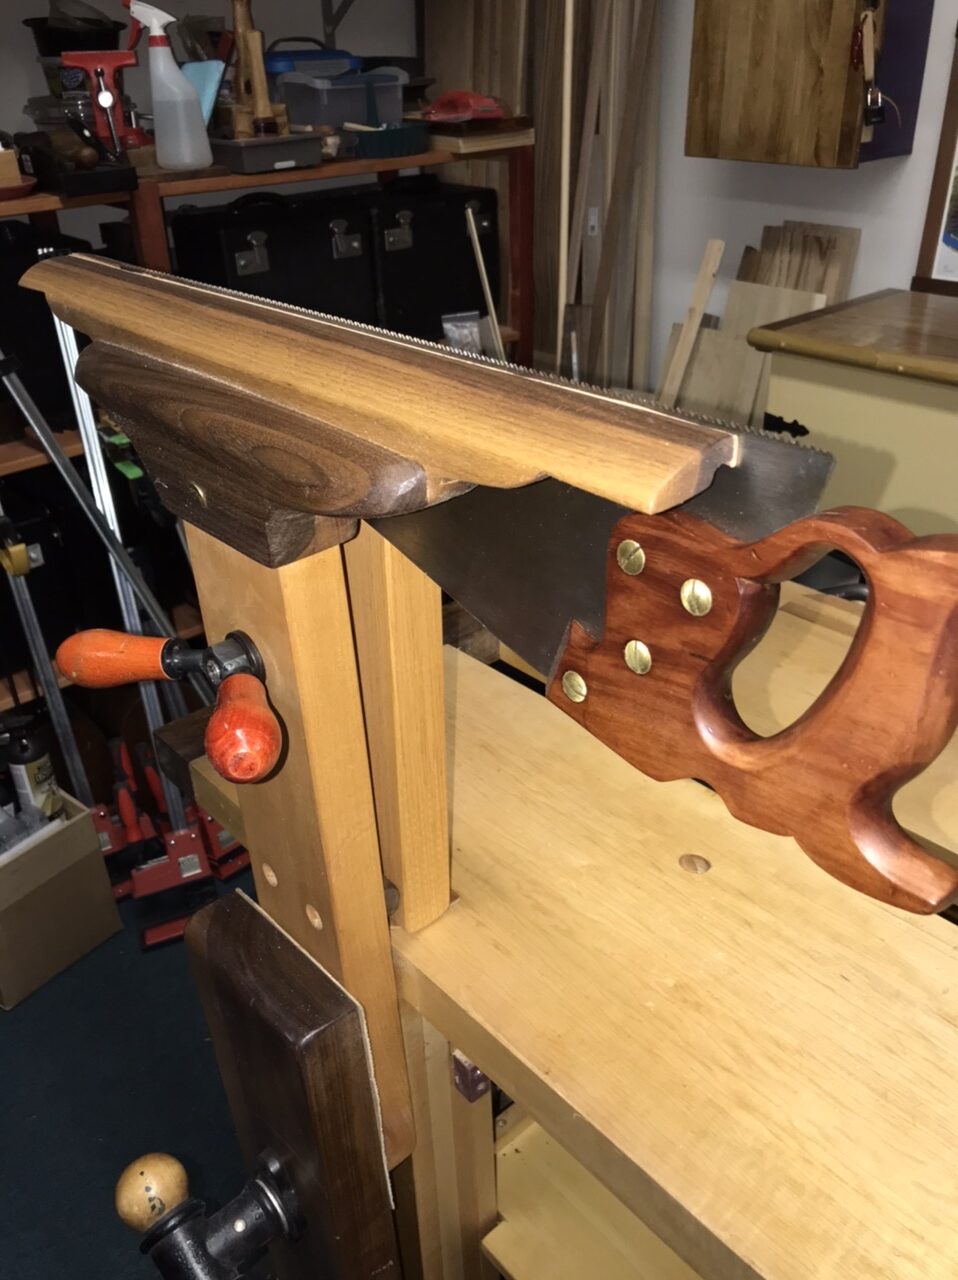
The completed saw sharpening vise
The longer leg is clamped in the leg vise and the shorter leg rests on the bench. Using wood to make the saw vise allows flexibility in height, width, and design.
Here is the back of the vise showing the acme plate mortised in the back leg. It anchors and stabilizes the acme screw (keeps it from turning) when opening and closing the jaws.
I applied a water-based satin topcoat finish. Now the project goal, to finish a saw vise, has been accomplished.
Sharpening as much as you need
The first time that you put a file on a saw you feel a real sense of clarity. The fog of powerlessness clears as you look down that seemingly long row of teeth. Suddenly, you are facing the fact that a saw is in need of attention. Now, however, you can do it.
Get ready for sharpening
Prepare a saw sharpening kit with files sized for your saws big and small. You can buy the files as needed over time. A saw setter and hammer for laying in the teeth ensure smooth and straight cuts.
Rags, oil, and wax to clean and lubricate the saw blade are essential. A properly oiled, smooth blade will glide through lumber with an ease that rewards your saw sharpening efforts.
Lessons in saw sharpening
Whether you have a saw vise or not, do not leave off sharpening your saws. If you do not know how to sharpen, information can be found in books, videos, and workshops. One important thing you will learn, if you have not already, is that a sharp tool blade is safe and more efficient for working. I will offer a short primer to show how I do it with this wood saw sharpening vise in a future post.
There is danger lurking
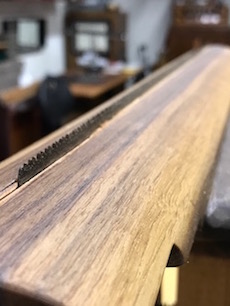
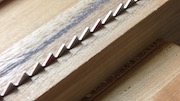
One other thing: sawdust, real metal sawdust. These are micro-particles of metal that form from the friction of the metal files on the metal teeth of the saw. The particles are very light and very dangerous.
They can be suspended, or swept into the air by any kind of movement, accidently ingested, or breathed in through your nose. This is a dangerous hazard that you do not want entering your lungs.
You do not want this in your eyes either. Be aware that rubbing your face or eyes with your hands can help transmit the particles to delicate mucus membranes. Make use of these lesser used tools in your shop: gloves, mask, shop jacket or apron, safety goggles, and safety shield.
A small gentle hand held vacuum promotes easy and safe cleanup of the particles on the vise jaws and bench. Another solution is a moistened paper towel dragged across the vise that captures the particles and prevents them from flying in the air.
You will treat yourself and your tools better and get results as your understanding grows.
Don’t worry, saw sharpening is a task that you don’t have to do very often. If you use your tools, however, more opportunities to practice will appear.
All done for now.
——-
This is the end of part 2 of 2 of the Saw Vice Series. Here is the rest:
Saw Vice – part 1.
Next time: cleaning and refurbishing an old saw.
S💚
