F inally, the hanging chest project is coming to a close. Here I am finishing the hanging wall chest project that I began in part 1. Mind you, this is only a recollection. That’s all. I completed this project years ago. It was done by hook or crook or without “good tools”. I simply did it by my bootstraps. At the time, I had no intention to record my work in any detailed way.
Why are there two parts to this story? Normally, I get rid of photos at the end of a project. Surprisingly, these were still in my old files. I decided to show most of them. It made sense to divide the construction story from the installation.
This retelling of the story is meant only to entertain. It may provide an idea, a solution, a lot of oh-oh’s, a few oh no’s, or a nod of agreement.
I am always doing what I cannot do yet, in order to learn how to do it.
– Vincent Van Gogh
You know how I do things now!
Story #12.2: Hanging Wall Chest
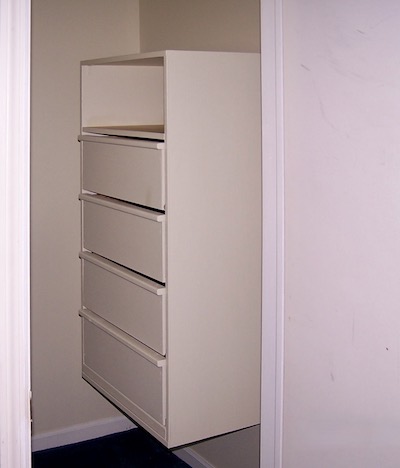
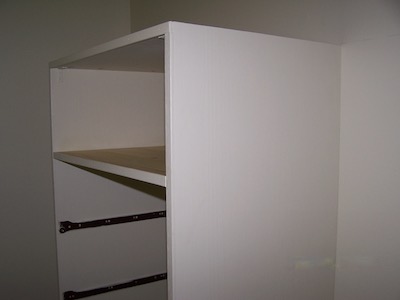
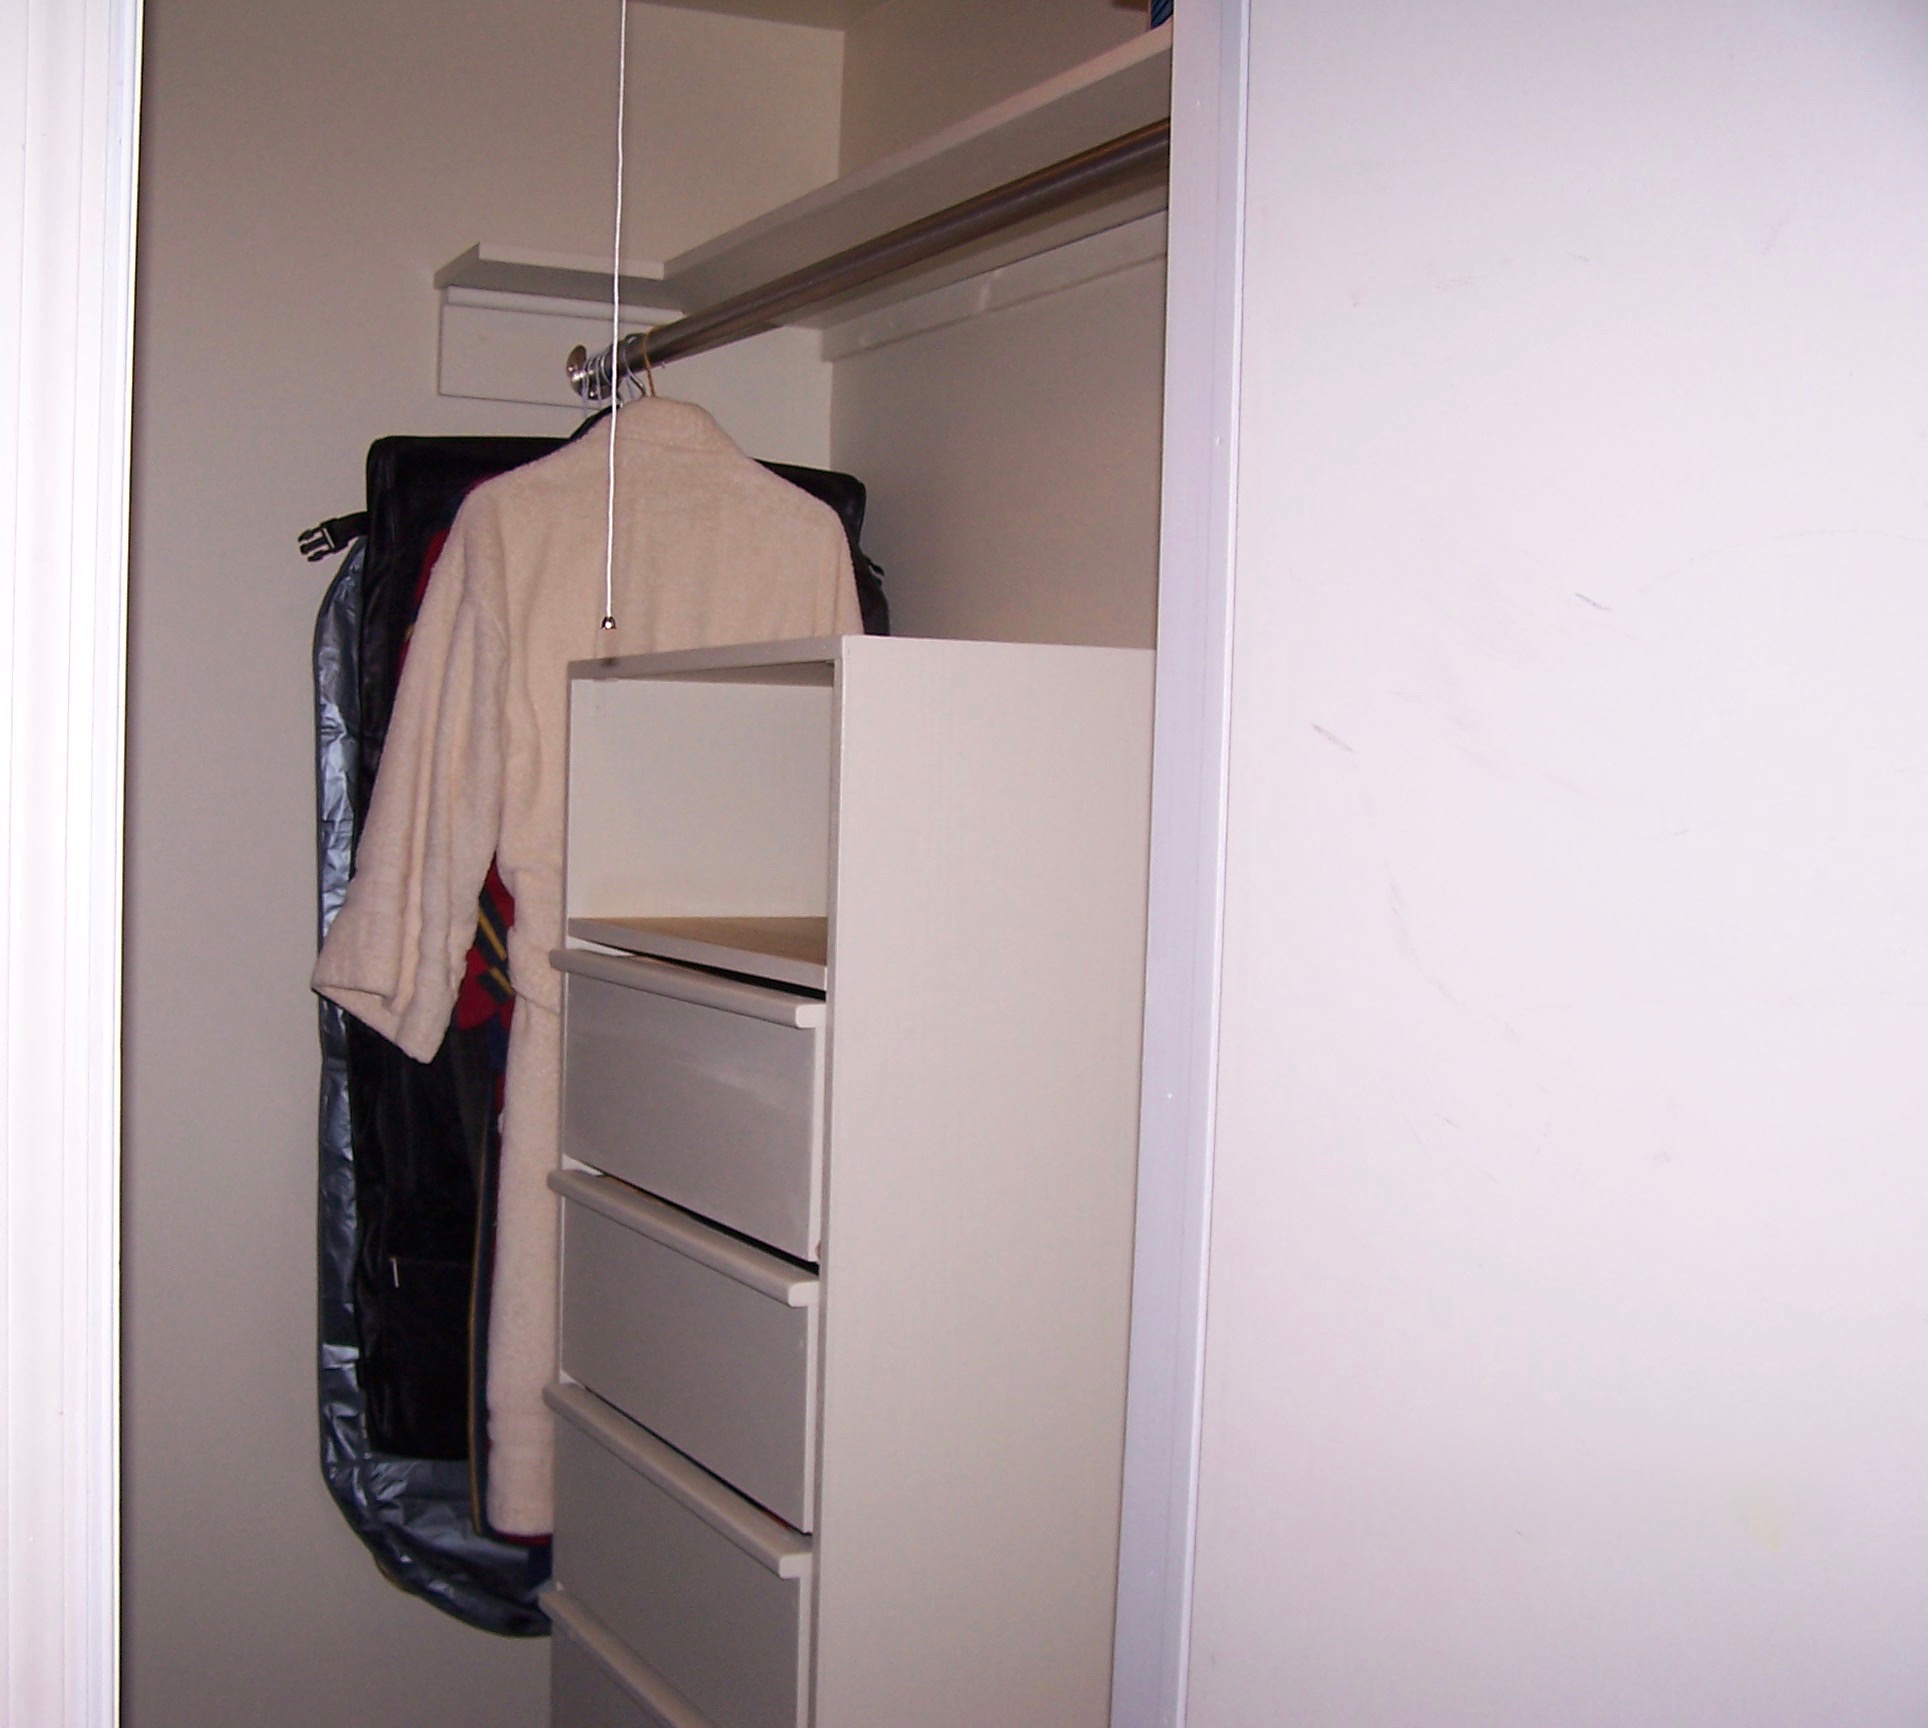
The last post ended after the cabinet parts were cut and assembled. The wood was sanded, painted, and sealed. Finally, the finished chest was ready to install in the closet.
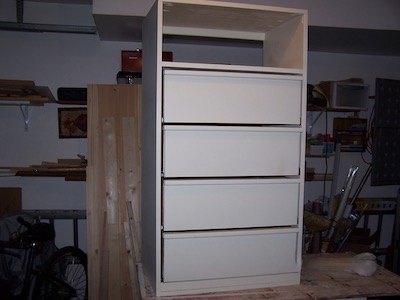
I attached a sturdy 3″” x 1″ board for a cleat across the back of the open top shelf space.
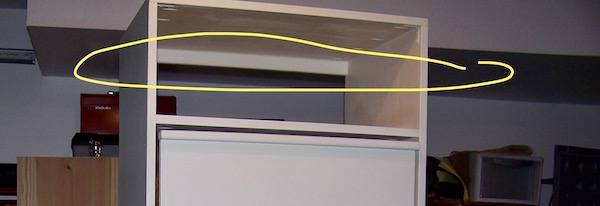
This is a handy device to hang the cabinet safely and solidly. The sequence begins like this:
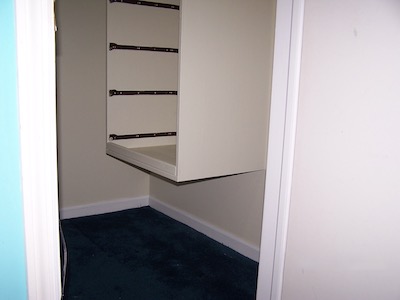
First, holes drilled through the cleat were matched to the studs. Next, the hanging chest was positioned and leveled on the wall. Finally, long construction screws were used to fasten it to the wall through the cleat.
As I discussed in this post, pocket hole joinery was my go-to method for constructing wood projects. I used pocket holes for the assembly of the chest carcass. This method enabled quick and easy work.
Oh yes, I used 2-inch, 90 degree steel corner braces to reinforce all inside corners of the carcass.
Installation
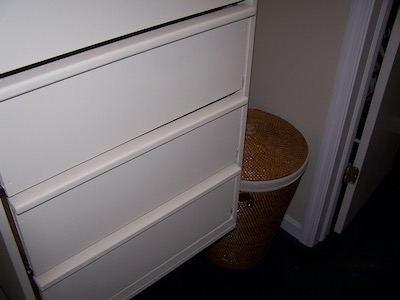
After marking the studs with painters tape, I used long construction screws to hang the chest on the wall. The bottom of the cabinet hangs on the wall 24″ above the floor. This leaves plenty of room for shoes and baskets.
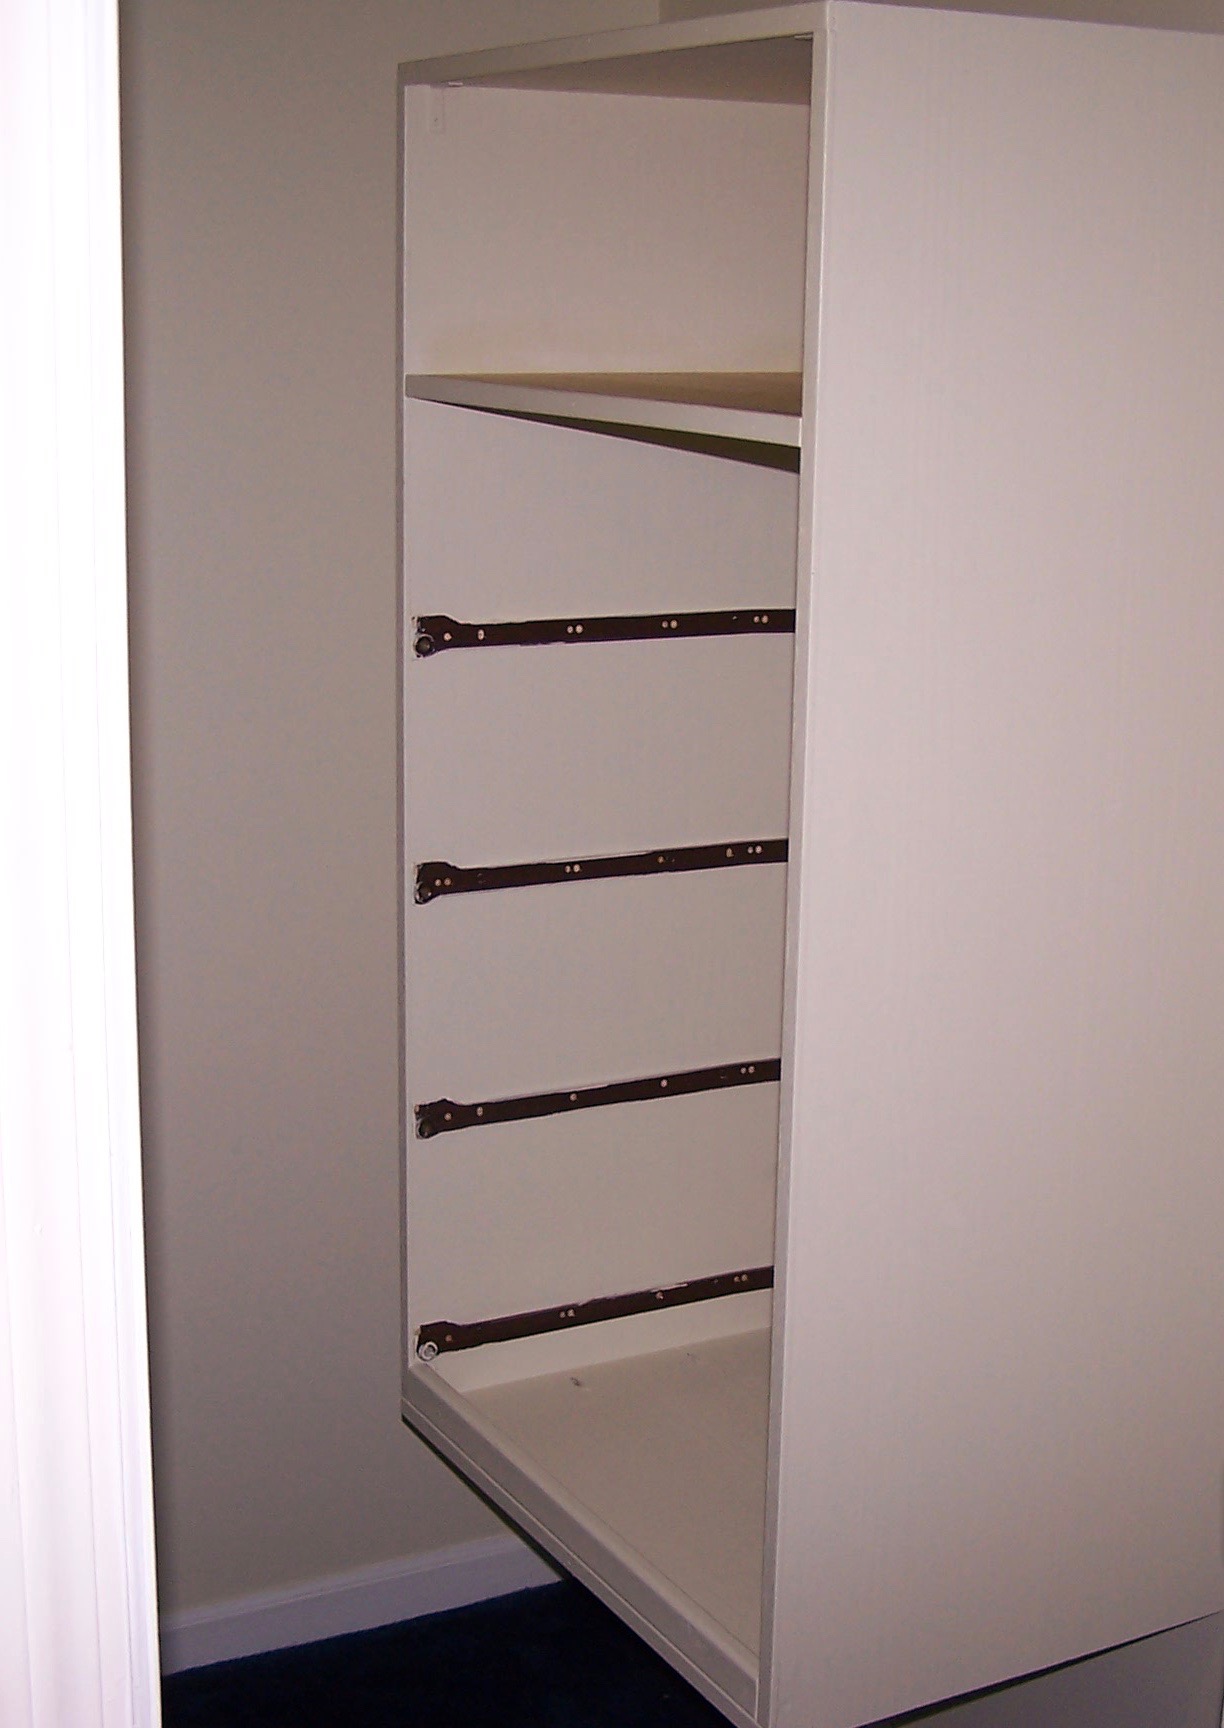
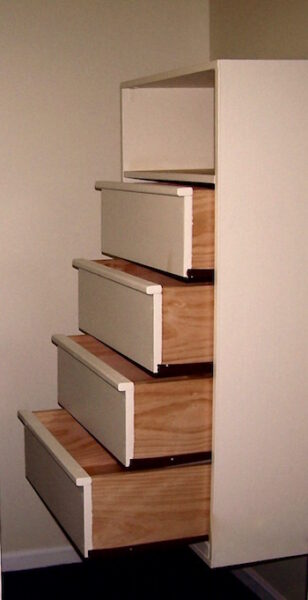
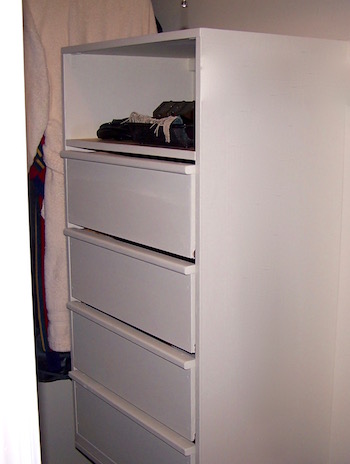
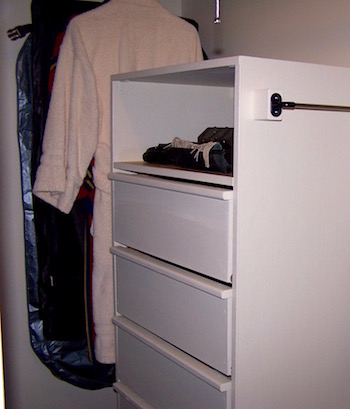
The four drawers slide out of the chest, smoothly and fully.
and,
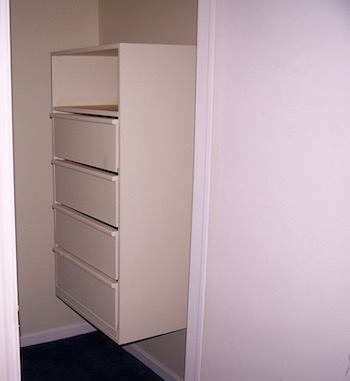
I measured off room to place a wicker hamper between the cabinet and the door. It is accessible and safely tucked out of the way.
The rest of the closet
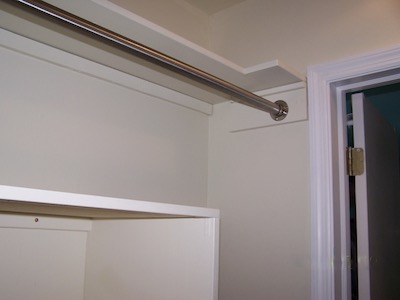
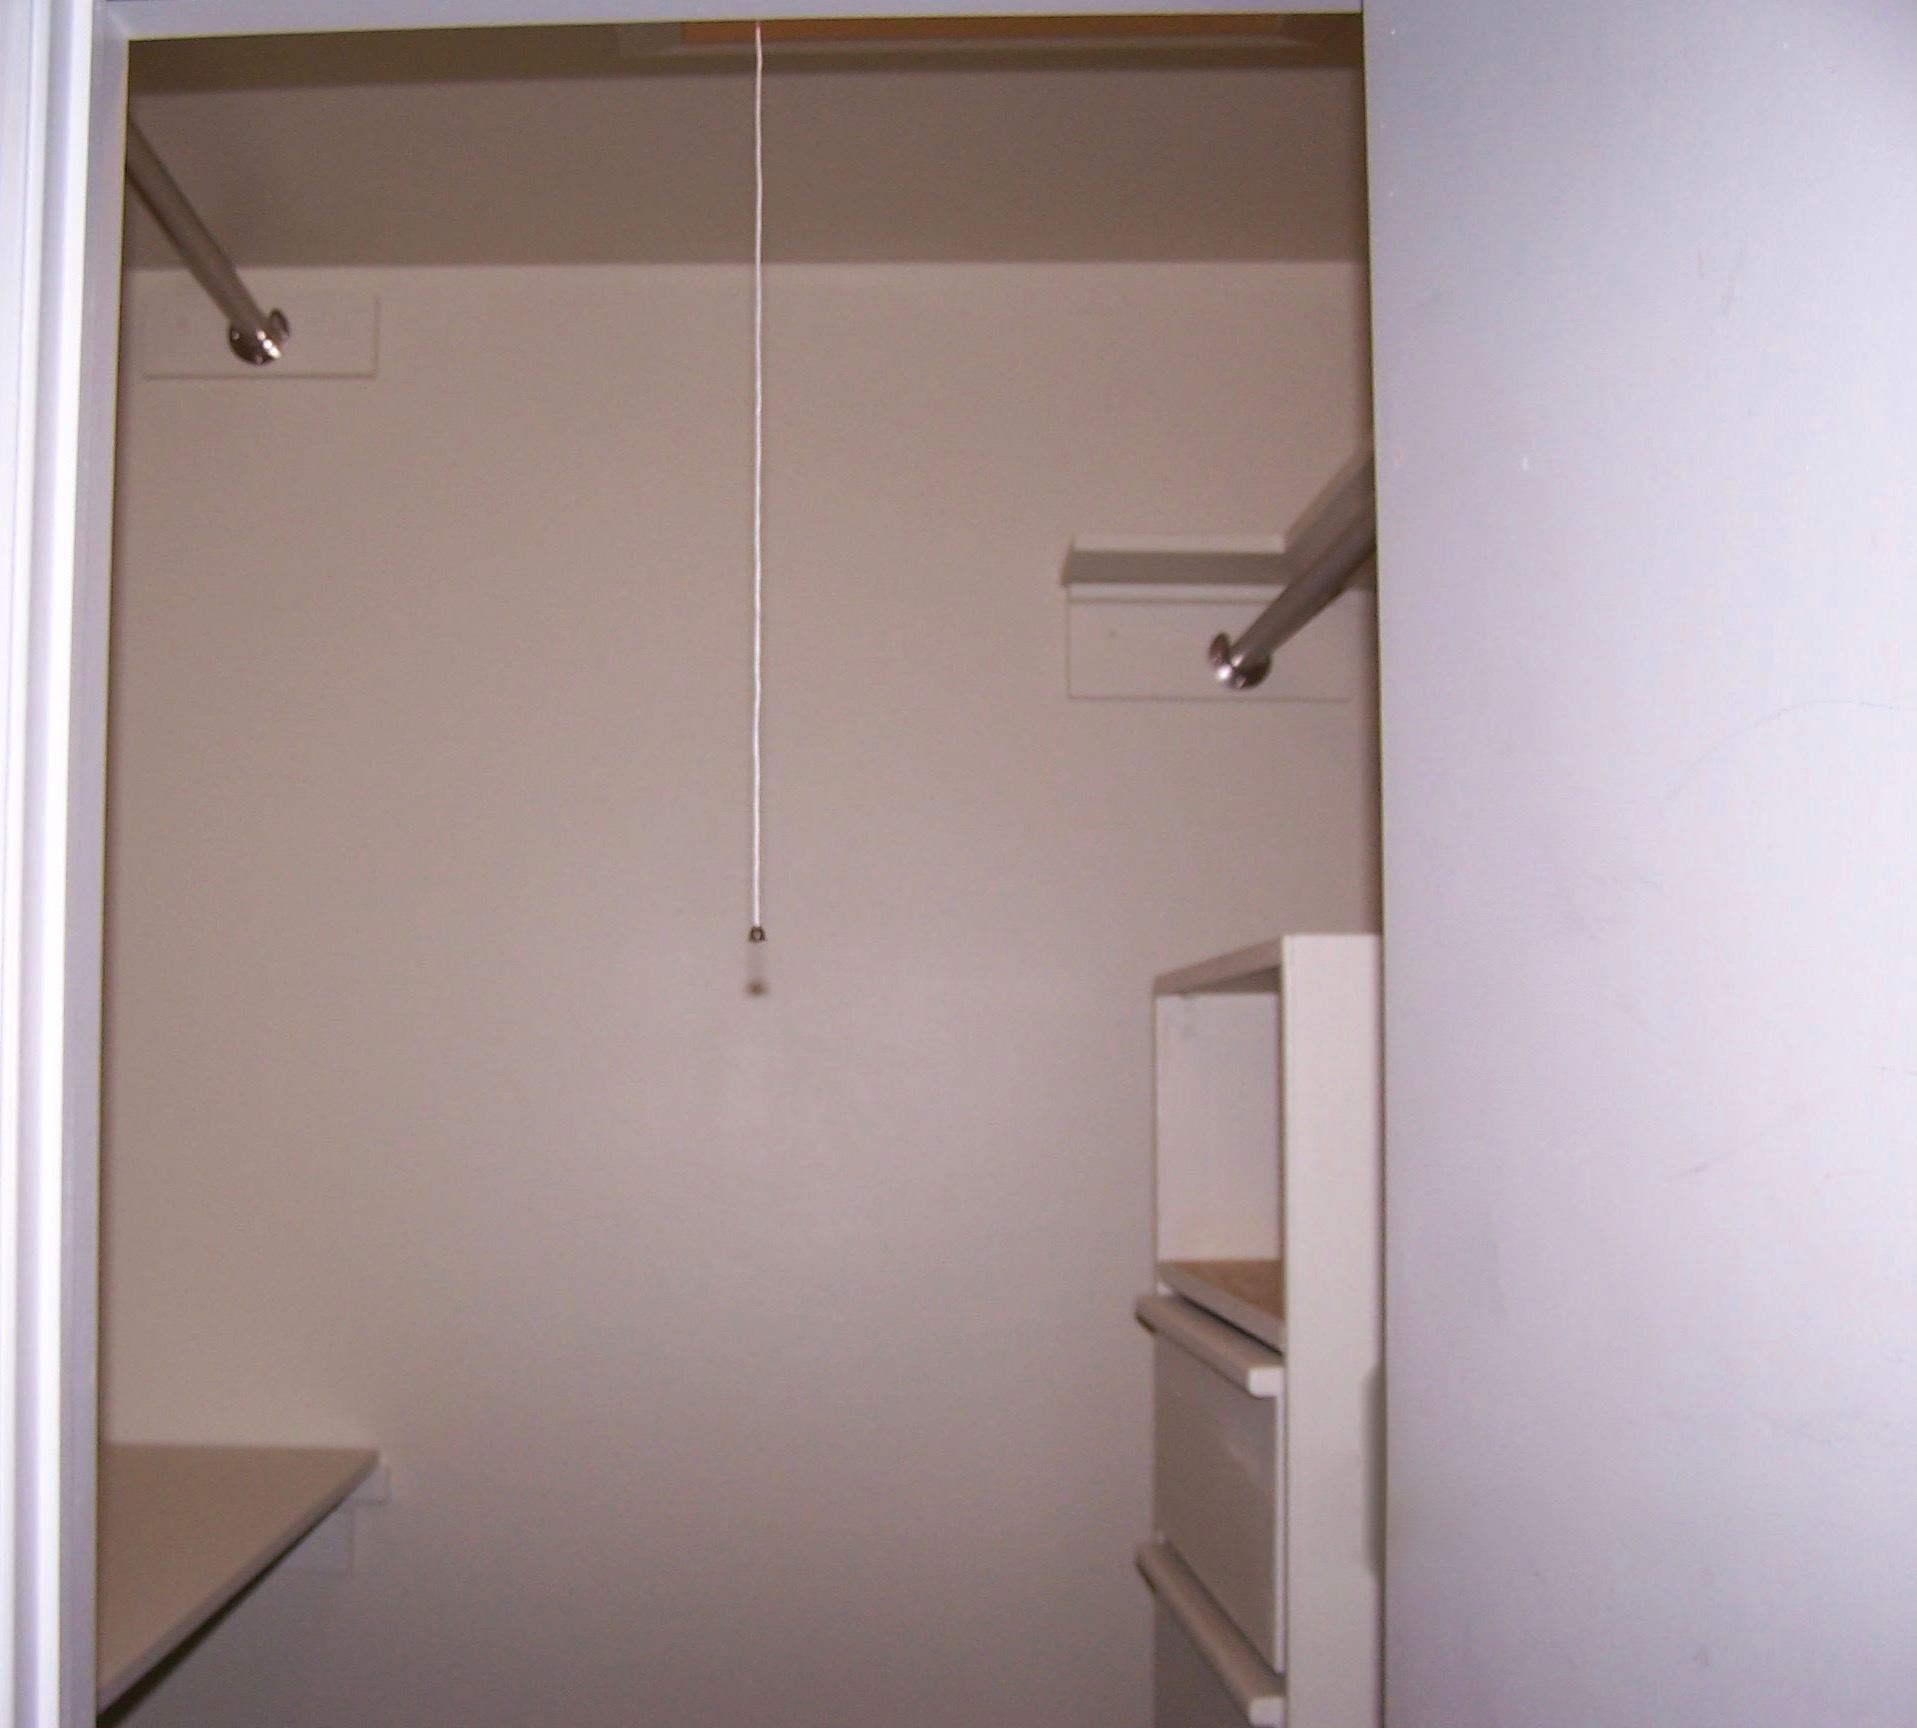
Now I can pay attention to the rest of the space. I marked and measured where I wanted the closet poles to be. Wood support cleats for the shelves were installed across the side and back walls of the closet.

The pole and shelf coordinated perfectly. I like to design and hang “L” shaped upper shelves. Practical and efficient, this tweak helps me clearly see what is on the shelf above my head. A box, for instance, can sit ever so slightly “forward”. Then, I could easily access it or tip it with a touch of my fingers.
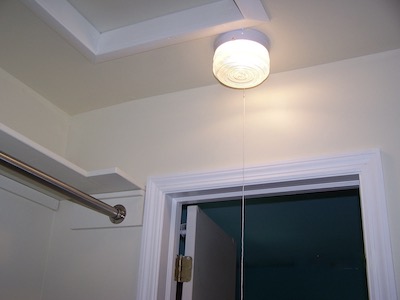
Here is the hatch and light that I installed in this post.
The closet poles and closet shelves provide the space and organizational vibe I needed.
This is a nice look.
Longer garments hang in the back of the closet.
The open top shelf holds folded scarves and personal items.
Nice. I like the enclosed storage. It provides a little privacy. Finally, the space looks cleaner and neater.
Changes
After over 30 years, the original builder’s fixtures throughout the house have been replaced. The changes took place in the intervening months or years.
And replacements or renovations vary in timing. Projects can be delayed or pushed up. Practically, repairs and responses to wear and tear issues cannot be delayed. Happily, decorative projects or upgrades can be completed on a more flexible schedule.
However or whenever the work is done, it provided an inexpensive way to afford a home. It allowed me to stay within my budget. I could choose to splurge or not. Importantly, there was no pressure to replace any functioning fixture with permanent ones.
However, I always kept in mind the seriousness of any work to be done. It had to be measured honestly against my ability to do it.
I started out with a closet filled with inefficiently configured wire shelving. I prefer the look and solid utility of wood shelves. Installation of the chest above the floor gave me space for boxes and shoes.
The caveat
There’s always one or two. Attention must be paid to changes or little hints that are tempting to ignore. If we allow the “message” to go for a little too long, we will not like the consequences.
What do I mean?
A dripping or leaking faucet caught early requires only an inexpensive rubber washer. A dripping faucet that is tolerated for too long might require entire replacement of the set at a vulnerable time. Damage related to the unfortunate “toleration” might include flooded floors, carpet, or worse. What is the “or worse” you might ask? It’s when an otherwise affordable part or solution may not be available when needed during an emergency.
Over the years, I try to keep current with changes in the building codes. Whenever possible, the upgrades were made to conform to those changes. Thus, it can make selling the home – whenever the time comes – easier and faster!
Doing it myself allows me to learn about the “inner workings” of my living spaces a little better. I’ve learned how things work – behind the walls, above the ceiling, and under the floors.
Importantly, these projects help me stay true to my goal of self-sufficiency. I am always looking for ways to do that in my life – at home and in the shop.
Is it ikigai? Yes, it is.
I believe it was worth the moderate investment of time, effort, and cost to get exactly what I wanted.
_____
Baadaye

♥️
Remember: If you are going to make any project, be mindful and be safe.

2 thoughts on “● Hanging Wall Chest – Part 2”
Very good I like that.
Thank you. It is still rolling smoothly after all these years!
Comments are closed.