Saw teeth are similar to our own. If the teeth are not cared for they can break, fall out, or succumb to the elements. Plaque is the well-known destroyer of our teeth. Over time, we cannot eat or chew food. In the case of a saw, iron oxide or rust will weaken and destroy the metal teeth much like plaque. After a period of attack, the saw will not fulfill its purpose, which is to cut lumber and wood.
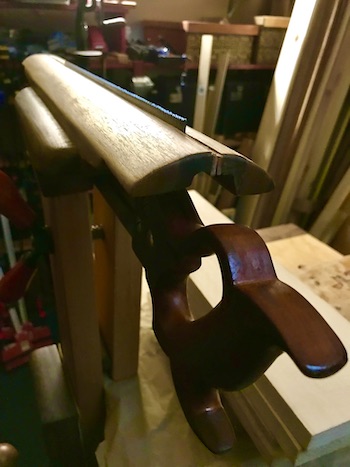
Let’s look at that back saw that I restored in the last post and sharpen the teeth.
Now, I am not an expert at saw sharpening by any means. I’ve learned at lot and at the same time I am still learning. I’ll just show how I do it.
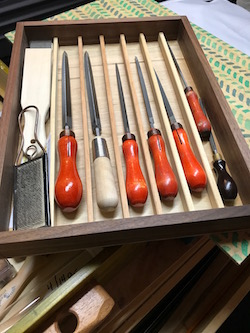
My Saw Sharpening Kit
A saw vise is not a requirement for sharpening. Since I have a saw vise handy now, I will use it to help in sharpening the saw teeth after cleaning.
A decent kit should be equipped with these tools and implements:
- triangular saw files
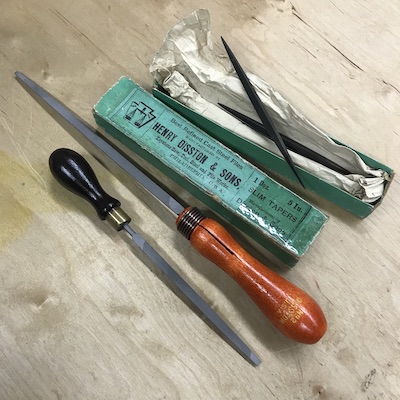
The cross section of the saw file is an equilateral triangle and the 60 degree corner is the wedge-shaped angle between the teeth. That’s right, flat files will not work for sharpening saw teeth. No opportunity to MacGyver here!
The arrises or edges of a saw file are slightly rounded. This characteristic leaves the base of the saw’s teeth in a slight curve. Thus, cracks and deformities in the v-shaped teeth gullets are prevented.
Saw files are matched to the saw teeth. A dovetail saw with small teeth requires a small file. Saws like large crosscut saws require larger files.
These tools will help when sharpening:
- jointer
- flat mill file
- saw setter
- saw hammer
- anvil or flat steel plate
After restoration and sharpening, these items will be useful for lubricating, preventing rust, and maintaining the blade:
- oil
- wax
- clean rags
A properly oiled, smooth blade will glide through lumber like a soft avocado. Sawing will be safer and effortless.
Safety first:
Be aware that saw blade teeth are “live”. They will draw blood. A blade with sharp teeth tends to grab and cut skin and tissue. Dull blades may not cut wood; they can, however, still damage skin. Gloves should be used when handling unprotected saw blades. Use files with handles to avoid accidental stab injuries caused by slippage.
A Saw Teeth Sharpening Primer
Like everything else in woodworking, common sense plays an important role. If you are planning to do anything, including sharpening saw teeth, make adjustments and modifications for your shop, needs, and circumstances.
There are many methodologies for sharpening saw teeth as there are woodworkers. My method is just one of them.
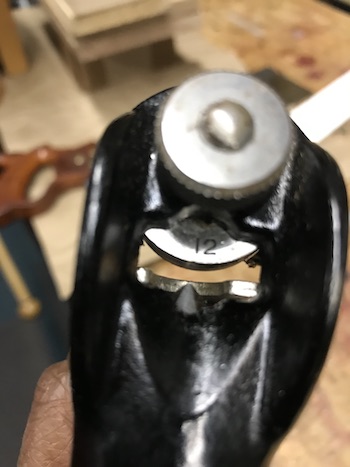
Clarification: the saw teeth as found on the Atkins saw are 14 ppi and, upon closer examination, appear to be filed in a rip pattern. I’ll stick with that.
Saw file selected: a 5″ three square (triangle) 140-2 needle file. This is a medium cut file, sufficient for sharpening a metal saw blade with a pitch of 14 ppi.
Choice of file is not set in stone. You can play around with files and change the size, set, and configuration of the teeth, i.e., from crosscut to rip or vice versa.
Sharpening Symphony
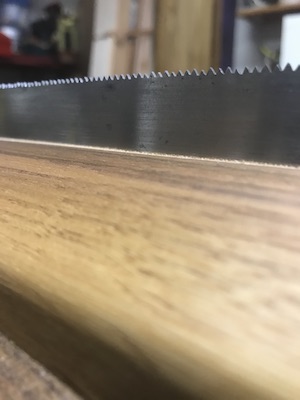
First, the saw is raised up in the vise and clamped. The teeth are jointed or leveled at a 90 degree plane with a mill bastard file.
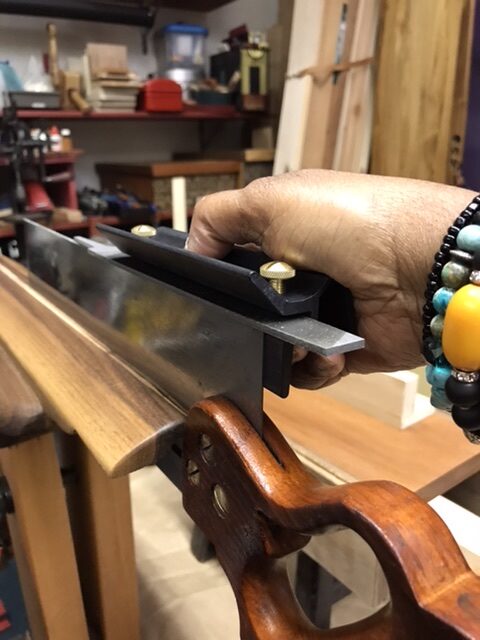
One or two passes is sufficient to slightly flatten the tips of most of the teeth. The flattened tops will glisten down the length of the row. Some teeth in the line may be shorter. If there are not too many, leave them to be caught during sharpening.
Lower and clamp the saw in the vise jaws close to the base of the teeth to reduce vibration. The saw will pass just above the vise jaws.
I like to make sure that the saw handle is to my right, beneath the vise jaws. Filing starts on the toe and stops at the heel near the handle.
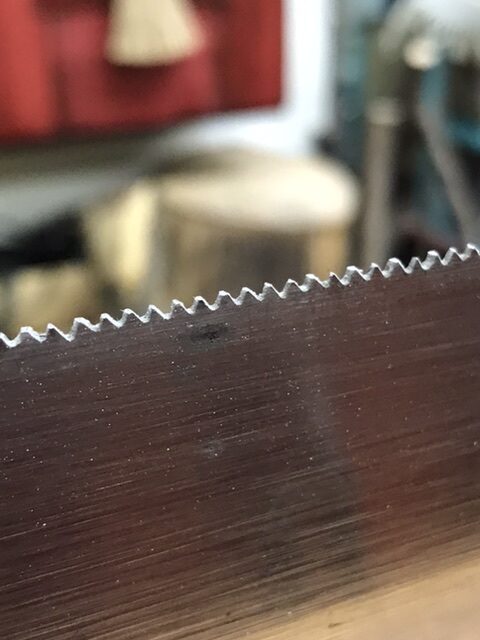
Ready for filing
The file is positioned in the v-shaped space or gullet between the first and second tooth and pushed forward while keeping contact with the blade. This is the sharpening part.
While sharpening, the back and front of two teeth are filed simultaneously. Subtly lift the file and pull back to the starting position. The jointed or flat tops should disappear as each tooth slope is filed.
Continue from the toe end of the saw and file until the heel (near the handle) is reached.
No teeth are intentionally skipped. Marking the blade with a felt-tipped marker before filing helps to keep track. Check to see if any teeth were missed. If so, come back and file them.
The teeth are shaping up. I could have jointed the teeth until every tooth was the same height before sharpening. Perhaps, but the saw will work until that point is reached organically just by using it. It may take a few sharpenings (and jointings) to get an even tooth height or plane, if that is even desired. But if it behaves and cuts, that is all I need.
Setting the teeth… or not
Here is where I could set or bend the teeth away from the vertical plane of the blade. It helps, like a rudder, to guide the saw ahead in the wood. A lot of set in the saw teeth makes for a rough and drag-like cutting action. A tighter set makes a slimmer but smoother cutting line in the wood. Blade thickness, soft or hard wood composition are other factors on how the cut will turn out. This saw already has a slight set that I will respect this time.
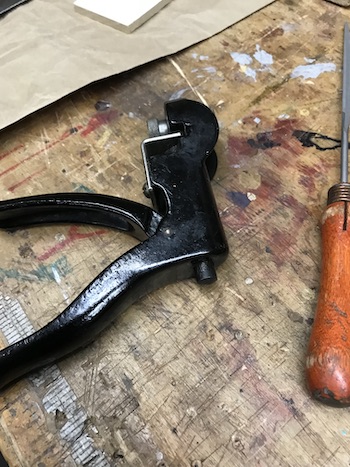
from the vertical plane of the blade.
Understand that setting does not have to be done every time teeth are sharpened. These tiny teeth do not need to set or lean so much or make a large kerf through wood. Inspecting the saw line and making that first cut after sharpening to evaluate the behavior of the blade is a good way to determine if setting needs to be done.
Here is the saw… sawing!
The behavior is very good! The cut is vertical and did not drift. I don’t think the teeth need to be set this time.
•
Proper Saw Storage
Saws left lying around or thrown just anywhere in the shop can be damaged. They can be bent, subject to moisture and rust, and cause unintended destruction. Saw teeth are the primary casualties. In an unorganized, unkempt, or unswept shop, they can be stepped on and cause human injury.
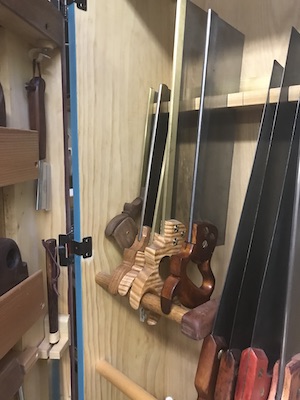
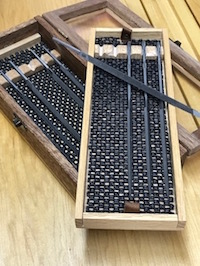
For best practices, a saw cabinet with a door protects tools from (saw)dust that attracts moisture and, what else, rust. Rust inhibitor sheets, discs, or canisters placed inside the cabinet guard against flash rust. This is of special concern for wood shops in high humidity locations.
Note that certain tools develop rust simply from not being used. This could be a problem if you are away from the shop for a long time. Frequent inspection and application of jojoba or camellia oil, will keep metal blades lubricated and shielded from moisture.
I expect that most of my tools will become old, vintage tools that I enjoy using due to the care I give them now.
An Age-Old thought
I definitely respect my tools and the resources used to acquire them. I acknowledge the fact that maintenance requires a lot of time. Now if you really think about it, the learning curve for newly acquired tools can be long. How?
First, mastering the use of a tool, whether new or new to you, is a process that requires a willingness to fail forward. It usually requires stepping away from the bench or taking a break after using the tool for awhile to allow the imprint of the experience or muscle memory to set in. Saw sharpening is no different.
Just when you think you will never get the hang of it, an hour, day, or even longer time away works with your unconscious to flood you with every thing you need to know. You return to the tool and bench armed with knowledge you didn’t think you had. In order for this to work, however, a little time has to elapse.
Second, sharpening edge tools like chisels, plane blades, or saws takes a lot of time. Third, cleaning and maintaining tools so that they are in working order requires even more!
Organizing the shop so that tools are stored and retrieved efficiently is always on my mind. Looking for a misplaced tool can be frustrating and even dangerous. Though rearranging my shop is something I actually like doing, it serves a real purpose. It is an opportunity to touch all of my tools and remember where they are. One tool, no matter the size or purpose, can be a catalyst.
Counting tools is like counting pennies
That relates to my observations about trying to keep a small tool kit. It helps me keep track of them. I know where they are. As a result, I use my tools enough to know how they perform. Muscle memory regarding efficient, almost mindless use is real. The joy or pleasure derived from having a well-used or loved tool is one that collectors of antique cars, dolls, or even clothes know.
Importantly, keeping a small tool kit saves money. It is good for my budget. I admit that keeping my tool inventory small is difficult. Shiny new tools have loud sirens. Believe me; I hear them. They have large price tags too. Well, quality tools do.
Think about it this way: the cost of a long-held and often used tool will depreciate over time. That’s economics. Conversely, the value of a good, well-cared for tool, new or used, appreciates due to its reliable performance and longevity. That’s investment.
We have become ninety-nine percent money mad. The method of living at home modestly and within our income, laying a little by systematically for the proverbial rainy day which is due to come, can almost be listed among the lost arts.
– George Washington Carver
That is an age-old and timely thought.
•
Summing up
That is the end of the series on reclaiming the use of an old saw. It’s really about a little self-help. First, the saw vise was made. Note that a saw vise is not required, but it is nice to have. Then, cleaning and refurbishing an old saw was completed. After that, that saw’s teeth were sharpened. Finally, it is protected in a saw cabinet, ready to provide many more years of service.
The rest of the series:
If you were motivated to pull out an old saw and reclaim it, let me know how you did.
Baadaye
Shirley J ❤️