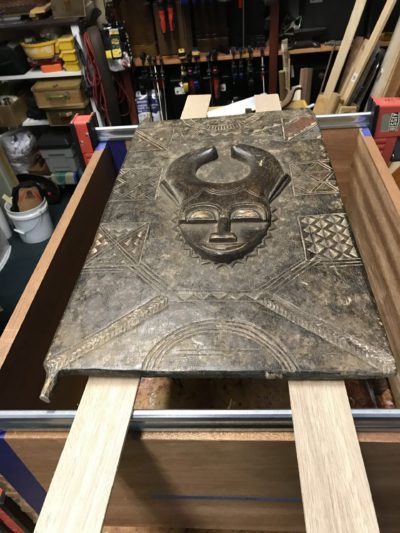
First thing, the Baule door needs a frame. Compared to the width of the cabinet opening, it is much smaller in size. It needs to be built up.
I’ve had a few challenging days in the shop. Surely, I am celebrating the small wins. That dowel locked cabinet carcass is still together! I’m most happy that it is on the wood bench and not in the wood pile! Life is so much easier when you have a “mischievous me” to blame.
By no means am I in the home stretch, but the plan is coming together. Yay! There is still a bit of work remaining. Each day, every hour, every moment, I am as productive as I dare to be. Now, I am working to bring the altar to completion so that I can put it to the use I intended.
Let’s take a minute and think about how the frame should look.
Part 6
The work so far:
Constructing the frame
Construction of the door frame will be done as a separate piece. Then I’ll attach the complete assembly to the cabinet.
The wood I’ll be using is pine. I used it rather than mahogany to take advantage of an opportunity. That is, an opportunity to save money using cheaper wood.
Certain future detail elements will cover much of the frame. So it makes sense right now to use the inexpensive and more abundant pine. That could change…
Lesson in Economy #11
Today, I visited the lumber yard to look for dimensioned 6″ wide boards to cut the frame stiles. My goodness, that wood is expensive! I am not exaggerating when I write this – prices have doubled, maybe tripled. That’s true even for pine boards! Quality – the one characteristic that could sway me to buy – has deteriorated, too. I left the store empty-handed for the first time ever in my life.
If there was ever a strong hint to begin using the stash that I saved for that legendary rainy day, this is it. I persuaded myself to use older, nominal 2″ and 3″ wide pine boards that were left over from a past project. Their joined sizes fit the width that I need perfectly. If I’d purchased the 6″ boards (actual width, 5-1/2″), I would have had to rip or plane them to fit.
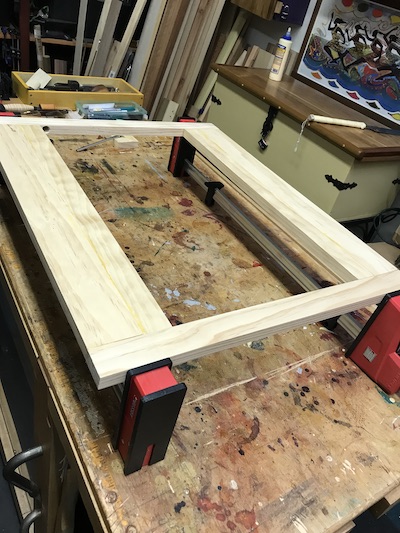
The stiles
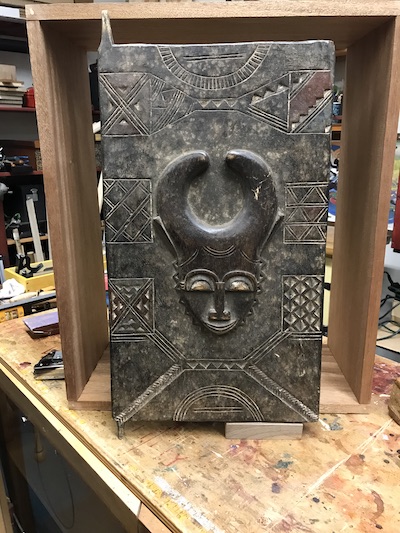
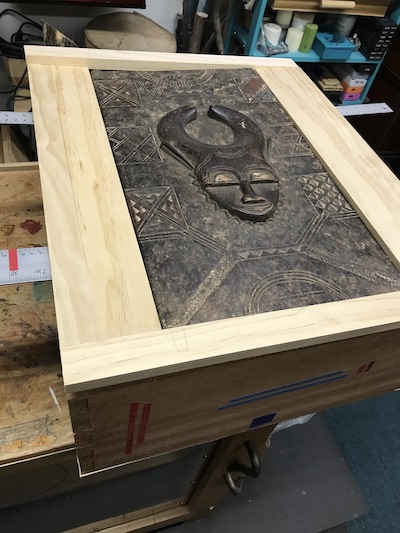
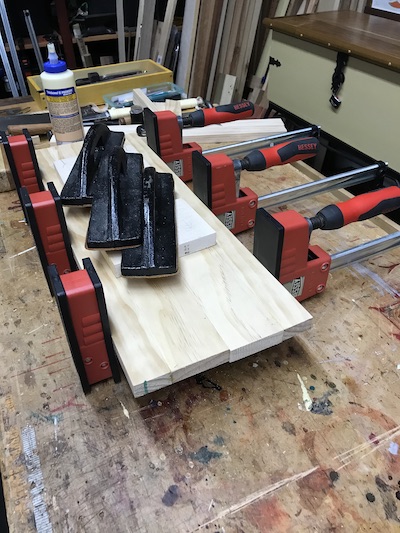
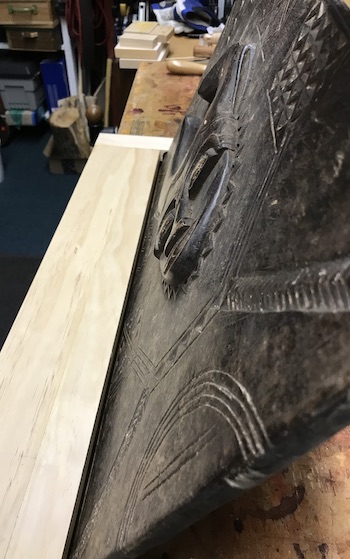
After measuring the opening, I cut the boards. I glued up those 2″ wide and 3″ wide boards (1-1/2″ and 2-1/2″ actual widths) into two 4 inch wide door stiles. Double-checking the fit, I placed the cut pieces of pine around the door, keeping in mind that it all needs to fit over the cabinet opening. It’s a simple face frame.
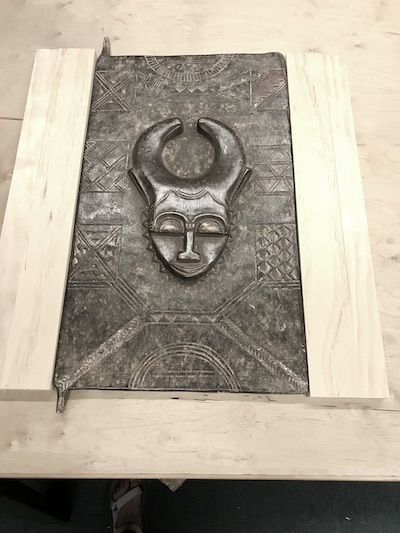
door. Note the profile of the door hinges.
The 2″ wide rail just covers the hinges.
But it looks good. I like the color contrast between the door and the unfinished pine. I think this is going to work.
I like the fit and presentation of the door and frame. Since everything looks ok, I’ll start the glue up of the stiles.
The rails
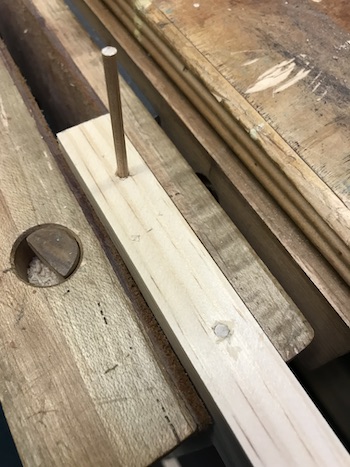
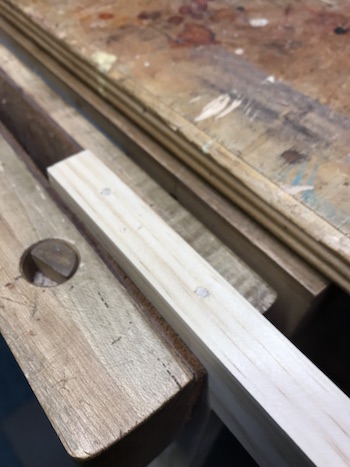
Instead of pocket holes and screws, I’ve opted to drill 2-1/2″ long holes through each rail. I’ll squeeze wood glue into the holes and slip 2-3/8″ dowels in each.
Second thing, I want to incorporate the top and bottom “hinges” on the door. They will be working hinges.
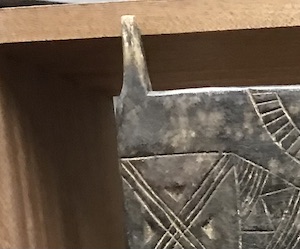
The hinges are asymmetrically tapered from 3/8″wide at the tip to 1/2″ wide near the base. The top (upper) hinge is 1-1/2″ long and the bottom (lower) hinge is 1-1/4″ long. They will just fit into the 3/4″ edge width of the frame rail.
Note that the longer top hinge will just fit into the 2″ nominal width of the rail. That is due to the rail’s actual dimension of 1-1/2″.
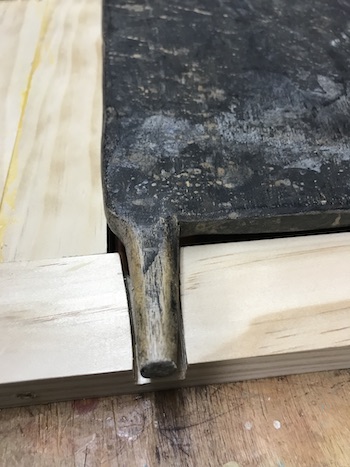
The holes are drilled into the rails. Since the upper rail and hinge are the same length, I drilled through the rail. This means that the top hinge is visible. That rustic image of the operation of the hinge, when the door opens and closes, is an organic effect that I never could have planned.
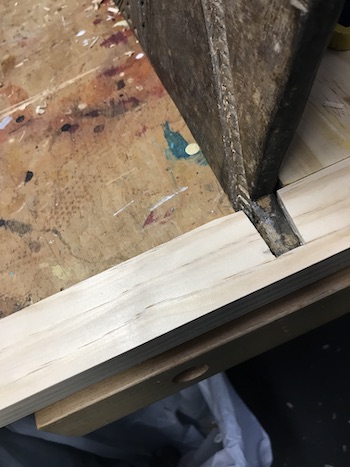
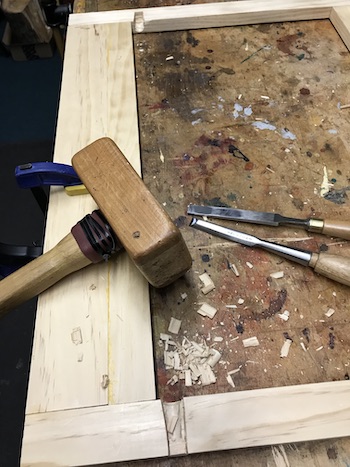
The holes, drilled with a forstner bit, are chiseled out in the back of the frame. I modified them to better fit the asymmetrical shape of the hinges. This enables them to rotate freely. A wood strap or controller will be attached to keep the door and hinge from falling away from the frame.
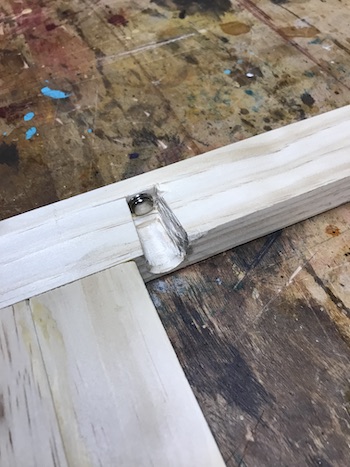
I added a metal button snap to the bottom of the lower hinge recess. This will help the hinge turn smoothly, slow down the wear from opening and closing, and add a very small clearance for swinging back and forth over the lower rail.
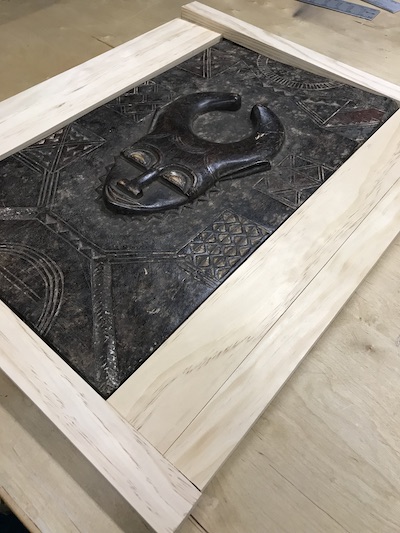
Here is another view of the door in the frame.
The video shows the door swinging smoothly and freely:
The back panel
A sturdy cabinet back is necessary. Here I’m using a 1/4″ plywood birch panel to save weight.
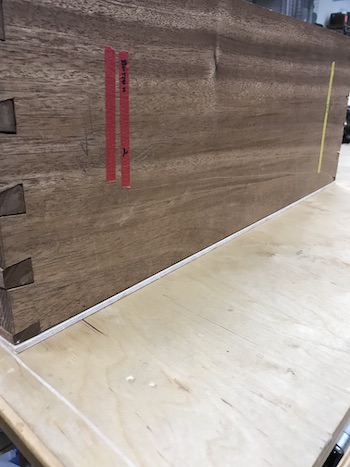
Early on in the project, I did not cut rabbets on the cabinet sides, top, or bottom. Instead I will apply the back panel flush on the edges. It will show on the sides of the cabinet when hanging. I’ll make it look good!
Perhaps this is my first consequence of not taking the dovetailed pieces apart. That would have been my last chance to cut rabbets to accept an inset cabinet back. There were a few moments of regret, possibly, but I finally stopped thinking about it. The whole point of this project was to:
- make dovetails,
- make the door open and close organically with the carved hinges,
- stay sane.
I’ve done all three. Eyes closed… deep breath… eyes open. I like my work on this and that woodworking proctor is nowhere in sight.
I intend to place the altar on a table or stand. A batten, 3″ x 3/4″, will be placed across the inside 19″ (upper back) width of the cabinet. This will permit me to hang the cabinet securely on a wall in the future. Small construction screws will lock the batten and backing to the carcass.
The end to the construction of the project is near. I’m getting closer to the shop altar I envisioned.
Baadaye
Shirley ❤️
Next time: Bringing it home. The finishing touches on the altar cabinet.

2 thoughts on “◾️ Altar-Frame”
Very good I am enjoying every minute, Love ya keep up the good work.
Thank you for the good vibes!
Comments are closed.