F
or a few years I had a couple of saws that I stored in a small saw till or cabinet. I like the term – saw till. It did not take long to add a few more. This happened after a number of “gatherings”, that is, tool shows and woodworking conventions. New tools like a hybrid dovetail saw and Japanese saws somehow jumped into my hands. Soon I needed more protective storage for all of them.
Saws left laying in wait in a pile of wood chips or saw dust on the floor are hazards of a special kind. Those sharp, jagged teeth never leave gentle scratches on a hand, arm, or leg. Their marks deliver angry chunks of tissue accompanied by blood that resists efforts to stop its flow! The pain stings the entire body!
That is the safety lesson for the day.
The old till
Hard sided or fixed storage such as boxes and cabinets are vital in the shop. They keep out dust and rust. Importantly, they protect and secure tools in a way that soft storage cannot.
My old till fulfilled its purpose keeping me safe. It prevented injury from accidental contact with saw teeth while I moved around in my small work space.
Over time I salvaged a few old saws from flea markets and rummage sales. The till space was getting dwarfed by these tools in number and size.
I needed a larger till that could fit all of the saws I own now. Room for additions in the future would be nice, too.
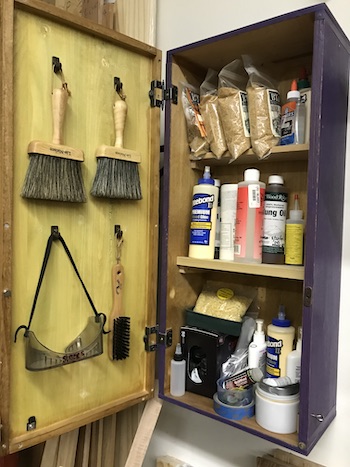
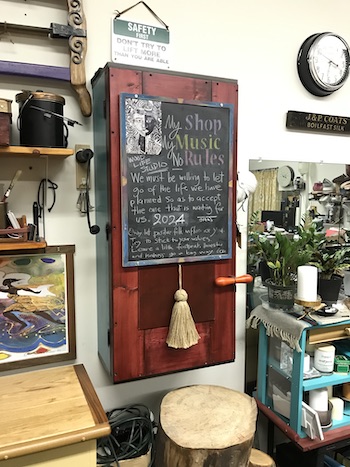
The old till was eventually repurposed for storing wood glue, small shop brushes, and other shop supplies.
The new saw till
As usual, ideas for the new till came to me as I worked on other shop projects.
I was satisfied with the number of saws I had. I don’t need anymore. Besides, I like what I call the growing comfortableness of using familiar tools. However, you cannot use them if you cannot find them. The saws needed to be in one place. An efficiently laid out saw till – one saw till – will do that for me.
A lot of saws means a lot of sharpening. It means preventing rust. If the saws are used and stored properly and protected from the elements, those things are not worrisome. Anti-moisture strips or desiccants and anti-humidity devices enclosed in the till are effective. Metal wax acts like a shield. Inspecting and cleaning sawdust off of the blades help the tools last.
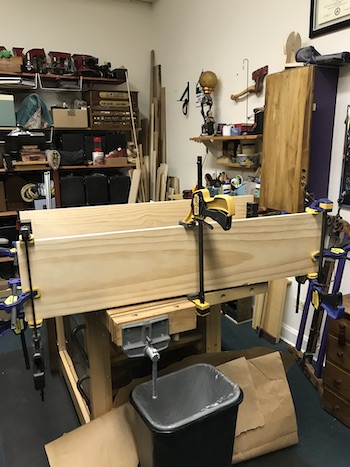
Construction
I used leftover 10″ wide pine boards to construct the carcass. Leftover 1/4″ thick plywood will cover the back. Inside the door, various compartments will hold smaller specialty saws and tools.
Sizing the new cabinet can be simple or difficult. That decision depends on the number of saws you have.
My goal was to safely store these tools together.
An exercise that works for me is to simply measure the thickness of the saw handle (3/4″) and add an inch to the measurement.
That is the space needed for one saw. If you have six saws then you need a minimum width of 10-1/2″ inside the cabinet. For good measure, I add another inch or two.
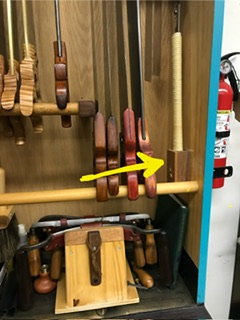
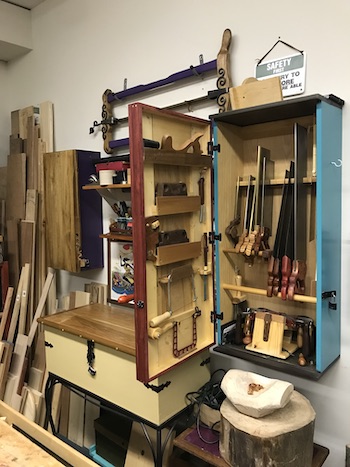
For my shortest saw for dovetails, I added a peg to the side of the cabinet.
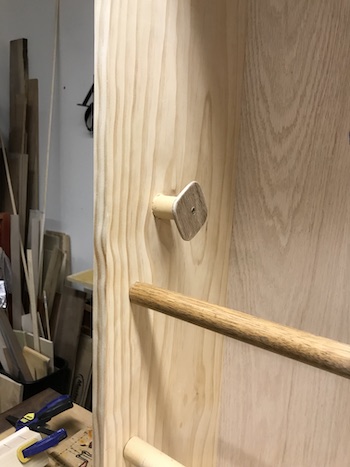
This is a closeup of the dovetail saw peg with a stop to prevent it sliding or being knocked off.
Now it lives there safely.
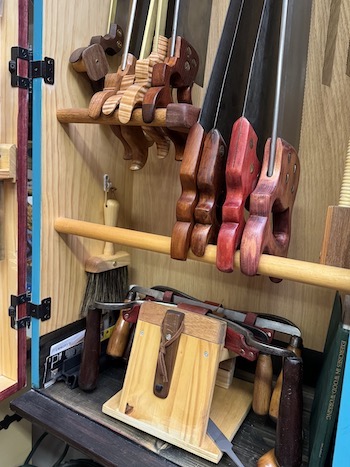
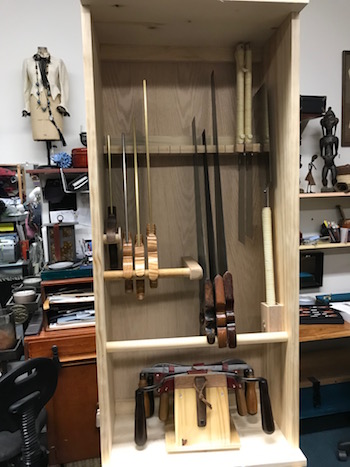
The other saws rest on two 1″ dowels.
The first dowel is midway across the width of the cabinet. It is intersected by a scrap piece of square dowel attached onto the back of the till. The other dowel spans the entire width. Together they support short and long saws efficiently.

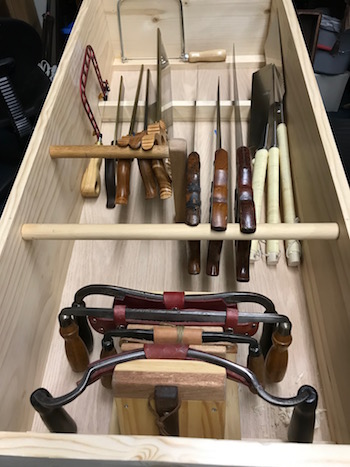
Kerfs were cut into a wood block that spanned the width of the cabinet. Each saw blade would rest in a kerf.
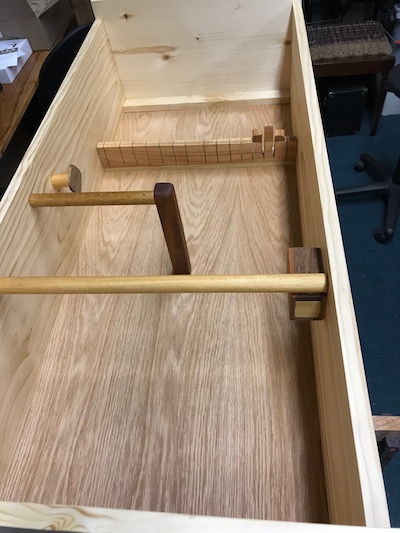
Before I made the cuts, I laid out the saws on the block and played around with spacing of the handles on the dowels.
Your measurement may be – should be – different according to your needs. These allow me to comfortably pick out a saw without rapping my knuckles.
The top and bottom of the cabinet have extended front edges to accommodate the design of the cabinet door.
Inside the saw till door
The door has lips, similar to a trunk lid, to fit the edges. Now it can be fitted with small storage compartments.
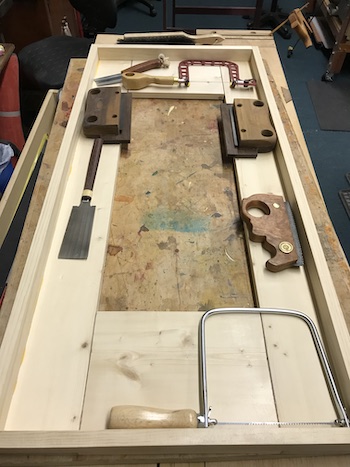
I found spaces on the door for accessory tools such as the kerfing saws, detail, coping and fret saws.
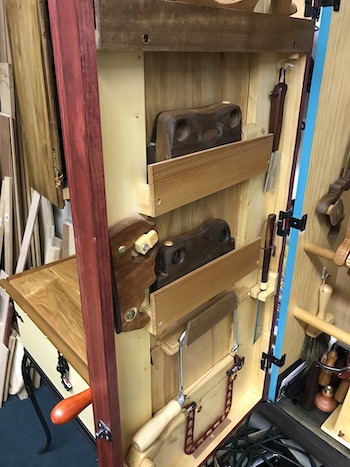
The compartments in the door hold tools safely.
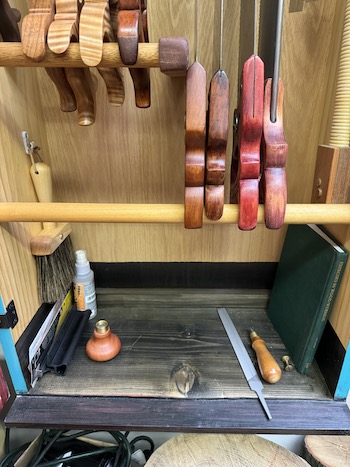
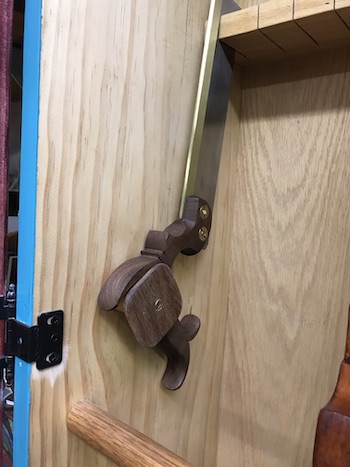
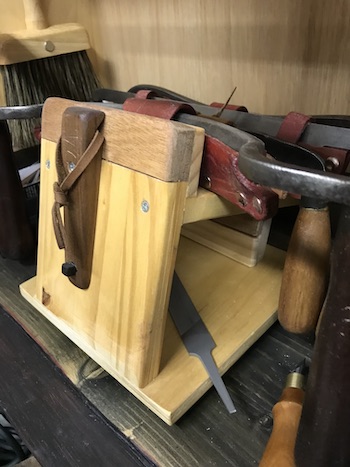
I made a spokeshave stand or saddle from scrap wood. It rests inside the till under the handle dowel. The filled stand can be removed as a unit from the till and placed on the workbench.
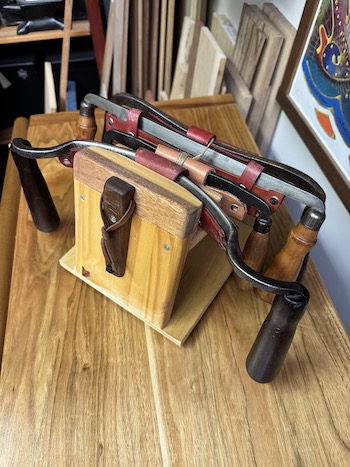
Another view:
How to fit Japanese saws in a saw till
One last design requirement was some type of holder for one over sized Japanese saw.
Obviously it would not rest on the handle dowels so I came up with a solution.
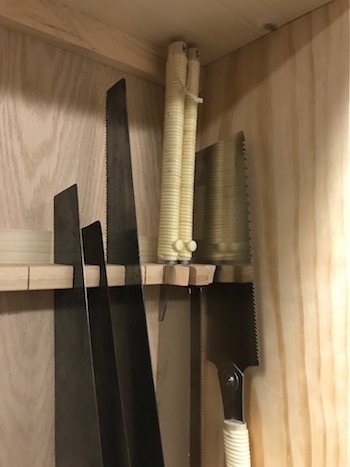
The teeth fit into the kerf block just like the other saws with a few adjustments.
I made a shallow box or cup dedicated solely for the larger Japanese saw.
It stabilizes the handle, preventing it from falling backward out of the cabinet.
The small box is attached inside on the right side of the saw till behind the long handle dowel.
Now it is safely out of the way when I reach for any saw in the till.
Putting the cabinet together
After the front panel was screwed onto the door, it was stained and left to dry.

The middle panel is plywood that was finished with the wood stain.
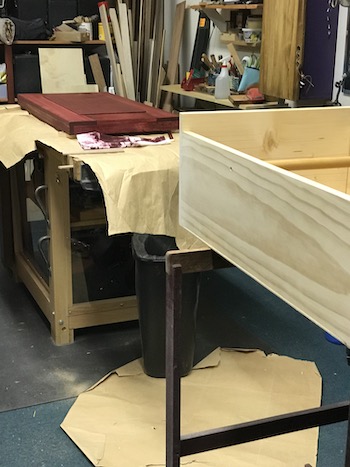
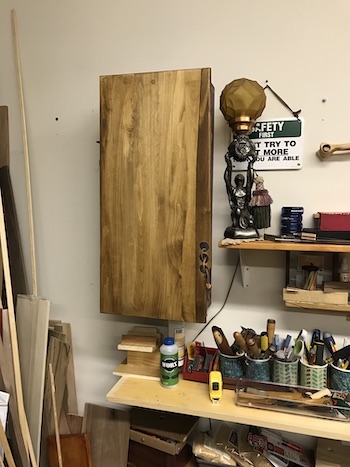
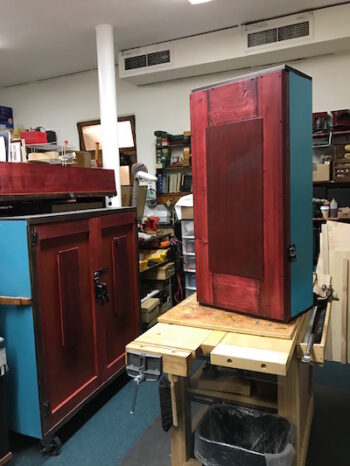
I finished the till with a turquoise colored milk paint for the cabinet.
Non-mortise hinges made it easy to hang the door on the cabinet.
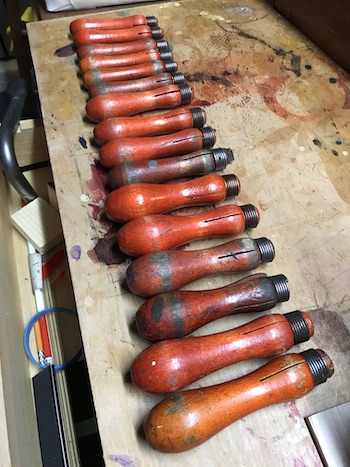
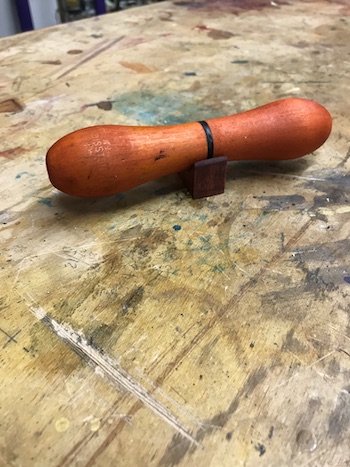
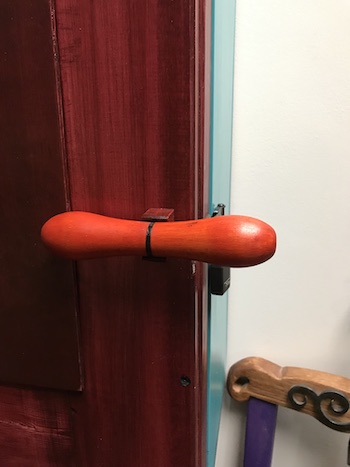
I salvaged a pair of old Disston file handles to make a large door pull.
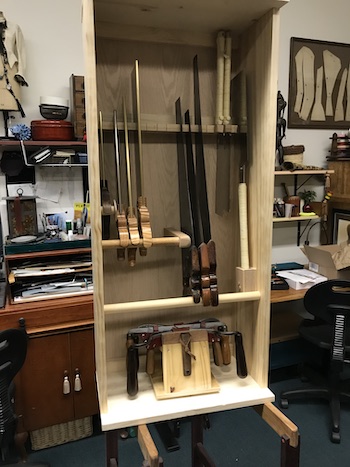
The new till is efficient after a little bit of thinking about the layout. I don’t need any more saws, but it will hold a few more.
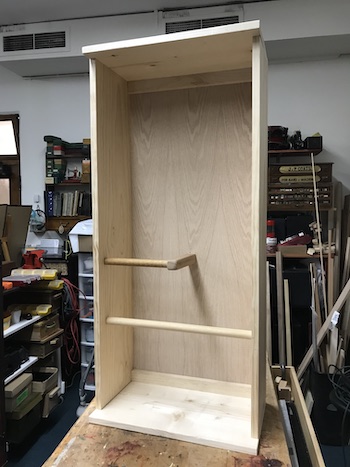
This is the new saw till hanging in my wood shop.
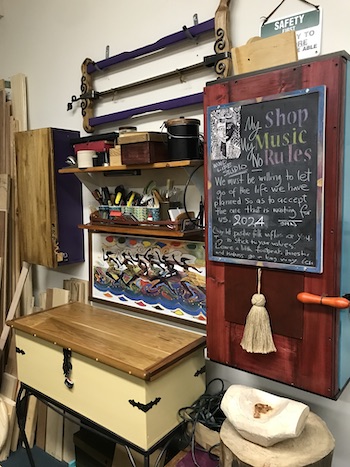
What do you think?
Was it worth the moderate investment of time, effort, and cost to get exactly what I wanted?
_____
Baadaye

♥️
Remember: If you are going to make any project, be mindful and be safe.

2 thoughts on “● Two Saw Tills”
Yes it was well worth the time and effort, now you have plenty of space for the saws and the knuckles lol.
Haha!
Comments are closed.