Here is another project that came to my mind. Its recollection is just that. This one was done by hook or crook, without “good tools” or simply, by my bootstraps. The broom closet door was completed years ago when I had no inclination to record my work in any detailed way.
The story is part of a continuing saga meant only to entertain. It may provide an idea, a solution, a lot of oh-oh’s, a few oh no’s, or a nod of agreement.
I am always doing what I cannot do yet, in order to learn how to do it.
– Vincent Van Gogh
Story #10: Broom Closet Door
Original builder’s fixtures are in general quite bland and generic. Unless you are building a dream house with dream features you get what the builder left you!
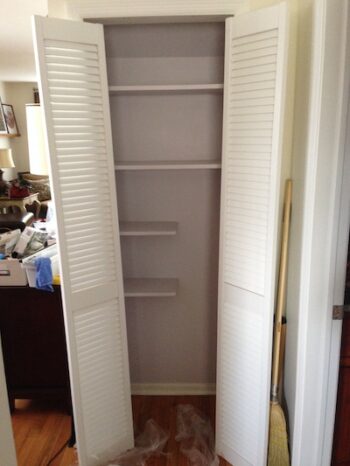
The doors on storage closets are the standard contractor bifold doors on a swivel stem. Over time, the doors become problematic, either failing to close properly or falling off the track. One day, I had enough of putting this thing back on. I admit, too, that I did not like the look of the doors.
They were a bit clunky and unattractive.
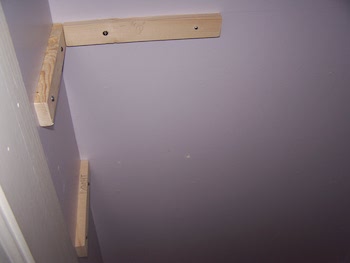
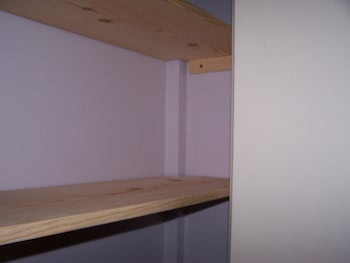
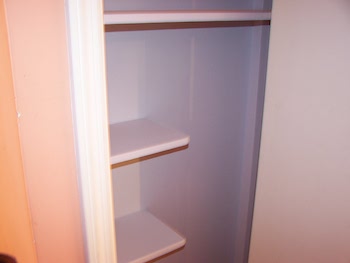
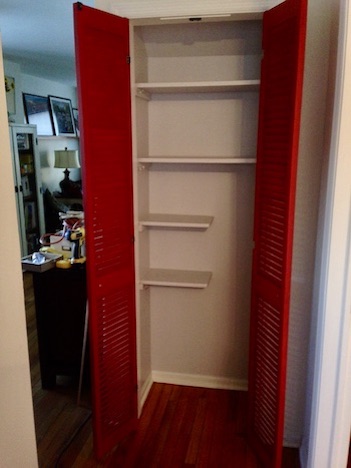
I removed the original wire shelving inside the closet. Then, I reconfigured the space by installing two full width wood shelves. Now I had more linear storage space.
Space for a broom and mop was made by cutting the two lower shelves a little short of the closet width. These were supported by corner brackets.
The replacement door
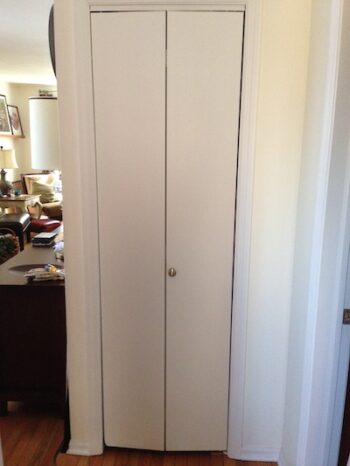
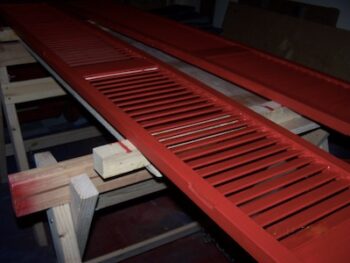
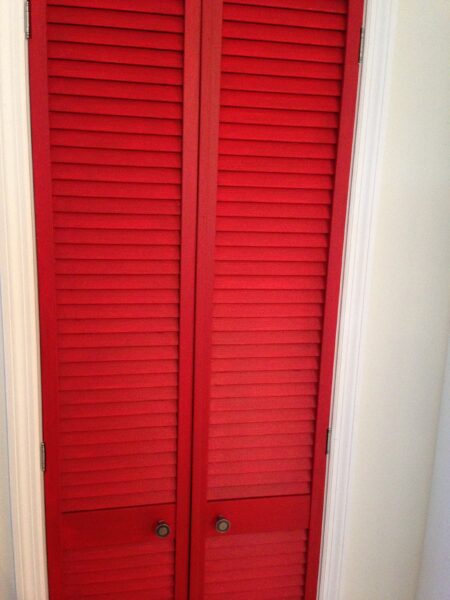
I made measurements of the opening before my trip to the lumber yard. Louvered doors interested me. They were my first choice for a replacement. I picked a set in the bi-fold style. They were already primed. That detail added a bit to the cost but I did not have to buy primer. It saved a bit of effort, however.
The new door was slightly oversize but I found one that was very close to the opening width. That was actually a good thing. It allowed the door panels to be separated, then carefully shaved down with a hand plane to fit.
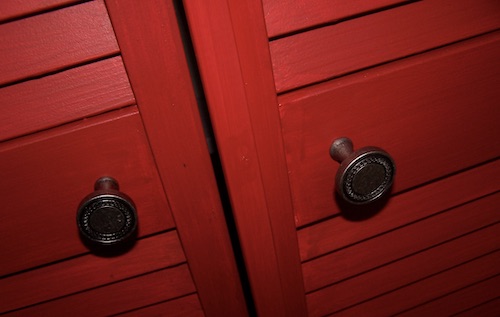
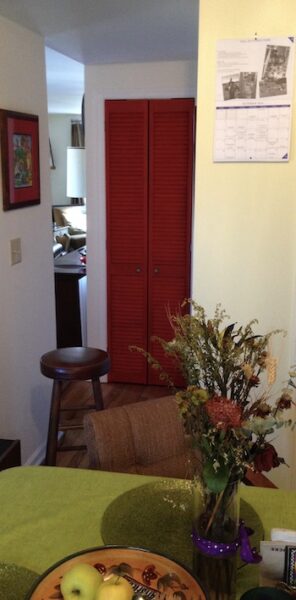
Remember when I used this same paint color on the microwave niche? It provided the perfect pop to the doors and brightened this space.
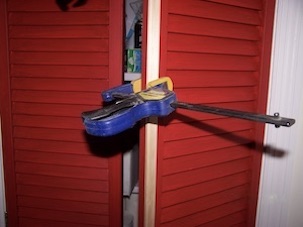
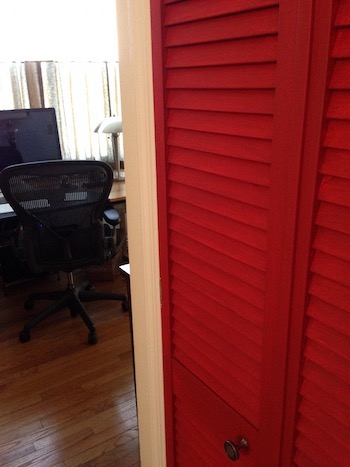
A length of 3/4″ screen door lattice was used for a lip on one of the doors. It prevents the lighter closet color from peeking through any gaps when the door is closed. Importantly, it gives the door a more finished look.
Improvement of the closet interior and the hall space is evident.
The doors add colorful interest.
More simple details
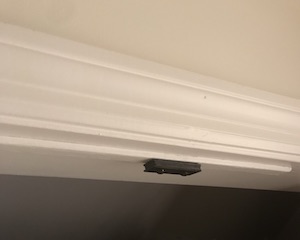
Hardware used: offset door hinges, a two-piece magnetic latch placed at the top of the opening, and two decorative door pulls.
That’s it.
Now there is more storage space for a broom, mop, bucket, foot tub, light bulbs on the shelves, and excess cleaning supplies.
I think it was a nice improvement of this space.
This was a major change from my once adored decor where every room was a different color.
Establishing a new, neutral base color on all the walls throughout the house, disrupted with lively dashes of color, was a satisfying change for me. I admit that I did not want to change, but as most of these bootstrap stories show, it was inevitable. More than paint colors, shelves, and drawers, change is change. It inevitably leads to other things in my life that require attention.
Here is the view from the kitchen.
What do you think?
Was it worth the moderate investment of time, effort, and cost to get exactly what I wanted?
_____
Baadaye

♥️
Remember: If you are going to make any project, be mindful and be safe.
