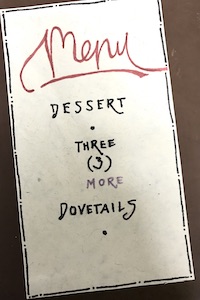
Dovetails for dessert
Even if it’s just a dovetail dessert, is this all there is? I’m not necessarily saying, “please, ma’am, can I have some more?” I am glad that the challenge is over, but the practice and work continue. A new skill has been added to my “toolbox”. My brain doesn’t ache when I think about dovetails. I am happy about that and no longer fearful. Indeed, this is a freeing moment.
Last time in part 3, I continued the competition with a dovetail “dinner” to fuel my brain. I am ready to indulge now in a dovetail dessert to end the feast. Almost everyone loves an after dinner treat. Here, fortunately, I don’t have to worry about having too much! This is part 4 of a 4 part series on cutting dovetails.
Learning is doing
This has been a long road on my dovetail journey. I did a lot of sweating, but it was worth it. When I made my first dovetail in part 1, I was uncertain that I would be able to do them. What threatened to be certain failure turned into resolve not to give up just yet.
Then, I did a few more.
In a short time, I felt much better approaching the bench. I made notes in my head to improve my results here and there. Saw cuts were slightly off the layout lines. A saw stroke past the baseline begged for correction. Doing it the hard way on 3/4″ stock did not help. Next time, I made more dovetails and new mistakes!
At first, I did not fully appreciate the nuances of this game, but it became much clearer. The challenge was not simply dovetails but all the things in life that I was afraid of. My confidence level increased by not only having overcome many of those things but realizing I always could. I was not going to lose.
Sawing the dovetail waste: one way
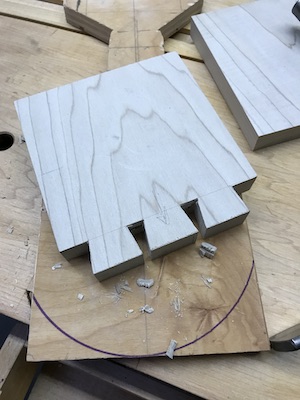
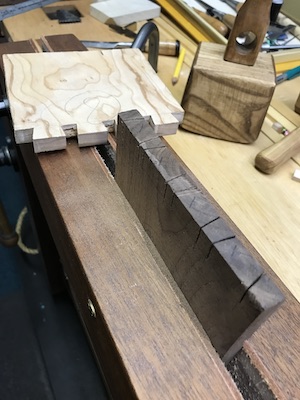
An important step, after sawing on the layout lines, is removal of all the wood that is not a part of the actual dovetail dessert. These wasted or takeaway pieces, like leftover crimped pie crust edges, have to go.
After marking and sawing the lines, I cleared the waste with a fret saw. This is just one way to do it, but it is fast.
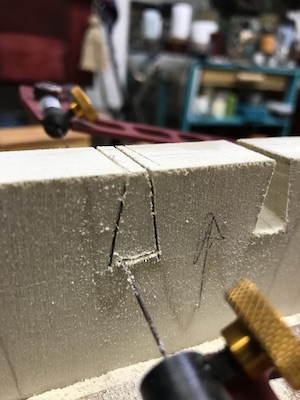
line while cutting out dovetail waste.
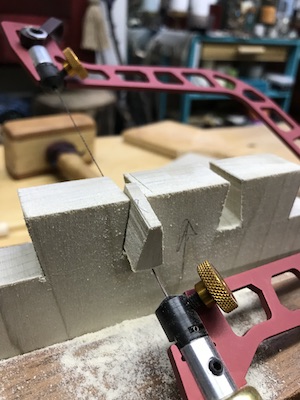
sawn. It looks like a piece of cake.
After sawing the waste for the pins, a sharp chisel makes clearing the waste wood somewhat easy.
_________________
Chopping the dovetail waste: another way
Remember when I observed that the emphasis on cutting dovetails creates a lot of pressure? It does. And yes, they look nice and could be seen as a mark of competence. That depends on who is looking.
Layout, marking, sawing and clearing waste in any combination make it easier to do the job. Employ what you like to make the skill the small challenge that it is. At the same time, you might enjoy making them!
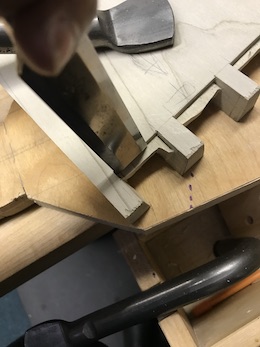
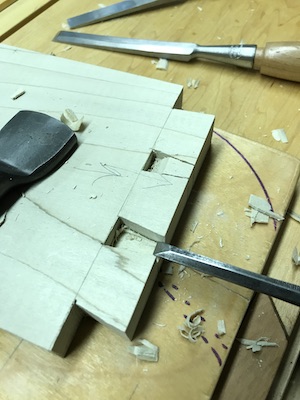
I changed things a bit and tried chopping out the waste with a chisel. It wasn’t bad. Obviously it took a little more time than sawing, but I wanted to see how it felt. Actually, I liked it. Doing the chopping made me appreciate the effort. A lot of traditional woodworkers still remove waste this way. To save time, for instance, an offset stack of dovetail blocks will be chopped simultaneously for multiple drawer sides. Here, I’ll just do one at a time.
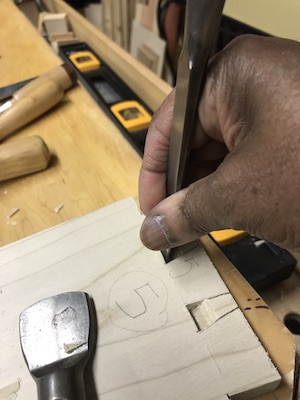
must be taken that the chisel fits the wasted space.
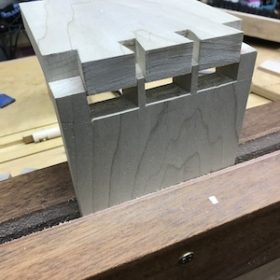
Chisel work with small angled cuts from both sides of the board get the job done. The entire wedge does not have to be chiseled. Just angle in toward the temporary baseline on one side, then the other. It keeps the wedge supported for as long as possible until it breaks off without damaging the block or show face.
midway of the width of the block on both
sides until it’s out. The bulk of the waste block is still supported.
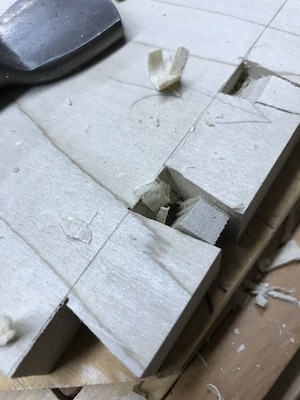
after careful chopping action with the chisel.
I’ll take that one
You know what? I do like chopping the waste with a chisel but I still prefer using the saw. I will, however, chop with a chisel from time to time in order to develop that muscle memory I laid out as a challenge goal.
There are many approaches to laying out and cutting dovetails that are used by woodworkers. Each and every one have their preferred method using dovetail markers, dividers, tape, metal, wood, and paper templates, splayed fingers and solely by eye. Let’s not forget the continuing debate about which comes first: pins or tails. I imagine that over time I will use a few of these methods out of curiosity, familiarity, or desperation.
I know I say this a lot but notice how just about everything is up for debate? If it’s up for debate, then it’s up to you. Your tools. Your rules.
The entire challenge took a lot of doing. I feel as though I am becoming competent at this. What I found as I have in the past is that the challenge gave me another opportunity to improve strength, discipline, resilience, and persistence in my work. It also helped me face fear. Now, I can expand design woodworking project ideas that I avoided in the past. I’m excited about that.
Wrapping it up:
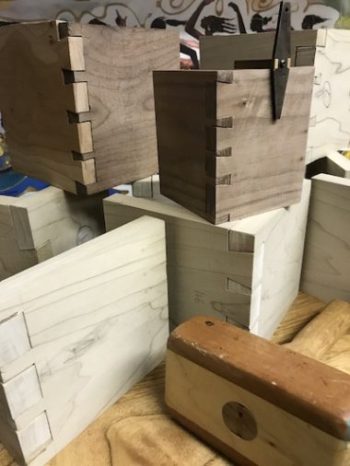
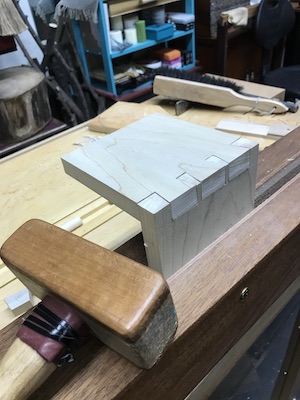
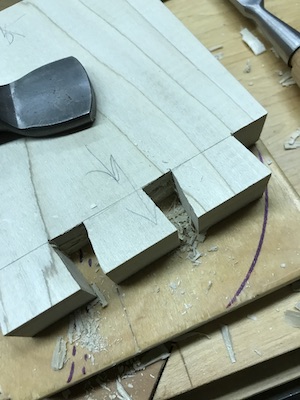
I cut four dovetails on 1/2″ scraps of walnut and cherry.
stock in the first place, eh? I like this.
Cutting on that sweat inducing 3/4″ stock in the previous “meals” made this 1/2″ snack feel so easy!
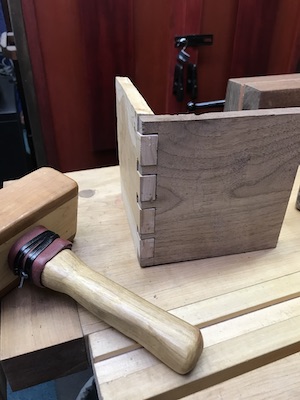
And after all of this, that box or piece of furniture featuring those powerfully-won dovetails still needs to be completed…
Shirley ♥️
This is the official end of Dovetail Dessert Guilt-free, which was part 4 of a 4 part series on dovetails and other things.
Did the dovetail feast whet your appetite? Let me know what you did and what you thought.
The rest of the series:
A Dovetail for Breakfast: Part 1,
Lay out and Cut Dovetails (lunch): Part 2,
Sawing Tails and Pins (dinner): Part 3.
——
Next time
There is more that I need to say about learning new things.
