•
I admit that ultralight backpacking takes extra work and planning. Being honest about what I need on this particular endeavor is daunting. It makes me nervous. Determining just how this backpack should be exposes many contradictions.
Putting the pack together is an exercise in thinking about what is important or not important to carry in order to take care of myself. It also makes me forget that there is a real world in which the Way exists. I am not leaving civilization or the face of the earth while I am on my pilgrimage. There is nothing that cannot be picked up at stores, pharmacies, fountains, albergues, or even on the ground. The point is not to promote retail excess nor is it to practice extreme austerity.
The Backpack – part 2
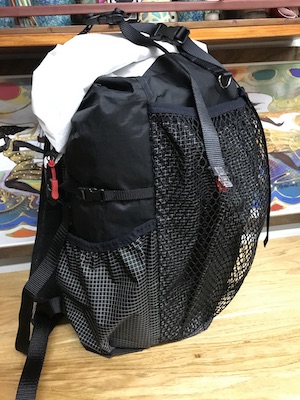
Cooling Back pad
Dealing with sweat is always interesting. I have been accused of not even being capable of sweating, notably in summer! I do sweat, especially at that time of the year, but no one notices. On high mileage training days, my back sweated more than usual. It does not really bother me. I reason that sweating is a result of drinking enough water and liquids. Not sweating, especially in high heat, is a sign of dehydration and possible heatstroke. No, I don’t mind sweating.
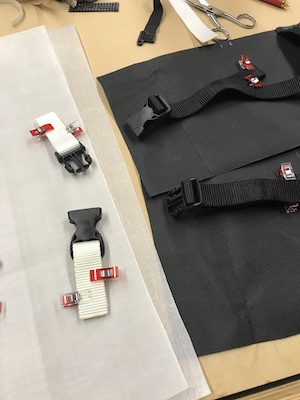
However, as an experiment, I am making a lumbar sweat pad. It will serve as an air flow circulator and shock absorber for my back. In the world of ultralight hiking, this quality is desirable but controversial.
The materials I am using will be 6mm foam sandwiched by spacer mesh, and trimmed with Extreema fabric. It does add an additional, minuscule amount of weight, but I am not over-emphasizing the minimalism. However, it highlights the contradictions and complexities of ultralite backpacking.
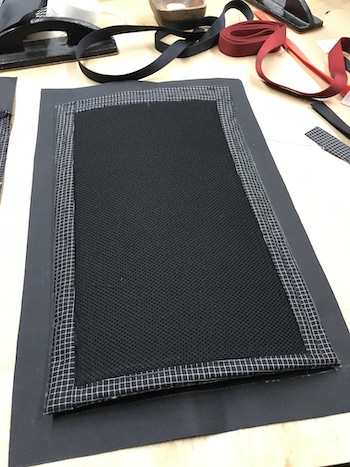
and Extreema fabric before attaching to back.
The foam has shock absorption properties. It is also UV-resistant, waterproof and durable. Also, it will protect my back from getting poked if things shift inside my pack.
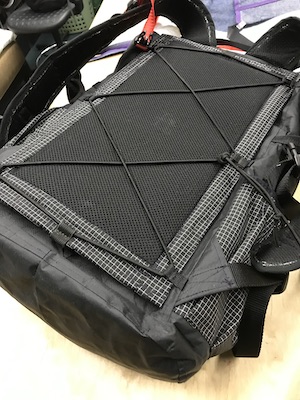
I’ll attach it to the back panel with small webbing tabs and sturdy elastic cord. This will enable it to float. I believe the slight looseness will allow air to circulate around the pad and my back. We’ll see.
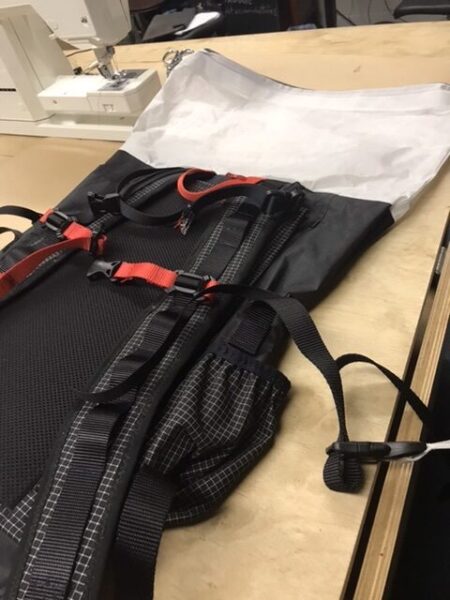
Backpack Webbing
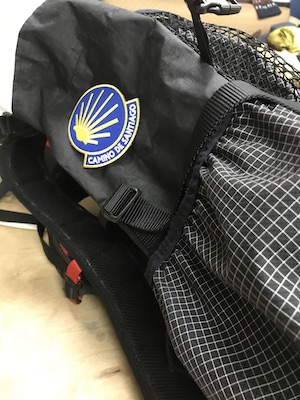
For interest and a way to readily identify my bag in a sea of bags, I attached orange webbing on the sternum strap and handle.
The large loop on the sternum strap seemed to be a good idea at the time. It looks like a little too much interest. I will revisit this when the pack is finished.
UPDATE: I did replace the orange sternum strap webbing. The new webbing is a bit more subdued even though I attached a combo whistle buckle.
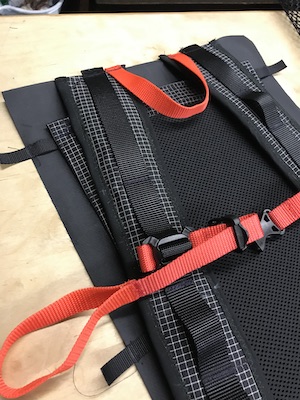
I like the Y-strap configuration, so I am adding that. There may not be a need for it during the entire trip, but it is nice to have.
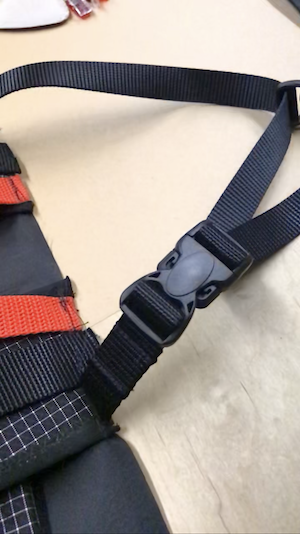
It was a challenge keeping the direction and flow of the strap and buckles straight but I got it done.
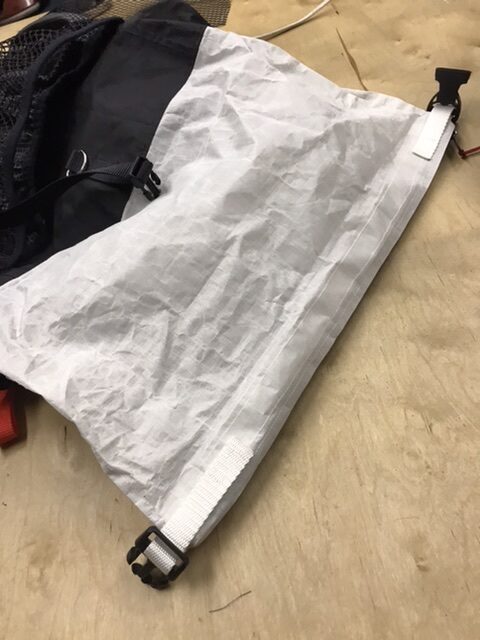
Webbing straps that were not captured in a seam are sewn to pack with a backer block for strength.
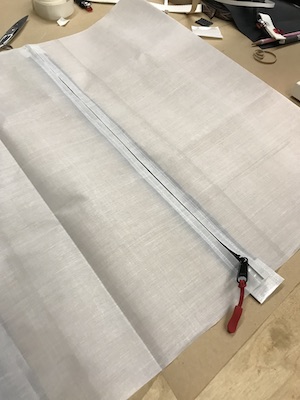
The Collar
The bag opening will be zippered. I used a waterproof zipper even though the collar will be rolled most of the time.
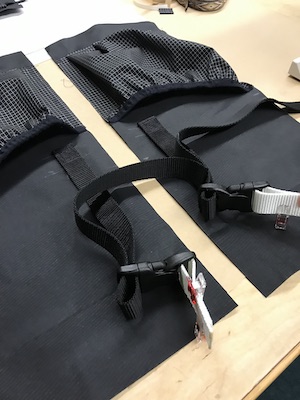
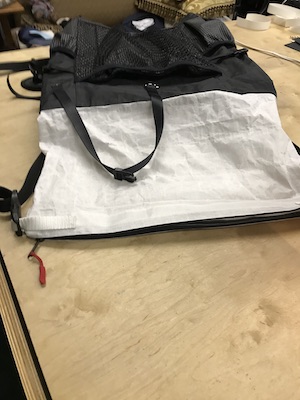
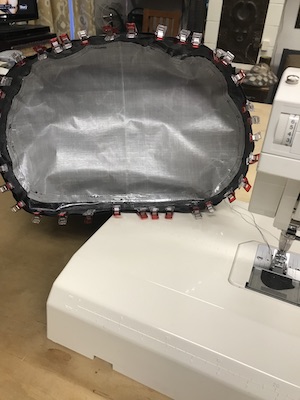
Putting it all together
Now the fun begins. Putting the parts together is not any different than completing a woodworking project. I examined each complete piece and think about how the next joined piece will impact the overall sewing operation. The key is to take my time.
If if starts to get cumbersome or confusing, that’s a prompt to take a break. I took plenty of them.
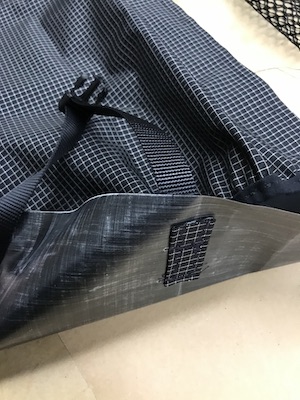
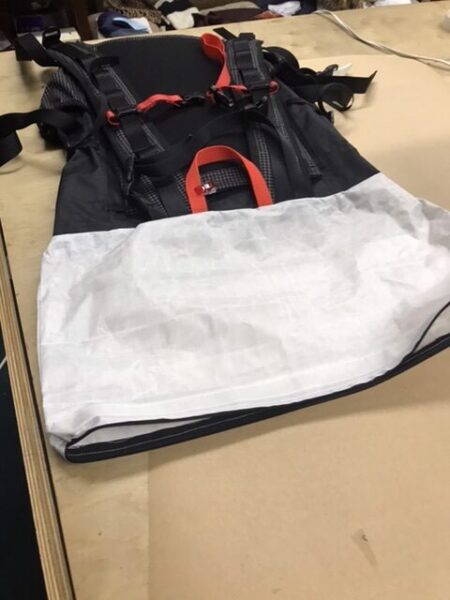
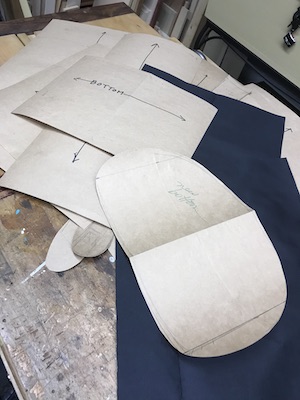
Attaching the bottom panel
I saved this part for last. Although the black Dyneema is pretty robust in composition (150 denier), I believe it should be reinforced with a lining. I will use white Dyneema (50 denier) which allows me to better see the inside bottom of the pack.
I changed the bottom panel from a simple rectangle to a bean shape. It looks a little more elegant. The real motive is that I did not want to fight with sewing corners. I could sew them, of course, but the nature of this technical fabric will make it difficult to complete the bottom without clipping the seam as I sew. It could possibly allow water to enter and compromise the pack.
So I redrafted the pattern.
Afterthoughts
This was not an easy task. High tech materials satisfy ultralight criteria. Sewing these fabrics requires a lot of concentration. They are not totally forgiving of mistakes and slip ups. The best strategy is to pick simple patterns and shapes for projects.
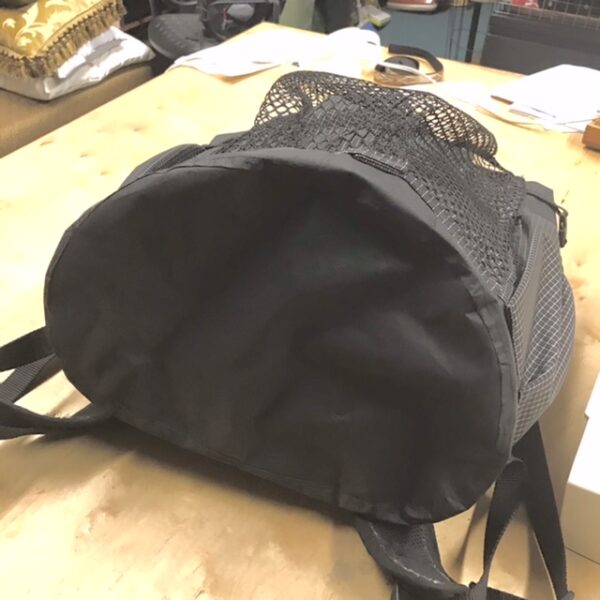
At best, the pack is a prototype typical of most projects that come out of my shop. It emerged out of necessity and perhaps a refusal to accept something I don’t want because it is the only thing that I can find. Yes, it is daunting that I have to “do it myself” (again) but I have what I want now. And the camino is the ultimate scenario to test function, durability, and whether any of this was a good idea!
Now the Backpack
Of course, a tweak or two may be necessary up to the moment I step out of my door on my way to the airport!

•
This is the end of Part 2.
Read Part 1.
Next time: What’s In My Backpack… an exercise in function or futility?
Baadaye
Shirley J ❤️
__________
•••
Note: Dyneema©, Extreema©, and Robic® are registered brand products. There is no affiliation between myself and these brands.

2 thoughts on “👣 Noire Pilgrim: MMOG Backpack – part 2”
Will this be a group trip or will you be by yourself ?
This is a solo trip.
Comments are closed.