•
The concept of ultralight backpacking intrigues me. I opened my mind enough to explore it. I like the idea but I am not all-in. It makes a lot of sense to me, on one hand, to carry just what I need on this particular endeavor. On the other, the Camino Mozarabe is a long walk – about 1,400 kilometers (over 840 miles) – from Almeria to Santiago with very long stages, sparse resources and accommodations. The trip begs for self-sufficiency with a capital “S”.
The Backpack – part 1
Designing my backpack
I chose the MYOG or make your own gear path embraced by a growing number of backpackers and hikers. I can design the pack exactly how I want. For this and the next few posts, I am calling it MMOG or make my own gear.
One purpose for the pilgrimage is to unload the things that weigh on my mind, body, and spirit. I am readying all three, but a lightweight pack with thoughtfully laid-out provisions – no more and no less – should help.
I want to carry something light and… everything I think I need. Will I find that the concept suits or tortures me?
One other consideration is this: I will be using this as my carry-on baggage when I fly to Spain. In fact, it will be my only baggage. Most airlines restrict carry-ons to 13″x 9″ x 21″ total dimensions for economy flyers (me, of course). That is it and so it is. I will draft the pattern according to those final dimensions.
Fabric and supplies
Except for the fabric, I have what I need on hand: hardware, buckles, and webbing. I am drafting my pattern on brown kraft paper. The high tech fabrics that I am using must be special ordered. The material is a bit expensive, but I found what I needed on sale. Also, I did not over order, just a half-yard here and a half-yard there.

Dyneema fabric, formerly known as cuben fiber, is a lightweight composite fabric created from ultra-strong fibers woven together. It offers high strength without increasing weight due to its high tear resistance and low abrasion. The fabric is non-absorbent and has the ability to distribute impact without breaking down.
- Black Dyneema 5.0 oz. composite fabric for the front, back, side, and bottom panel,
- Orange or black Robic 210D Extreema pack fabric for the front and side pockets,
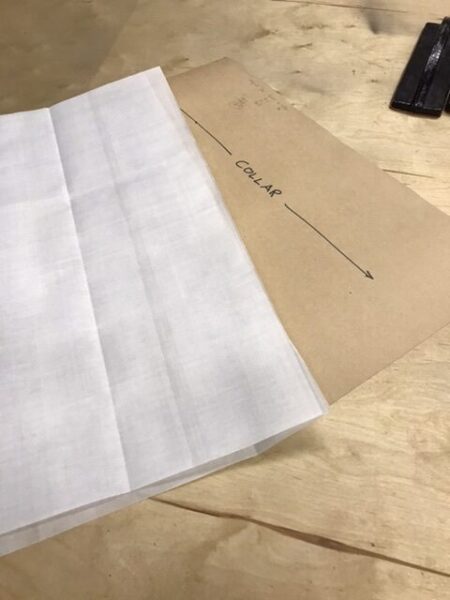
- White Dyneema 2.92 oz. for the (upper) collar,
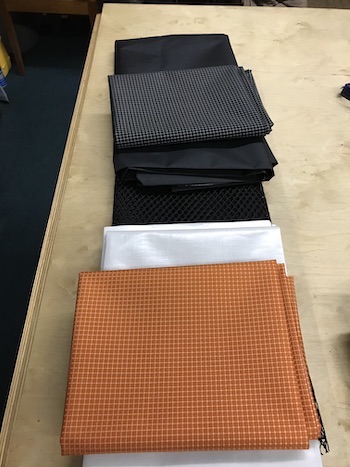
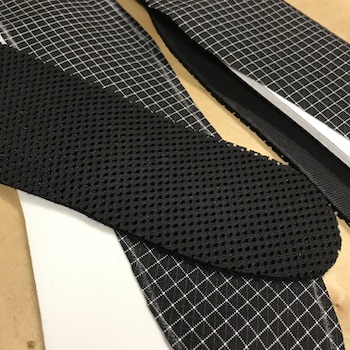
- Black polyester hex mesh, 7mm, for the outside front pocket,
- EVA foam padding: 4mm and 6mm for shoulder straps and the lumbar back pad,
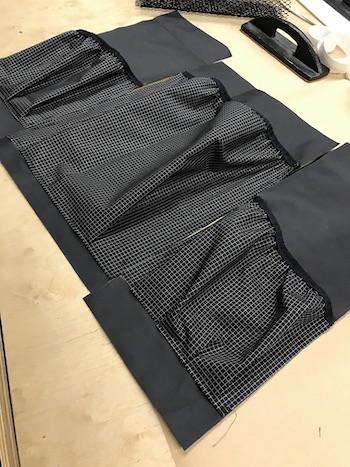
- Black mosquito netting,
- Bonding and seam sealing tape for strengthening, stabilizing, and waterproofing stitched seams in Dyneema fabric.
Backpack pattern
The pack is a simple roll top design to hold my clothes. Exterior pockets will hold consumables such as water, food and wet items.
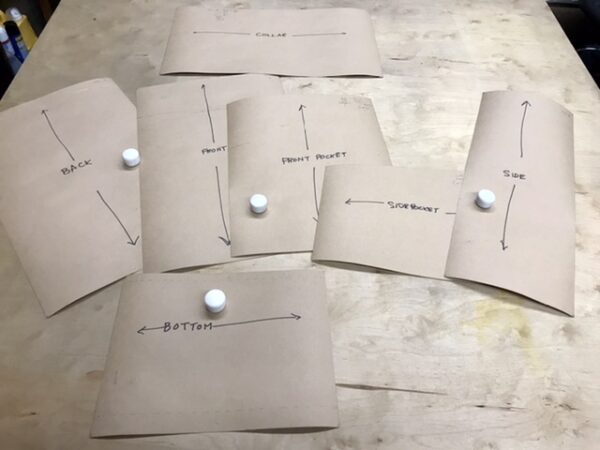
I want this backpack to be adaptable to my daily needs when I am on the camino. Primarily it will hold the minimal wardrobe that I plan to use for the pilgrimage. A first aid kit, a few toiletry items, and a pair of sandals should fit, too. That is what I need right now. I have not determined if I will carry a bed liner or sleep sheet, but I will have room for it. If I decide that I need one, I am certain that I can find something in my fabric stash to make one. Right now, I will focus on the backpack.
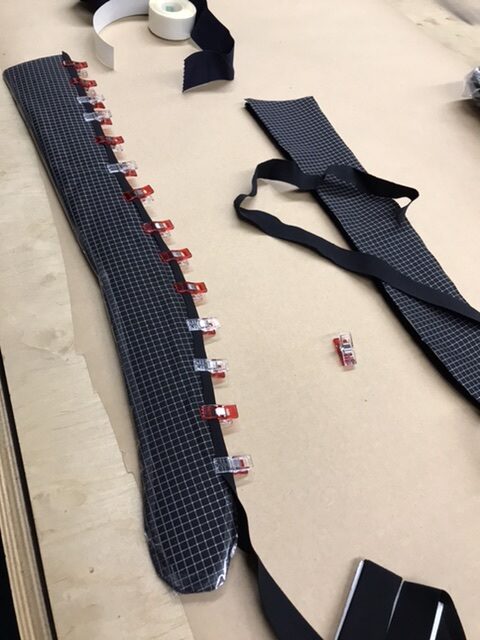
Preparing and cutting out the pattern in fabric
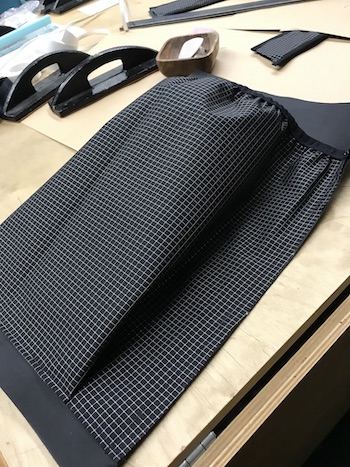
For design purposes only, I am color blocking the pack by using the slightly heavier black fabric for the lower two-thirds and lighter white fabric for the upper portion or collar. The bottom will be double layered for more durability. The white collar will house the zippered opening. I don’t expect that the white top collar will be extended at all while I am walking, but It should help provide some visibility.
This…
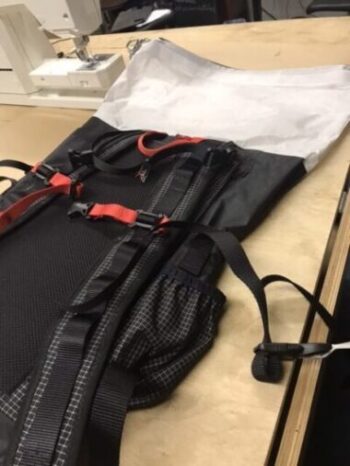
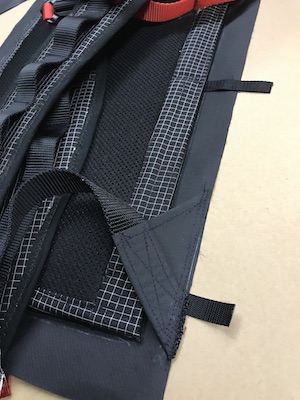
Although the shoulder straps are triple layered, they won’t be very thick. I will add a webbed daisy chain. I don’t like sternum straps but I will add one. It may be useful on this very long walk.
.. and that.
Stitching the Backpack
Interestingly, waterproof fabric loses some of this quality once it is punctured by stitches from sewing. I will end up with a water-resistant pack at best. Each stitching line will be sealed with seam sealing tape. I am also using double sided tape, as needed, to bond fabric sections. This eliminates bulk at the seams and redeems a little waterproofing.
Order of stitching:
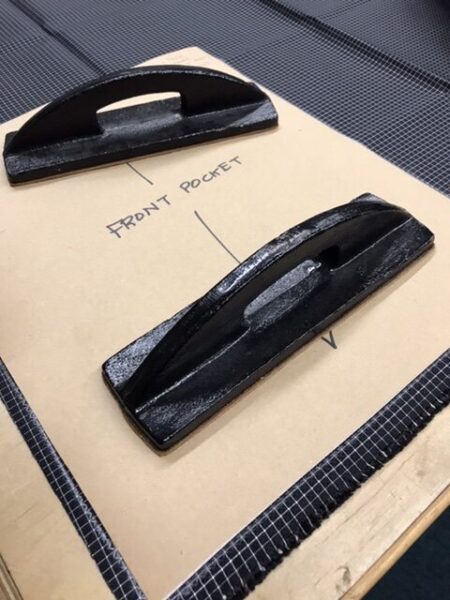
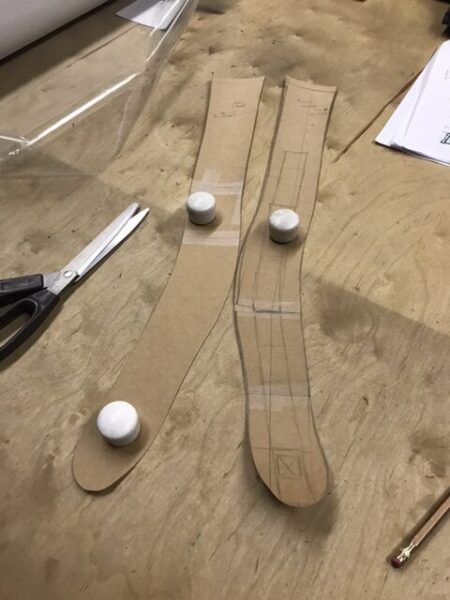
Preparing the Shoulder Straps
The three pieces for the strap – fabric, foam, and spacer mesh – were sprayed with temporary sewing adhesive. This stabilized the pieces while I wrapped the edges with seam sealing tape. Finally, the sealed edges were enclosed by fabric seam binding.
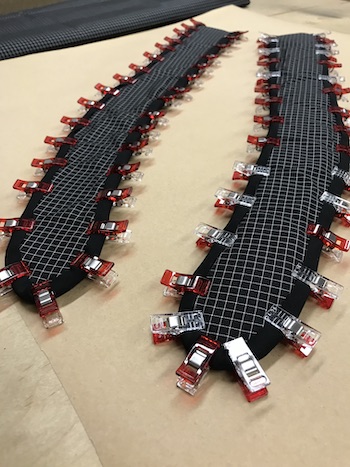
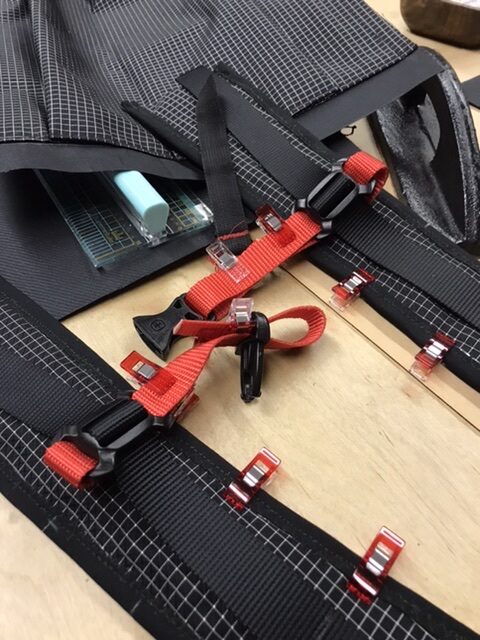
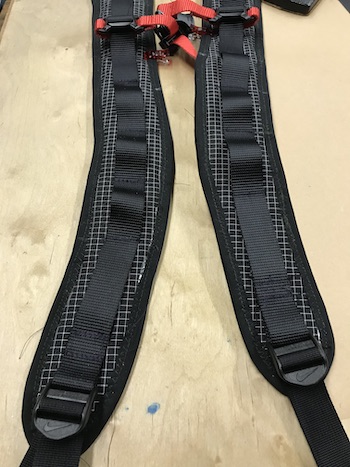
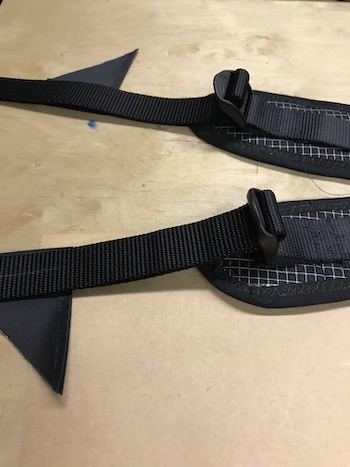
Tabs or wings with buckles and webbing are used to anchor the shoulder straps to the pack.
I have never used an attached hip belt, so I will not have one here.
UPDATE: I added pocket-less extensions on the hip webbing of the hip belt. The belt snugs the pack to my body. I believe this will be useful for any water crossings or uphill climbs where it may tend to move around or away from my back.
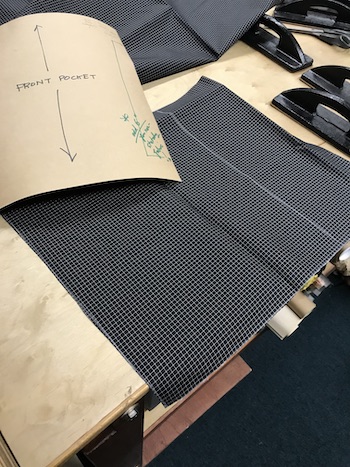
Backpack Front Pockets
Ahhh – the front. I admit that I have to continually reorient my brain when talking about the front or back of the backpack. The front is the panel that faces anyone walking behind you.
A large pocket will be attached to the front panel.
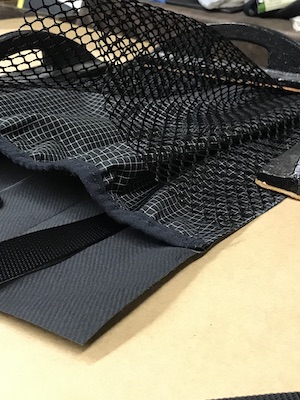
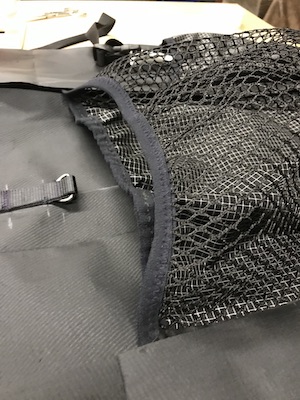
A polyester mesh pocket or pouch will piggyback the front pocket. I can use either or both. I’ll use the mesh pocket to air out wet shoes (not too many times I hope) or dry wet sandals after water crossings on the Mozarabe and Via de la Plata.
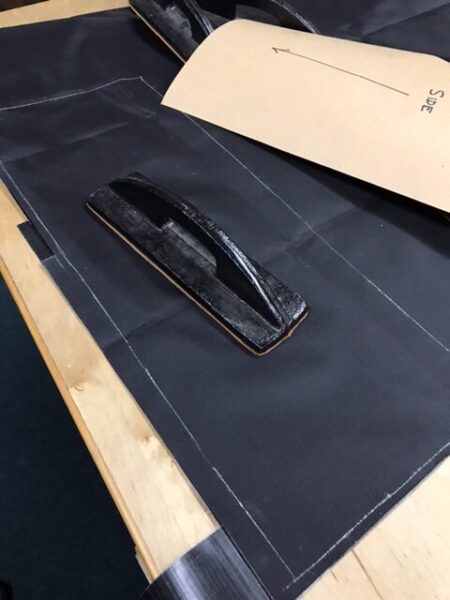
Side Pockets
These pockets are large enough to carry bottled water. Conventional wisdom indicates that the side pockets need to be accessible by reaching or twisting around the body. This allows water bottles to be retrieved and replaced while walking and wearing the pack. It seems to be important for many walkers.
I don’t like it. I believe it is counter-productive to my goal of slowing down and being mindful. It can hurt – that reaching around. I think I’ll stop, remove my pack off my shoulders (giving them a brief rest), draw a bottle from the side pocket, and take a sip. That sounds like a lot of work too, doesn’t it?
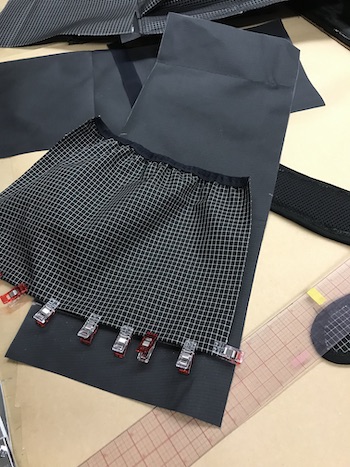
I attached double-fold elastic on the top of each pocket to allow some expansion of the top when needed.
I believe these pockets will provide adequate space outside of the backpack, not for overflow, but for consumables such as food and water obtained on the camino.
END OF PART 1
_________
Next time: Part 2 – Finishing my backpack
Baadaye
Shirley J ❤️
•
Words That I Learned Today
| backpack | mochila |
| fabric | la tela; el tejido |
| sewing pattern | patrón de costura |
| scissors | tijeras |
| sewing pins | alfileres de costura |
| mark/to measure | marca/medir |
| cut/tear | tajo/rasgadura |
| stitch/seam | puntada |
| seam/sew a seam | costura/coser una costura |
| pencil | lapíz |
| thread | hilo |
| sewing machine | máquina de coser |
| strap handle | asa de la correa |
| inch | pulgada/25.4 mm |
| foot | pie/0.3080 m |
| yard | yarda/0.9144 m |
| millimeter | Milímetro |
| centimeter | Centímetro |
| meter | metro |
| kilometer | Kilómetro |
•••
Note: Dyneema©, Extreema©, and Robic® are registered brand products. There is no affiliation between myself and these brands.