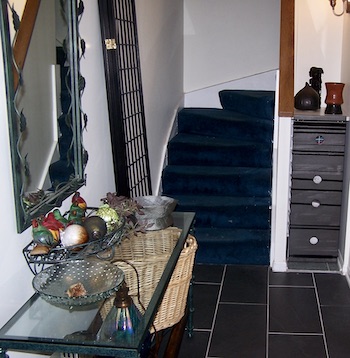
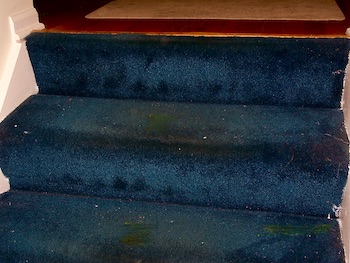
That old carpet on my stairs was no longer living its best life. It was getting more difficult to keep clean. Early on, it was a plush, quality covering that the previous owners installed. It was also on two of the three levels of the house.
Now it was looking rundown. I felt rundown just looking at it. Too many times I swept, vacuumed, and spot cleaned that stairway in my house with less success. Me? I slipped a time or two on the now heavily crushed pile. I stopped cleaning it and decided this carpet had to go.
Finally, I came up with a plan.
Uncovering my shame
It was dirty, I admit. I was not proud that it was in my house and on my steps. I let it go for so long because I do not walk barefoot in my house, ever. Let me explain why I feel this way.
What happened to the carpet to get this bad? A flood. Almost thirty years ago after a snowstorm, snow was piled dangerously high on my roof – a flat roof. A flat roof covering a three story home. I was concerned about the weight, but at the moment there was nothing to be done. Each winter when something like this happens, you hope that the snow gradually melts and flows into the storm drain. No problem, right?
Well that did not happen. A sudden temperature warmup occurred, mind you this was February during a midwest winter. I noticed that the drywall paper on the ceiling and on the walls began buckling. Oh yes, the buckling had happened before but the drywall “normally” flattened itself out. I did not know about drywall then. That is the story so far. Now, it’s nighttime. Bedtime.
My Apocalypse
In the middle of the night, I awakened to what sounded like rain inside my house. It was. Every ceiling was dripping with water and larger buckles were ready to deliver the apocalypse on my head. Of course the carpet on the floors and steps were soaked. It is no exaggeration to say it was a major inconvenient water catastrophe!
Enter the insurance company, drying fans, a new roof, repairs and redecorating, replacement of the wood underlayment in a bedroom and hall, and replacement of the carpet padding in some areas. However, the carpet on the floors and steps was not changed.
Amazingly, no musty smells or mold issues ever presented. Neither was there deterioration of any wood. I was thankful for that. But In my mind, even though the carpet had been cleaned, I did not trust it.
Here I am 20 years after that incident now looking at the carpet on the stairs. The default was to replace “like with like”: carpet replaces carpet, wood replaces wood, tile replaces tile, and so on.
Truth be told, I am not a fan of carpet on stairs. Nonetheless, I priced replacement carpet. The cost included cutting, tucking, and tacking to conform to the shape of the treads. It was too much. I priced replacement wood treads and risers. Similar dilemma – extra fees for fitting the wood. That was too much. It did not stop my momentum, however.
What’s Under the Carpet
I took my time thinking about this. An idea that grabbed me was one I borrowed from my experience working on old houses. Before replacing anything, I painted the stairway walls all the way up to the skylight and the ceiling.
Dangerously, I decided not to take any real precautions to protect the carpet. That was convenient and saved some work. I didn’t even want to think that this plan might fail. After painting, I decided, rather than replace the carpet, I would take it up and refinish the wood underneath.
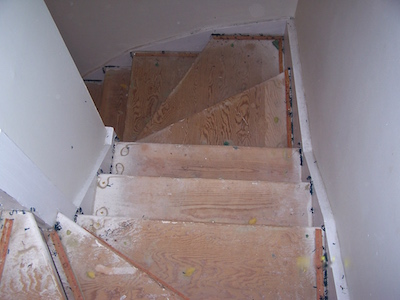
I had to check if this was even possible. I picked a spot where I could cut the carpet and padding to evaluate the condition of the underlying wood.
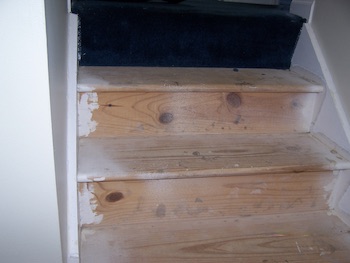
At first glance, the step looked unsalvageable. Overspray from the original contractors paint was everywhere – almost. A closer look at the bare wood revealed a few things. The wood was one inch thick pine. It was in great shape after over twenty years of use. Each tread wore an intact nose over each riser. And there was no mold!
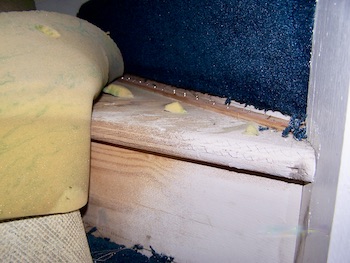
initial contractor’s painting on the walls.
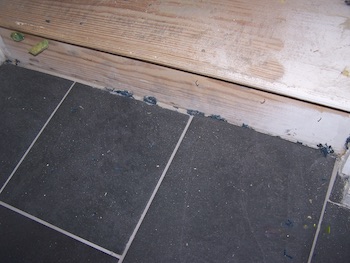
I must say that the under padding did its job.
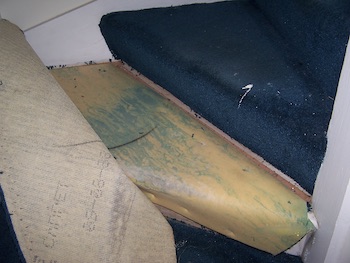
Very nice! The wood looked pristine. It was much better than pine that is available today.
was in great shape. This was pre-1980s pine.
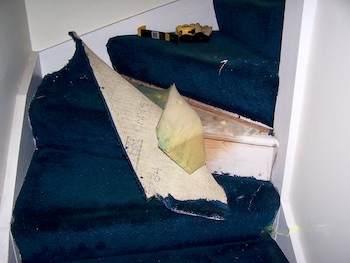
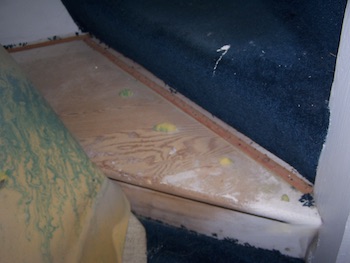
Now the work began to pull out all of the carpet on the steps. That was the easy part.
Removal of the carpet tacks
Now, every tack and staple had to be located and removed before any sanding could be done.
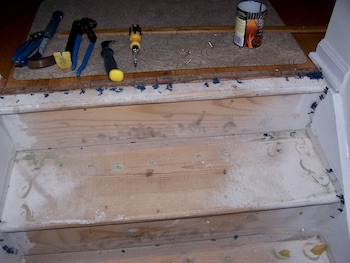
Many tools are appropriate for removing the tacks. I used a tack removal tool, mini pry bar and an upholstery staple remover. In addition to those tools, I had an adjustable wrench on hand for the times that I needed to exert upward pressure on an uncooperative tack. Still gently, gently, to prevent damage to this gift of wood.
All the way to the bottom landing.
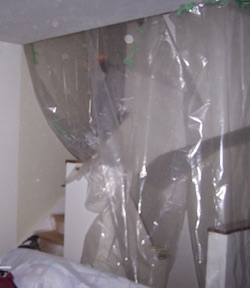
I put up plastic to shield the rest of the house from carpet threads, dirt, and sanding dust.
Ready to sand
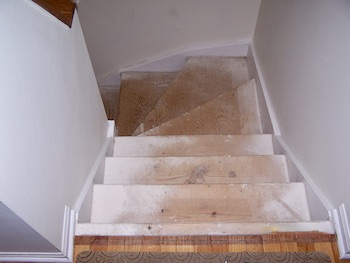
As I noted before, I had 28 steps and 28 risers to sand!

A couple of days of sanding away the over sprayed paint and sweeping will leave the steps clean and bare.
Next time: Sanding, staining, and painting the stairs.
Baadaye
Shirley J ❤️
