Carving a bowl – The Axe
BOWL: a round container that is open at the top and deep enough to hold water, food, bread, towels, or anything used in daily life by humans. Usually the first items found during archeological digs, bowls reveal a lot about a people and their culture.
They are still handy today for practical and esthetic purposes. Whether the design is rustic or highly refined, there is a use for them. Let’s make a bowl.
Since I am using a hand tool like the axe, more attention must be paid to safety. How am I going to wield this tool and an adze to strip bark and hew the beginnings of a bowl from a log? I don’t have a shaving horse to stabilize the log, so I have to improvise.
Shop Poem
Remembering the shop poem is important!
If you are going to make anything with tools, however large or small, safety is first and common sense is not far behind. Everyone making anything should modify choice of wood, measurements, tools and techniques, fittings, and finish according to their own skills, preferences, needs, space, and circumstances.
What I will describe is how I did this project with my hand tools.
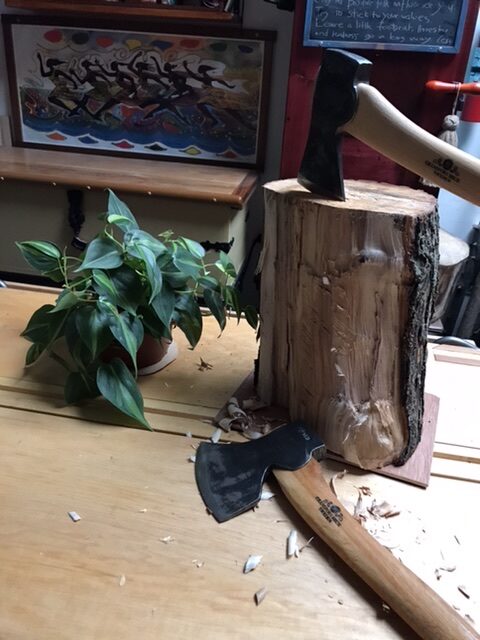
The Stump
Fortunately, I have a large cutting stump that can be used for stabilizing and striking anything with an axe. It serves as a distance barrier or gauge when swinging any edge tool. That means that I can chop down toward the surface of the stump. If the axe head “goes wild”, the stump acts like a brake to slow down the momentum. It is the first defense against a wildly swinging tool.

As additional self help, I continuously reposition my body, legs, and the log itself to avoid the sharp edge using the stump as a reference point. This is important because how and where I stand influences how the tool lands on the work. If something doesn’t feel right – my stance, the space I have to move my arms, the distance of my swing, or placement of the log on the stump – I stop. I take a moment to take a breath and assess the situation, make adjustments, and get back to work.
It doesn’t take long to do that simple exercise. In fact, it is associated with muscle memory, instinct, and self-preservation. I don’t want to get hurt because I did not pay attention. Yes, pay attention is my favorite mantra. Not doing so can result in a lifetime of pain and regret.
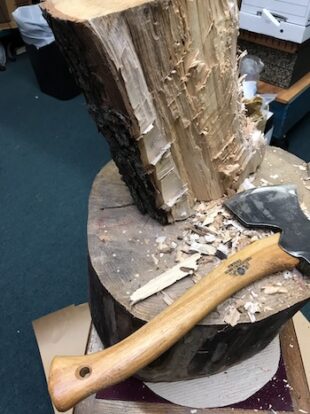
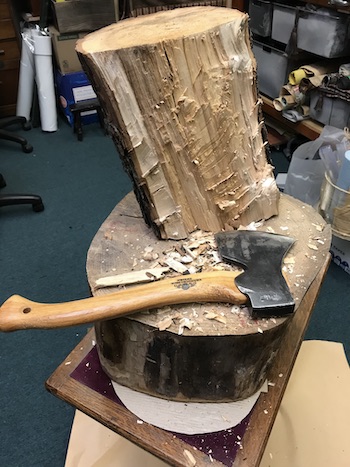
The axe that I am using is one made for carving wood – not chopping. A blade is a blade, however. In the world of using what you have on hand, an axe of any kind will do.
The Donor Log
The log is usually green wood that has not been allowed to dry completely. It is pliable and easier to split and carve for this purpose. I take the wood logs when and where I find them. This piece was found in the neighborhood over a year ago. It’s been standing in a corner ever since.
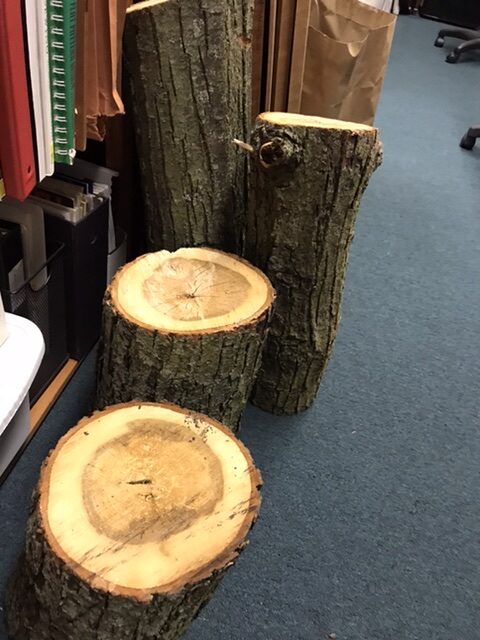
The froe that I refurbished earlier was tested by cutting shakes from the log. The remaining half was left leaning against a wall in my shop. This is the piece that I will use to make the bowl.
Introducing the Axe to the Log
First, I’ll even out or straighten the already worked side of the log with the axe. This establishes a flat, stable working base. The log won’t slip around so much when chopping and carving the other side.
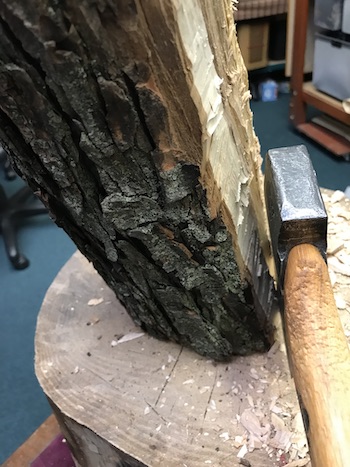
The stump provides a braking surface as I chop downward on the bark lined log.
The other side of the log still has bark attached. It must be removed.
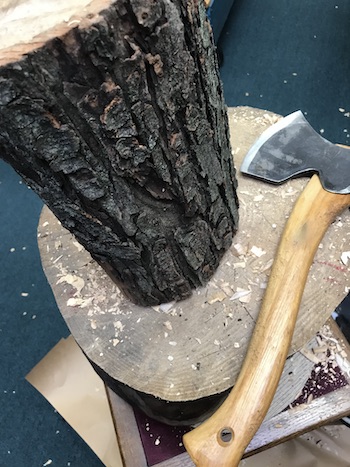
Again, I used the carving axe.
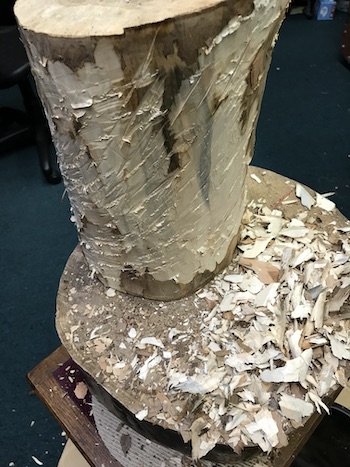
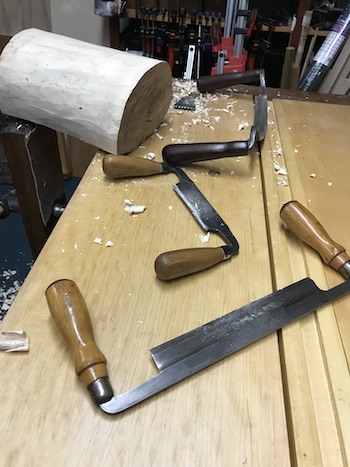
After a period of stripping the bark from the log, I used drawknives to clean it up.
Here, the leg vise on my wood bench is working as a third hand to stabilize the log while I clean it. The forged bench hook engages as a fourth hand.
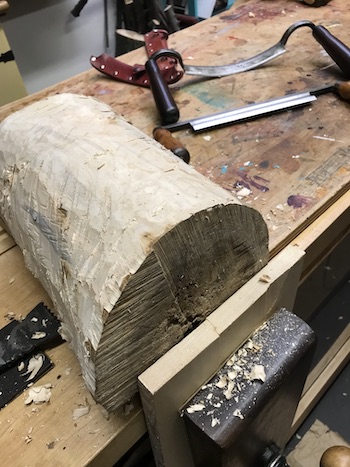
The important thing about this and subsequent similar setups is to prevent log slippage. With every move, I remain aware that the drawknife’s sharp blade is being drawn toward me.
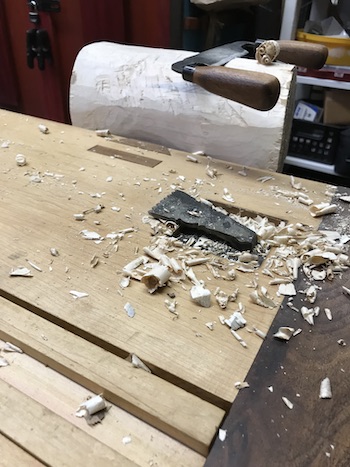
And here…
The log cleaned nicely.
Drawing in the Rough Bowl Shape
Now it’s time to make a rough outline for the bowl on the cleaned surface. For this demonstration, there are no technical boundaries or lines. The lines enclose the striking area for carving the bowl with the adze and provide a little guidance and control.
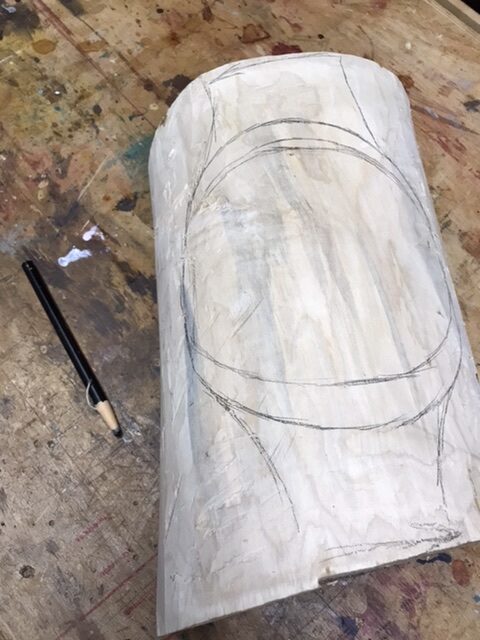
with a china marking pencil.
Note that the blank can be marked in any number of ways. Techniques such as eyeballing the log to using a compass and straightedge will work. Marks or reference points help make round, oval, or elongated layouts on the log.
Next time, continuing the carving work with the adze.
———-
Baadaye
Shirley J ♥️