In the last post, Roubo and Me – part 1, I was working on a workbench based on Roubo’s plate 11 drawings. Did it come to fruition?
Yes, the plan came together!
After years of of improvising, I decided to finally make a “respectable” work bench or l’établi roubo. I took a big breath and got to work.
I prepped, cut, and measured the wood and gathered the accessories. I did my research and regathered my strength. As usual, I went to sleep with the project on my brain.
Most times I’d awaken with a solution. First chance I got, I was back in the shop to implement what I figured out.
Small steps added up. The project was finished in a month, more or less. I thought it would take longer.
The bench and those important details
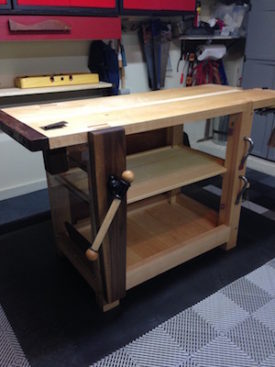
Overall, my roubo bench is 36″ tall, 60″ long, 24″ wide.
Let’s see the details:
••Note that the details are in the filled boxes below each image.
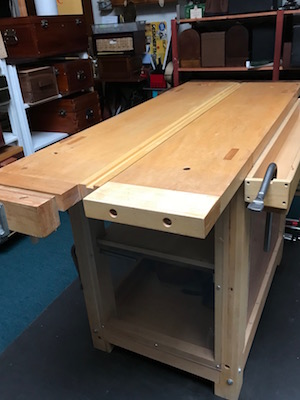
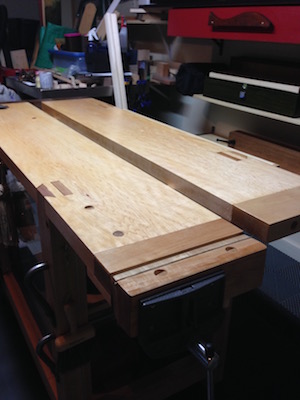
• Split bench top – two maple slabs, each 55″ long x 11″ wide x 1-3/4″ thick and a removable basswood gap stop between the slabs made of three 2-1/2″ x 54″ laminated boards
• Bench legs – maple; four legs; each made with four laminated 4″x 3/4″ boards; and maple stretchers to stablize the bench base
Plus,
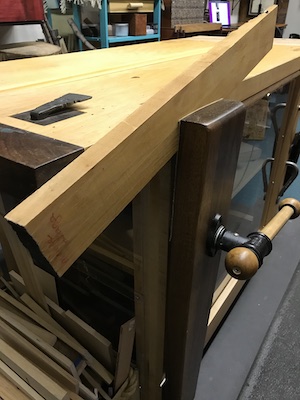
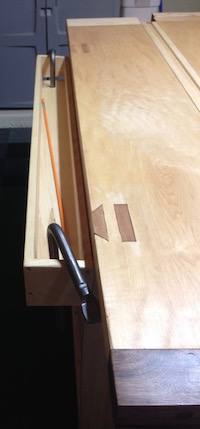
• Leg Vise – walnut leg vise and cast acme screw with shopmade handle; purple heart parallel guide and pin

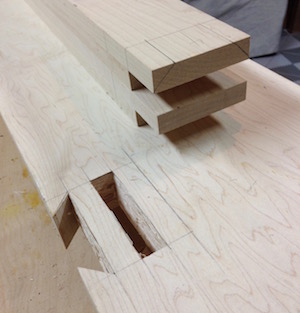
• Bench hook – forged iron bench hook inserted in a block of ipe inserted in a square mortised through-hole in the bench top
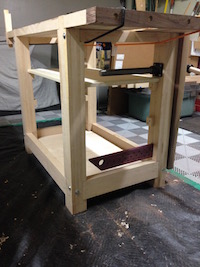
• Inside upper shelf – aspen glued panel to fit beneath the bench top and a bottom shelf made of maple slats inserted between the stretchers
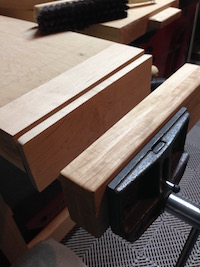
• End vise – NOS ( new old stock) Columbian (6″x 7″) bench end vise with cherry and maple 2-3/8″ x 10″ jaws or chops with 2 shopmade wood bench dogs.
At the last moment, I enclosed the bench with acrylic panels and plywood back to keep sawdust off of items that I stored on the shelves.
In the next post, I will discuss the work holding devices that I utilize, now, on the finished bench.
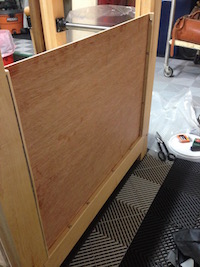
• Back bench panel – 1/4″ plywood dust panel covering the rear opening underneath the bench top
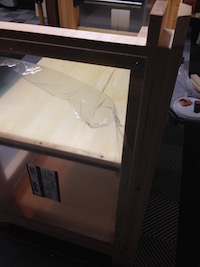
• Side panels, left and right – Optix clear acrylic (.093 in.) sheets cut to size
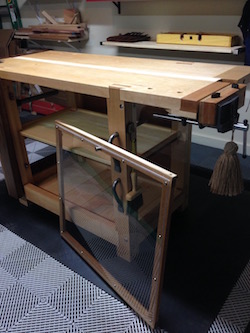
• Front panel – wood framed Optix clear acrylic removable front panel
• Rear tool till – maple; 39-1/4″x4-1/2″
The bench top was given a final “good enough” finish planing with my #4 finish plane.
A simple finish of boiled linseed oil is applied – 2 coats. That is all. For me, it is a less refined, rustic finish that keeps my work from sliding around on the bench. Additional coats can be applied from time to time during the life of the bench.
I use crumpled brown kraft paper to finish “sand” the surface. The paper doesn’t leave grit like sandpaper but instead leaves a nice softened surface.

Ready for my closeup.
I’m happy that I stepped up and finally made my roubo-style bench. It’s sturdy, quite heavy and made specially for me. I won’t be making another one of these. It. is. my. lifetime. bench.
How do you move this thing?
Since this heavy bench is made from dense maple, I could never move it by myself. During the build, I kept thinking about that.
With a bit of planning, I made sure that it could be dismantled or “knocked down”. Now I can move the bench as much as I want.
The mortised slab top can be lifted off of the tenoned legs. This relieves the bench of a lot of weight. At this stage it is extremely portable. Also, the shelves are removable. The leg vise and parallel guide can be removed, too.
The end vise is removable. Overall the lag bolts can be removed from the legs and stretchers depending on how much of the bench needs to be dismantled. Now, it can be moved.
One year after I completed the bench, I moved it from my garage to my studio. Let’s say I had it moved.
The movers “threaded” a heavy moving blanket beneath and between the leg stretchers from end to end. They lifted the bench and promptly put it in the moving truck.
I had already removed all the vises, etc., to reduce the weight. When they off-loaded the bench and walked it up 30 steps with surprising reverence, I was impressed. They did a great job moving my entire shop.
And the bench survived.
Recycling tip: I repurposed the old plywood “bench top” for other projects!
Now, after the build, did I accomplish my original goal of improving workholding on the bench? We shall see in the next post.
This is part 2 of 3 of the Roubo bench build series.
Next time: Roubo and Me – part 3
-Shirley J
❤️SayHerName
