Ancient craftsmen used hide glue to bind marquetry veneer to base wood and to secure joints on furniture. Dead horses, cows, rabbits, and even fish, live on forever in the form of glue. Miraculously, this is due to the eternal qualities of the proteins extracted from teeth, hooves, skins, bones, and tendons. Once it is processed, the gelatinous concoction is used as a binding agent.
Veneer: part art – part illusion
Veneering and marquetry are offshoots of the woodworking arts from ancient times.
Like trompe l’oeil in fashion design, veneering is an illusion. Rare or expensive wood slices are glued to inexpensive base woods. It gives an impression that a piece of furniture is made from, for example, solid mahogany, cherry, or walnut panels and boards.
Of course, the art of marquetry requires skill and imagination.
The glue that keeps on giving
A significant property of hide glue is that it is applied in a heated, liquified state. As the glue cools and solidifies, it works its magic by contracting and pulling the wood surfaces together.
The glue granules, water, and heat combine to make a substance that lasts hundreds of years. Any of those elements can be adjusted as needed to aid application. Hide glue is considered forgiving. In this case, this means fixability. This forgiveness enables most old glues to be re-heated and replaced centuries later.
Interestingly, this same characteristic makes the glue itself susceptible to water and heat in the environment. Joints and veneer, in use, can weaken or break over time. Constant high humidity can cause the glue to drop out from under cracked veneer or disappear from a joint.
A little reverse engineering – heating the old glue – facilitates the actual repair or refurbishing of the injured area. New glue is applied to the repair and expected to last for many more years.
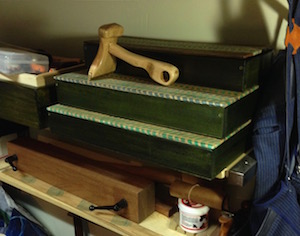
Three little boxes
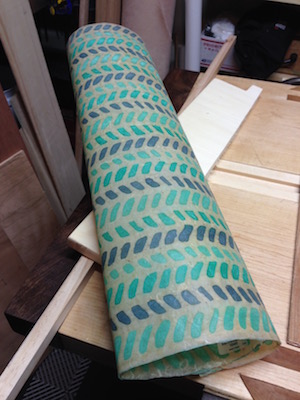
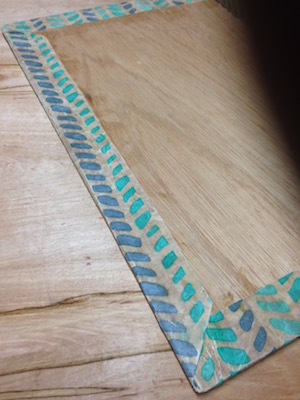
I made a trio of boxes from 1/2″ maple to organize small tools like specialty rulers, small knife blades, and bits. The flat 1/4″ plywood lids would be decorated, not with wood veneer, but with decorative vellum paper, using hide glue.
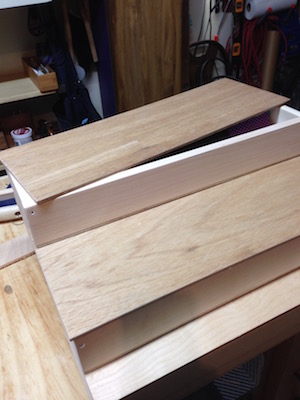
The boxes were different sizes and I didn’t want to just stain them and call it a day. Decorative vellum, that I had on hand, would make the box lids really stand out.
I unrolled the vellum and made sure I had enough to cover the three lids.
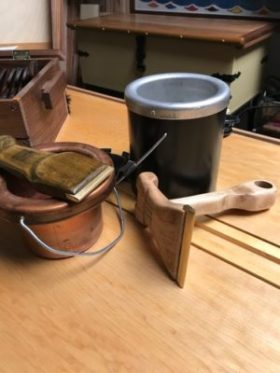
Pulling the glue pot from the shelf
Certain tools and supplies are used once or twice in the life of a shop. They are put away and forgotten. This was the case for the hide glue crystals and glue pot that I store on a shelf in my wood shop.
For this project, I decided to put the hide glue and automatic glue pot to use and provide myself another opportunity to practice veneering with vellum paper.
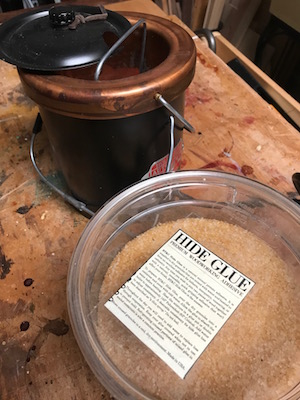
I soaked the granules in a jar of water and waited for them to dissolve. Then I placed the jar inside the copper glue pot filled with 2″ of water that’s been heating. Now, the cooking of the glue begins. Well, it’s more like heating and definitely not boiling.
I could have placed the dissolved granules in the pot but I like to keep it clean. Besides, if I needed to reserve any leftover glue, it’s easier to place the small (lidded) glass jar in the fridge.
On the next day the jar is placed in the heated water bath again and the work continues.
A friendly finish
Hide glue is water soluble and eco-friendly. As you know, this is important to me. It’s always a governing factor in the selection of finishes in my shop.
The liquified glue is heated to a regulated temperature between 140º and 160º in the glue pot as I work.
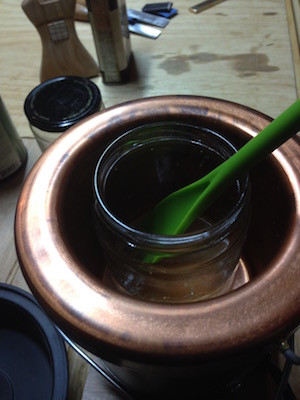
A bit of heated glue is applied and pressed between the thumb and forefinger. A “glue string” is drawn as the fingers are separated. It is the right consistency if the string does not break. Then it is ready to apply to the project.
Like everything else, it depends on the quality of the glue and temperature in the room. Otherwise, I just use experience, intuition, and my eyes.
Lack of equipment is not a problem
If an electric pot is not available, nurturing the concoction over a heat source such as a stove top or fire will be required. Don’t fret. It was done this way long before the invention of the electric pot.
Boxes meet glue and pot at a party…
And paper showed up.
Ancient vellum or parchment was made from animal skins. It’s still made today but primarily used for archival purposes and restoration. Cotton rag fibers and synthetic plant material make up the vellum for modern day use and artwork. It is more readily available and affordable. Obviously, that is what I had and it was suitable for my purpose.
Before the glue is applied, I roughened the receiving or base wood lid (1/4″ plywood). This assists adhesion of the paper to the glue covered surface. A little bit of glue also goes on the vellum.
For a feeling of authenticity, I used a french tip natural fiber brush for applying the glue on the surfaces.
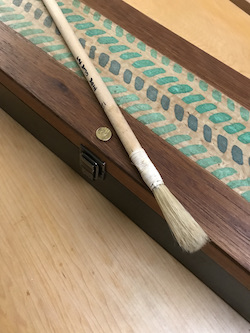
However, a good brush that is not prone to shedding bristles will do.
After the glue is spread over the base, I positioned the vellum. Then carefully, I placed the paper onto the top making sure that no large bubbles were trapped underneath.
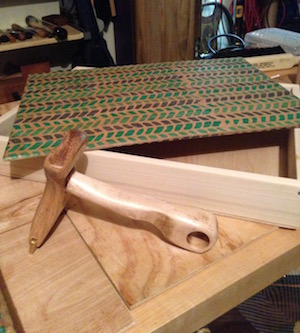
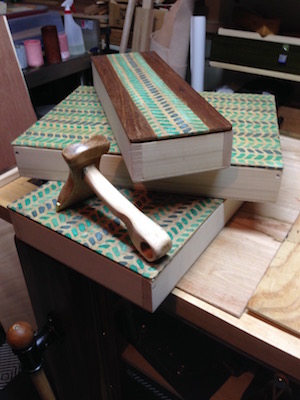
I used the veneer hammer to smooth and walk out any wrinkles or bubbles from the surface. All of this is done as the glue cools and solidifies. The application of the glue must be both swift and even.
For clarification, the term veneering is used to describe the application of both veneer and vellum.
Vellum or veneer: a good finish counts
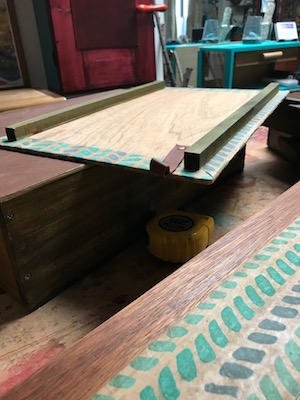
I had enough paper for the project but I economized a bit by leaving just a 1-1/2″ margin on the paper blank. The margin was turned under the lid edges. Covering the entire underside would have been a waste anyway.
I did balance the top and underside by fully covering both with shellac. For good measure, I attached rail stops underneath to keep these flat lids from sliding off the box. The benefit is that the lids don’t tend to twist or warp.
Finishing the boxes
I used a strip of the vellum to dress up the middle of the smallest box, just for interest. I applied a water-based stain on the rest of that lid. All three of the box bodies were treated with the same stain.
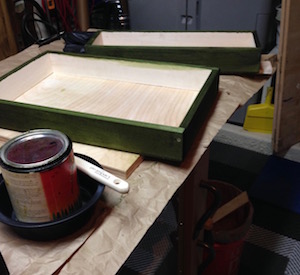
I finished the stained boxes and the veneered lids, inside and out, with blonde shellac. The shellac deepens the translucent effect of the decorative vellum paper background. I like it.
Shellac flakes are a staple ingredient in the shop. Then, whenever the need arises, I can make my own fresh mixture and adjust the cut. Again, it is another eco-friendly finish that I like using.
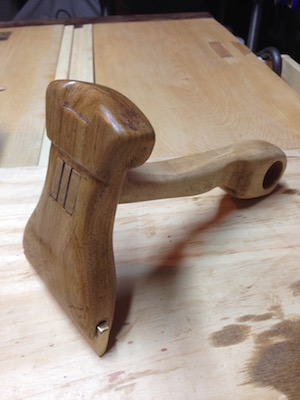
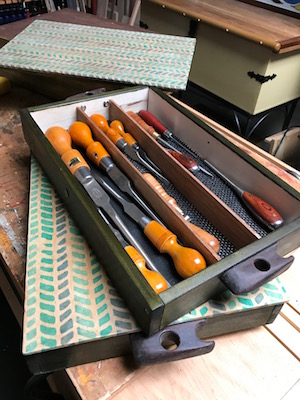
I scavenged scraps of butternut for the box handles. Rasps and sandpaper were used to shape them. I had no particular design in mind except that I wanted thumb holes. No drill press… no problem. I used my hand drill with a Forstner bit to make the holes.

The project is done. Cute as they are, the boxes serve their initial, mundane purpose as storage for my smaller tools.
💚S

4 thoughts on “● Veneer: Laying it Down”
What beautiful work and talent, Shirley. I love woodworking and have wanted to learn it. You have a special gift to share.
Thank you Natalie. If you find just one ounce of inspiration from my wood shop adventures, then I call that a win. There is much more to come. Welcome.
Very good work, there is nothing better than finishing a project and looking at it and saying to yourself , wow did I do that.
Nothing indeed! Thanks.
Comments are closed.