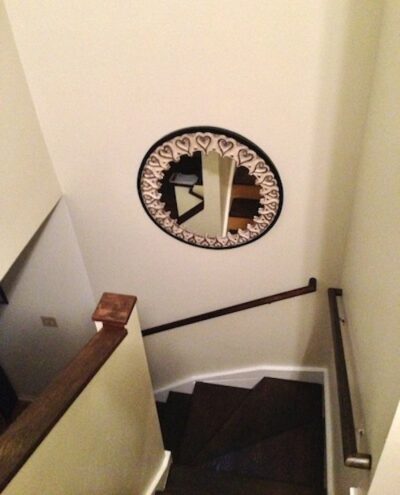
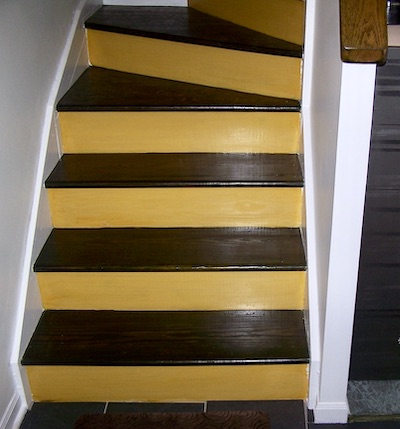
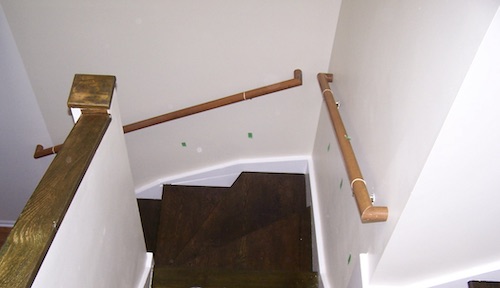
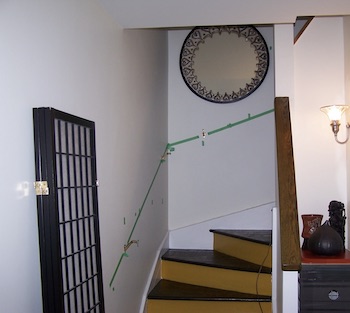
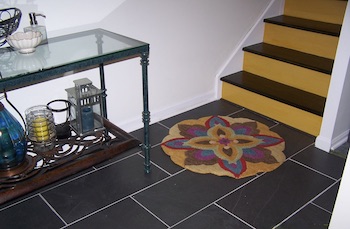
A careful look at the newly painted stairway in the previous post shows that handrails are nowhere to be seen. For over twenty years, I lived without them. They were not required when the house was purchased. It was a useful omission and I used it to advantage.
Let me explain.
There was no intrusion of the handrails into precious stairway space or inconvenience of taking rails off and putting them back on the wall. That five or six inches was helpful when angling a sofa or vanity up or down the stairs. Large pieces of furniture or fixtures could be delivered or removed from one floor to another without fuss. It meant that a refrigerator or oven could be moved easily into the kitchen.
It’s always sumthin’
As the years passed and upgrades were made, I kept up-to-date on new local ordinances. One of them required handrails on the stairway. That meant they needed to be mounted such that clothing will not be caught in between the end of the handrail and the wall. Since inspections** are not required except at the sale of a house, I thought I’d add them for the safety of my visitors, including my elderly parents, and myself.
Sourcing the handrails
I discovered that I could buy handrail stock at a lumber yard. It could be purchased by the foot. That would be expensive since I required 60 linear feet.
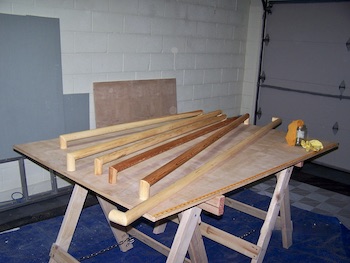
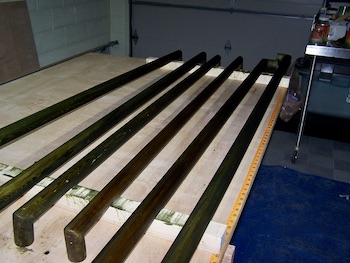
Luckily, I found an inexpensive source. A nearby architectural salvage and resale store proved to be a valuable and fun source of parts and pieces for this project.
Old hardwood handrails are occasionally available at the store. After a few visits, I found some, making sure they were the diameter that I needed. Fortunately, they were long enough and heavy enough to cover the length of each wall and to supply off-cuts to close each rail on the wall. The price? Two dollars apiece. I needed six, wanted eight and found seven handrails. Think about that. I was appreciative and lucky that I found those.
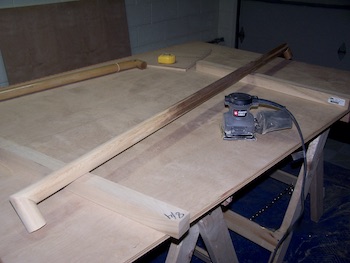
Getting the handrails ready
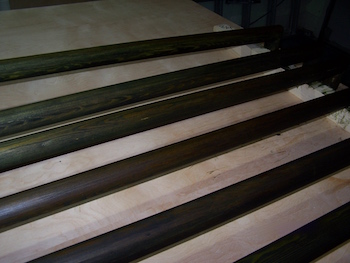
Now that I found the reclaimed rails, I set about removing grime and old finishes. Next, I measured each rail and cut the ends to conform to the length of a wall. The ends were mitered and the corresponding angled off-cut was glued on to satisfy the safety requirement.
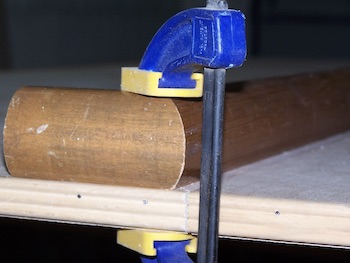
In order to determine the length for the angled off-cut, I used a 90 degree PVC elbow.
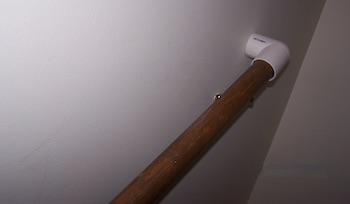
Here, I simply put it on the end of the handrail with the rail hardware in place. By trial and error, I adjusted the elbow until the desired distance was reached.
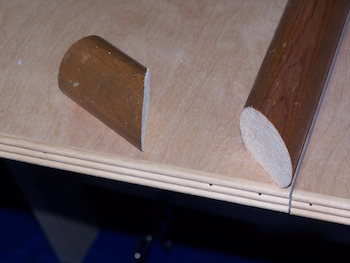
Using it as a template, I measured and mitered the off-cuts. Then I attached the off-cuts to each rail end with glue and pinned it with 1-3/4″ long headless tacks.
Before hanging the handrails, I located the wall studs and marked them with painters tape. This helped me to make an aesthetic placement of the rail supports.
A little research on architecture and construction websites provided guidance for determining the height of the rails from the steps.
Marking the walls
I marked the wall studs with painters tape.
Then I hung the rail support hardware.
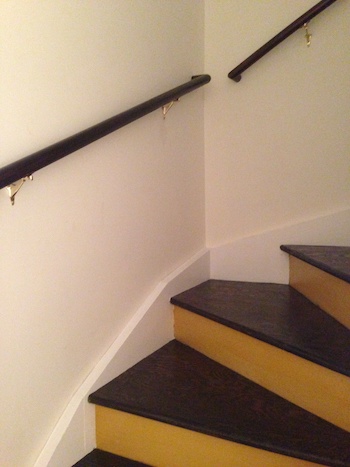
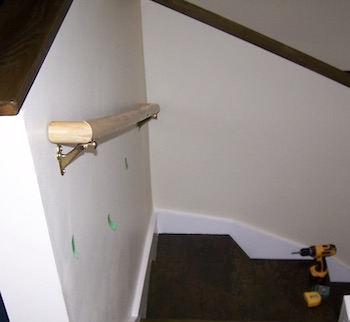
Working down the stairway.
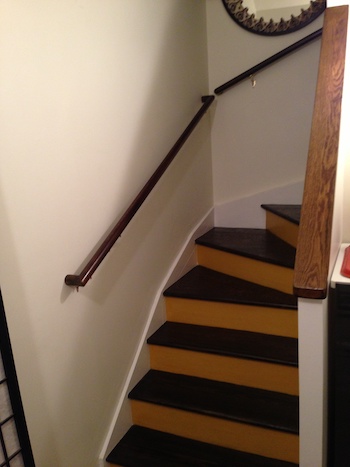
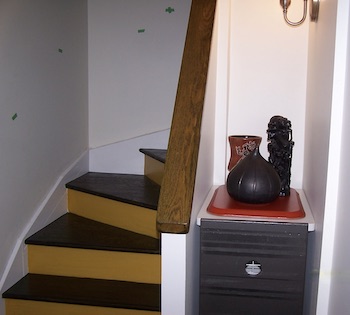
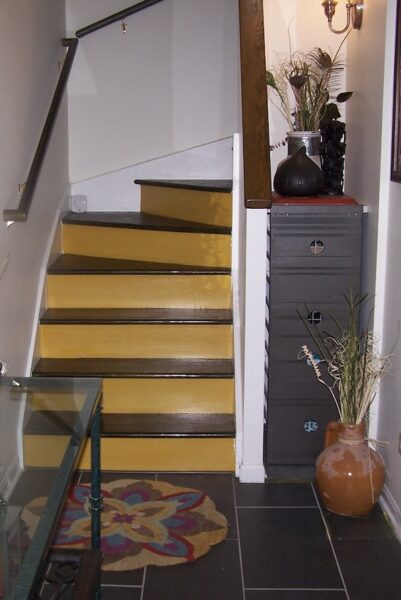
To the end
If you look closely at the last image, you will notice that there are three pieces of rail hardware on the at the entry wall rather than two. Now this is really an improvement for safety’s sake at the entry landing. For reasons known only to them, some of my dear visitors like to “hang ten” on the very end of that rail. I have a fear that a piece of the rail will flex or break off. Alright, call me a worrier!
Overall, the entire project was another relaxing upgrade, believe it or not. The clean entry and stairs are calming and inviting.
________
This is the end of what turned out to be a 3-part series on updating my stairway by:
- removing the old carpet – part 1, here
- reclaiming and sanding the wood steps underneath – part 2, here,
- and in this post, adding handrails.
Is the completed update something you could live with?
Have you rejected an idea for decorating your living space in favor of maintaining resale value? Put your thoughts in the comments.
Baadaye
Shirley J ❤️
_________
A note from the desk of the voice of experience:
** Here is the irony: Apparently, problems began soon after the new construction was deemed complete. Corner-cutting construction and a suspect pre-sale home inspection and approval combined with panicked owners-turned-sellers who decided to get out fast. Stir in a second owner (me) living beneath the ticking time bomb on the roof and resulting deluge inside the house.
It’s taken another few years to get over the shock and disappointment. Yes, I immediately noticed things after I moved in. My efforts to get them addressed with the contractor and municipality were dismissed. That stung. Then, the deluge. In my personal opinion, it is and always will be buyer beware. You never know what you’ll find in that box of homeowner hopes and dreams.
I know that I am not the only person who has experienced this. I am thankful to come through it without getting acid in my eye when making lemonade from those overripe lemons!
The work that I have done over the years on this house has been enlightening. Now I know this place from top to bottom and front to back. It’s been painful at times – the learning – but I am grateful that I have a dry roof over my head.
I lived through it and got more lessons in trusting that I can survive many things and live to tell the tale.
Baadaye again
Sj
