Recollections of my early projects are just that. They were done by hook or crook, without “good tools” or simply, by my bootstraps. Some, like this powder room renovation, were completed years ago when I had no inclination to record my work in any detailed way.
These stories are meant only to entertain. They may provide an idea, a solution, a lot of oh-oh’s, a few oh no’s, or a nod of agreement.
I am always doing what I cannot do yet, in order to learn how to do it.
– Vincent Van Gogh
Story #3: Powder Room Renovation
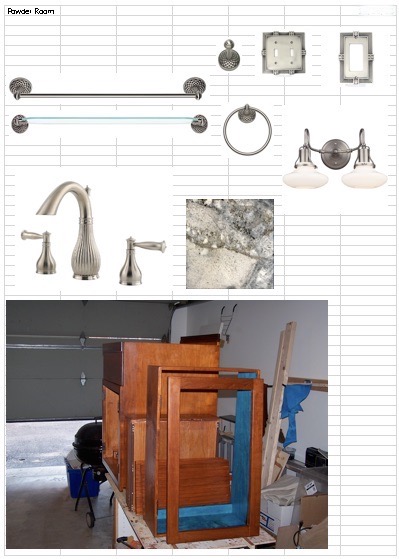
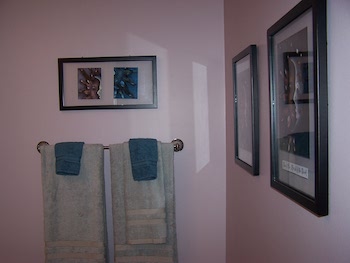
In the last post, I gave a little glimpse of the finished wall color. It is subtle and soothing. The lavender paint contrasts the stronger vibration given off by the old yellow shade. So – the lighting and painting are done. Next up is the vanity, wall cabinet, sink, and fixtures – aka everything else.
My project planning list helps me organize and keep my thoughts straight.
Balancing my needs and wants
I searched for a suitable vanity for the space, but was not satisfied with anything I saw. I thought about a small corner sink that would hang on the wall. That would make this very small room appear more spacious. Pedestal sinks are nice but do not have any storage. Same for any hanging sink, plus I did not want to risk anyone leaning on and dislodging it.
After a lot of thought about this, I decided to make the vanity.
That was a scary thought.
For synergy, I added a matching wall cabinet and frame for the original contractor’s mirror to my project list.

This would be a daunting challenge.
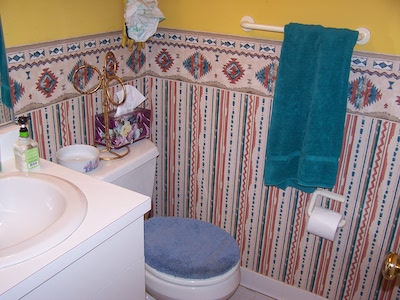
The original powder room
My obsession with color, especially bold ones, was part of an effort to create a happy living space.
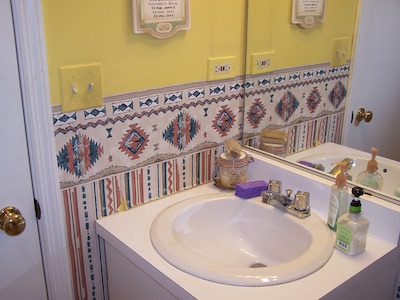
In the past, I imagined a vibrant southwestern design scheme would stimulate my senses. Every room in the house was painted in a different shade from that color palette. You know my attitude about the tyranny of resale value. It was… interesting, as many visitors remarked!
I loved it for many years until I realized my tastes had moderated a bit. I still love color but I wanted to be more discreet with it.
The changes in decor mirrored my own psychic and design transformation.
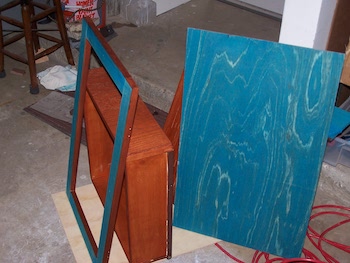
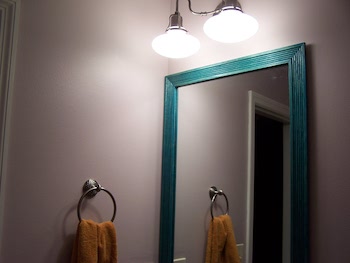
First the mirror
I did not want to pay a lot of money for a mirror when a perfectly good one was staring me in the face (pun intended).
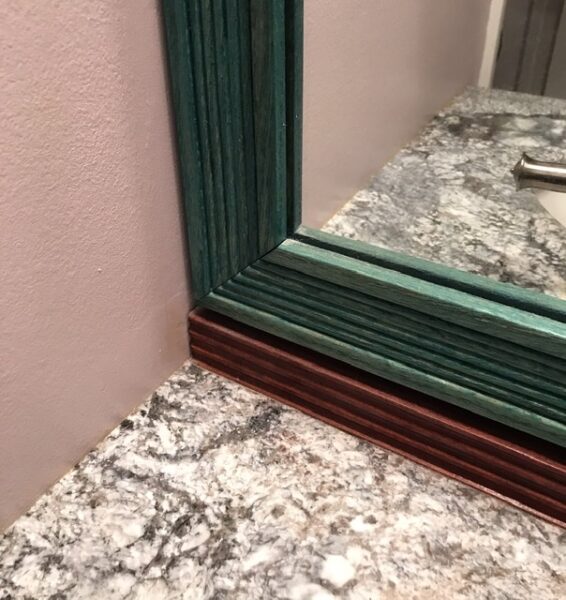
Many nice mirrors have a frame. I like the look, so I bought a length of unfinished fluted oak casing, cut it to size, mitered the cuts, and fitted them to the original contractor’s mirror.
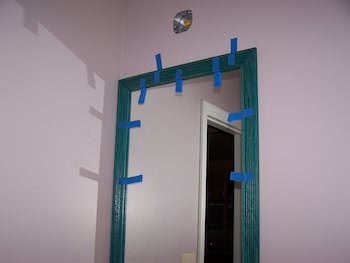
The pieces were coated with a rustic turquoise green stain and left to dry. I again fitted and glued them to the mirror. I used painters tape to hold them in place while the adhesive dried.
Afterwards, a highly water-resistant clear finish was applied.
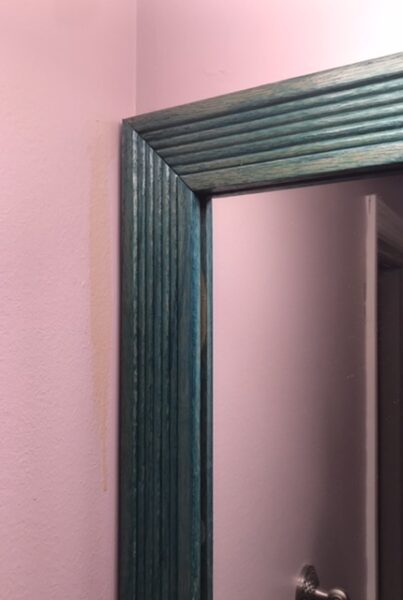

Done.
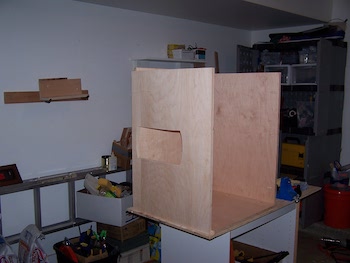
The vanity
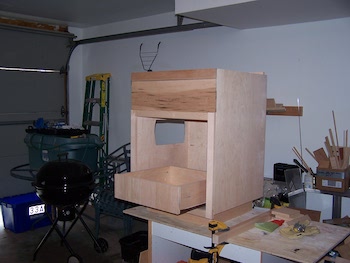
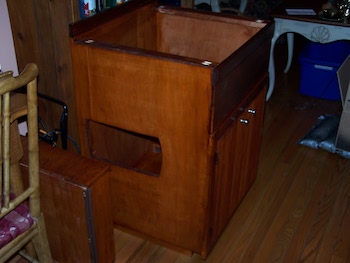
I never made a vanity before, but I know the basics that were required here. What is that? Well, it had to have a box shape to fit into a corner or onto a wall. An opening for the plumbing connections was necessary, of course.
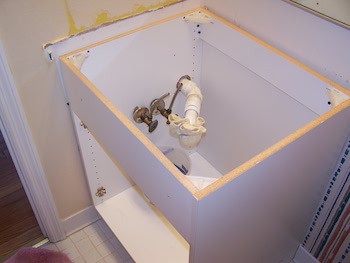
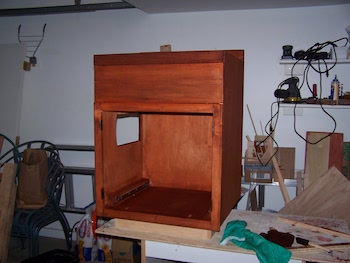
An interesting issue in this room was that the plumbing was not directly behind the vanity. It was on the wall to the left.
I had two options: reorient the position of the vanity so the plumbing was at the back – or – put the new vanity in the same position as the old one and cut an access hole in the left side for the plumbing.
The reality was this: if I reoriented the vanity, it would be facing the toilet. The doors, too, would be facing that direction. There was not enough clearance for the doors to open fully. Sticking to the original orientation would make the space easier to clean…
The possible modification made me hesitate about buying a new vanity. I did not want to buy one and then cut into the side. Also, the interiors of most powder room vanities are too small. They just do not have enough storage space.
I convinced myself that I could make one to my specifications. It would result in more storage and a creative resolution for the plumbing issue. Right?
Vanity for Vanities Sake
I looked through my small stash of wood in my garage for the project.
I found some very nice cherry leftover from another project. This would work for the vanity front, above the door. The door frame would be made from white pine.
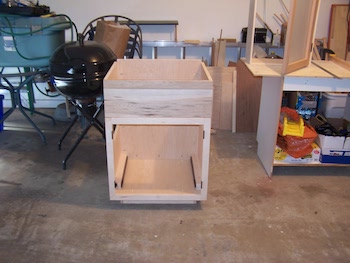
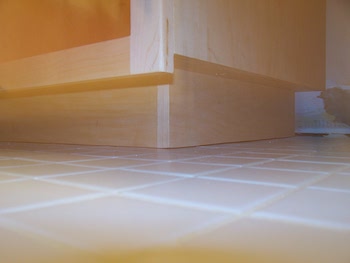
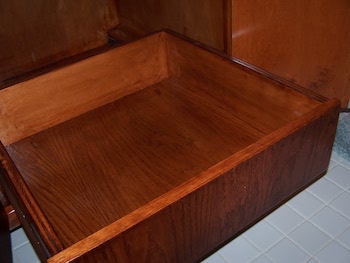
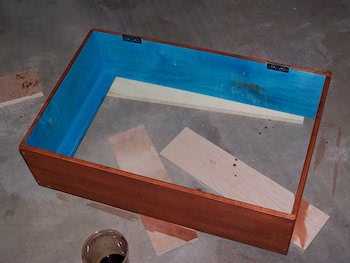
Also, I experimented with 3/4″ furniture grade plywood for the sides and back.
I made a large rolling drawer from the same plywood with ample room for storage.
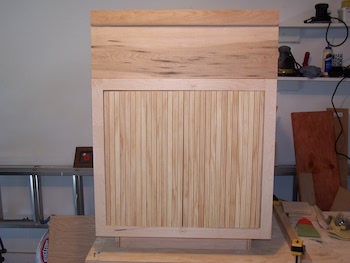
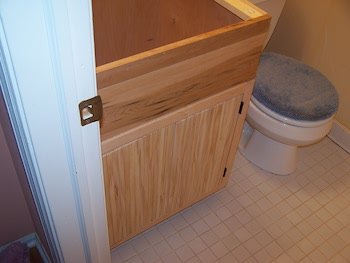
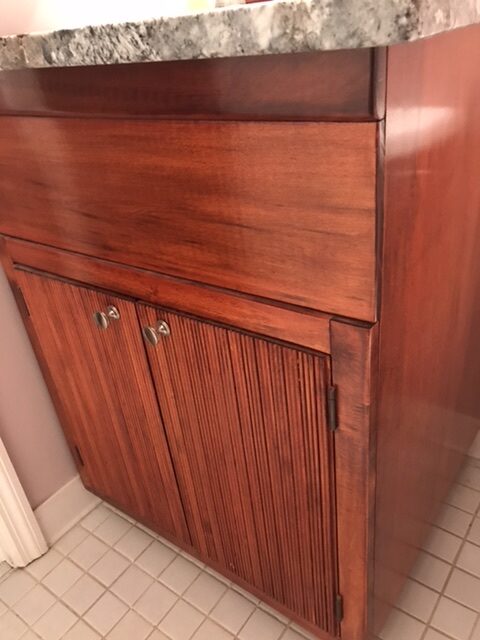
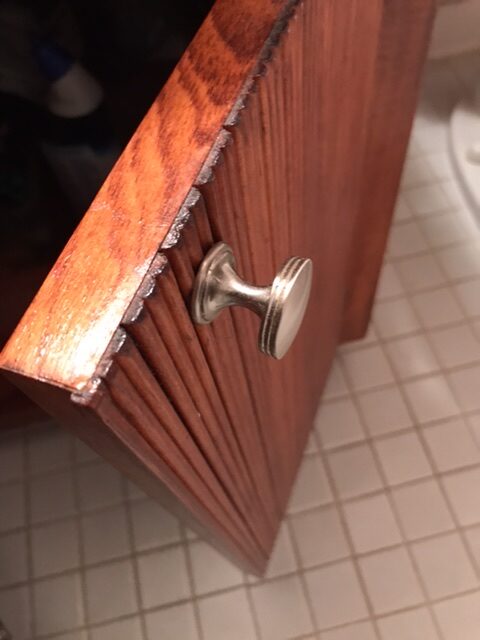
The door was constructed from 3/4″ wood board overlayed with 3/4″ unfinished fluted moulding strips for texture. I trimmed and framed it with white pine. It matched the fluting on the mirror.
I brought the vanity from the garage several times for test fitting in its final location.
Mad scientist
Color. Hmmm, what color was I going to stain the vanity? I thought about that a lot. First, I had to choose a color, then a finish. The powder room is not a full on wet room like a bathroom, but it will be exposed to water and not so neat guests. The finish had to be waterproof or at least highly water-resistant.
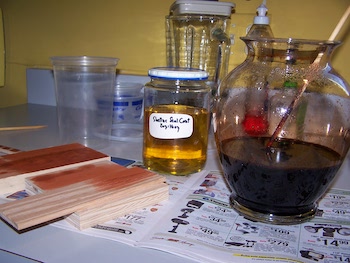
The stain was powder that I mixed to get what I wanted. This part can be stressful because the dye stain absorbs into the wood fibers. A mistake can be corrected but it takes a bit of work. This contrasts with stains that lay on top of the wood.
I liked the red mahogany color.
After the stain is on
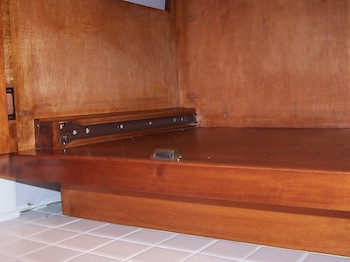
Yes, I used pocket holes and butt joints to put the vanity, drawer, and wall cabinet together. These, as I discussed in an earlier post, were my go-to joints back in the day.
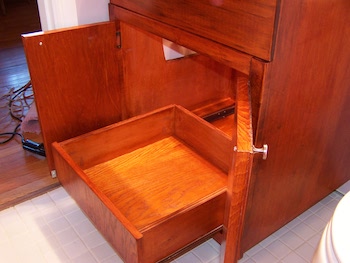
A tough water-resistant finish was applied both outside and inside the vanity. It will protect the wood from water spills and plumbing leaks.
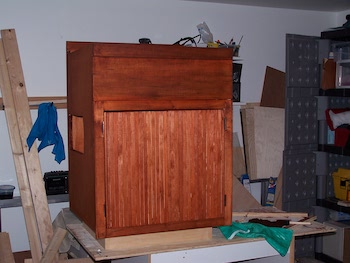

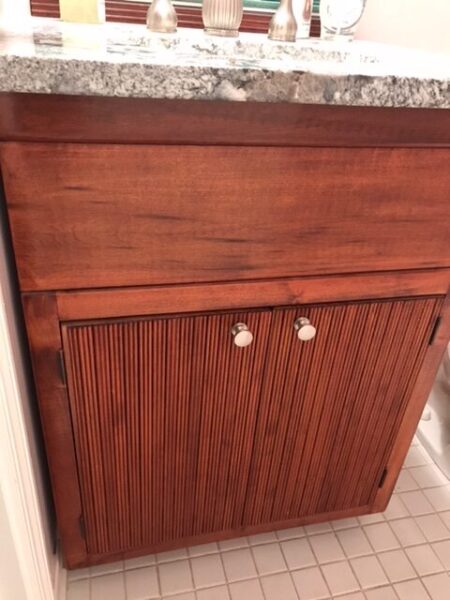
The vanity after two applications of dye stain. A waterproof clear topcoat was applied later.
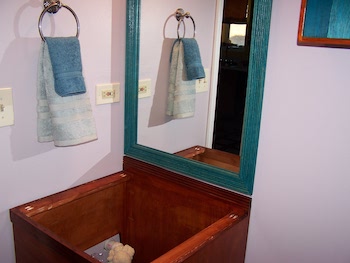
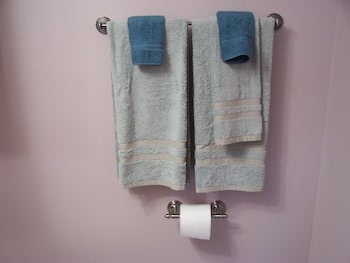
Patience, patience! It is tempting and motivating to bring decorating elements like towels in to see how they look with the changes!
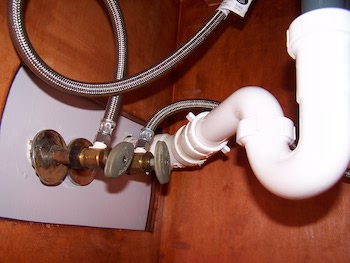
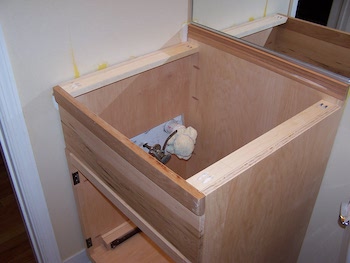
The plumbing fits in the cut out space nicely.
Vanity. Done.
The vanity top
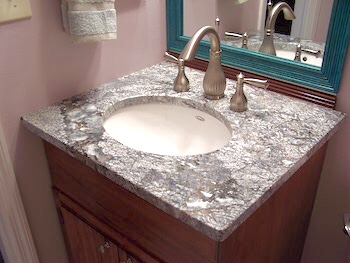
I like the idea of granite for the vanity top. Pricing was expensive, even for a little piece. Fortunately, I found a (somewhat) local granite distributor that sold remnants from bigger installation jobs.
This can save a lot of money. Remnants from more costly granite can be purchased at a reduced price per square foot.
I picked out a nice remnant and had it cut to size for the vanity. Delivery and installation were also arranged.
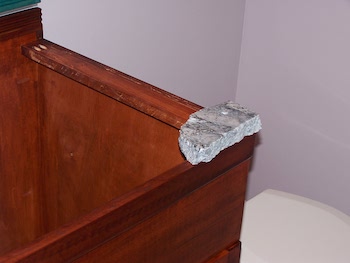
A moderate edge and polish were applied to the top at the granite yard. The holes for the sink and fixtures were cut according to the product specifications and templates on the enclosed instruction sheets. This ensures proper fit in the granite top. I left these with the fabricator.
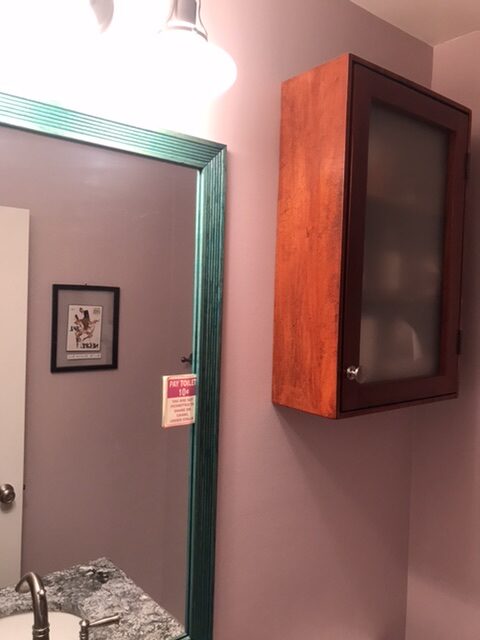
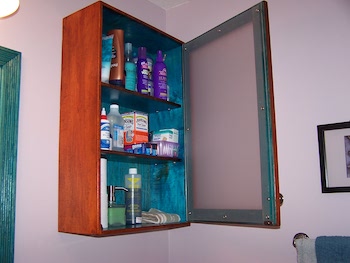
The wall cabinet
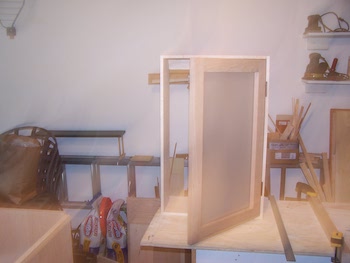
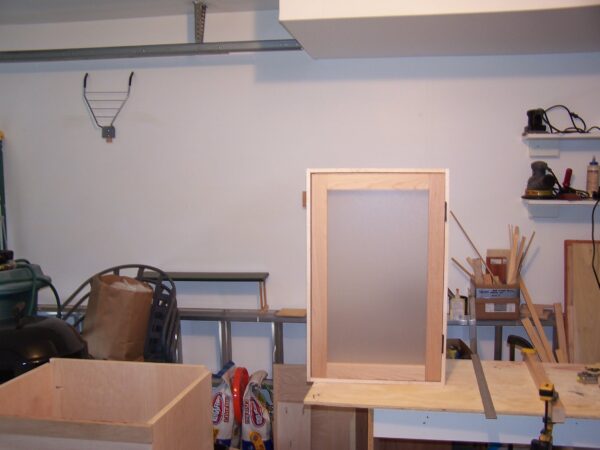
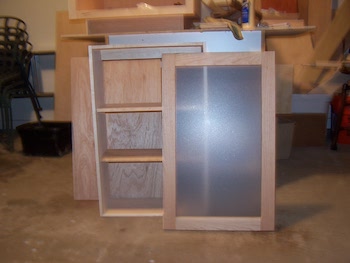
This was where I could express myself a little more. I like a pop of color. Again, I put the color inside the cabinet for effect.

Instead of a solid wood panel, I installed a thick piece of Plexiglas. I covered it with a decorative door film to create the opaque effect.
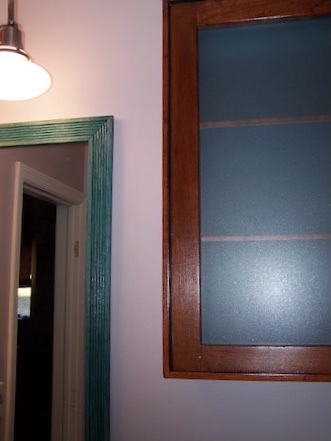
The cabinet was also finished with a water resistant clear topcoat.
Done. Again.
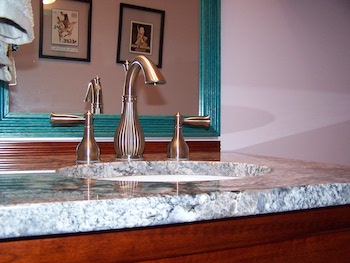
The fixtures
Conventional thinking holds that a powder room is the jewel of the house. There is some validity to that. I like making an impression here. At the least it gives comfort to guests and to the owner. It should be clean and have the things that everyone needs for their ablutions.
I caught a beautiful faucet set on sale. The sink was ordered from a contractor’s warehouse.
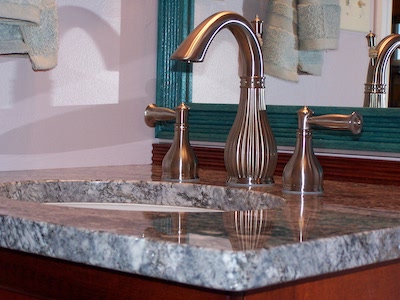
The stone cutters did a great job cutting the holes for the sink and faucets.
Finale
The powder room is done. Here is a summary of the work. First, a new light fixture was installed. Then the walls were painted.
A new vanity with storage was built to fit the space.
The old contractor’s mirror was rejuvenated with a new frame.
The original powder room layout did not have a cabinet. I fixed that by making a new wall cabinet with plenty of storage.
It is fully used!
New fixtures – a sink and faucet set – and hardware were installed.
The floor tiles and toilet were not replaced, just cleaned. I upgraded the toilet seat with a nice one made of porcelain. It is very comfortable.
What do you think?
Was it worth the moderate investment of time, effort, and cost to do this?
_____
Baadaye

♥️
If you are going to make any project, be mindful and be safe.