
The standing pot rack was a result of a nudge by my friend, “mischievous me“. It was made in response to a special need like always. Yes, this was another bootstrap project!
My recollection is meant only to entertain. It may provide an idea, a solution, a lot of oh-oh’s, a few oh no’s, or a nod of agreement.
I am always doing what I cannot do yet, in order to learn how to do it.
– Vincent Van Gogh
I still smile to myself when recounting how I did these things and lived to tell the tale!
Story #9: Standing Pot Rack
The story that I am about to tell is a familiar one. If you have a kitchen, it has a table and chairs. There may be a shelf or rack to hold the typical bric-a-brac. The feeling is that everything in there is necessary. A real requirement is that utensils be within reach of the stove and close enough for the cook or chef to access them quickly.
Ideas to solve potential problems like this are always rolling around in my mind.
An intriguing one was a pot rack… in a tall cupboard… on wheels no less!
I like the concept of a pot rack. I just don’t like it hanging from the ceiling.
The idea of a tall, stacked pot rack cabinet in the kitchen was appealing.
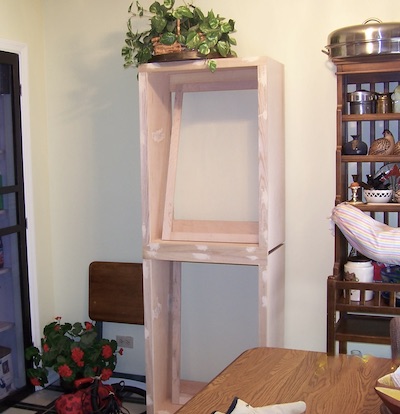
I made two cabinets to stack on top of one another. If needed, I can arrange them any way that I like. I like the idea of casters. The entire thing could be rolled around the kitchen. This will provide mobility for cleaning and rearranging.
Construction
I had two panels of furniture grade 3/4″ thick plywood cut to my measurements at the lumber yard. This was for the cabinet carcasses and shelves. I cut the cabinet backs from a 1/4″ thick plywood panel. Pine boards left over from other projects were salvaged for the trim and door frames.
I immediately began working when I returned to my garage.
There was a feeling of dread when I started. This was a big project. When I feel this way, I simply try to get past the “I hope this works” stage and get into it. Consequently, my mind was not on taking pictures of the lumber or raw wood.
In the midst of construction I remembered to take photos, so I will show what I have and explain the rest.
Joinery and hardware
As you know, I use butt joints and pocket holes for my work when it is appropriate. I used them here to assemble the carcass. Z-clips fasten the glass to the door frames. I dipped the clip ends in a rubber coating solution to cushion and protect the glass. Flat 90 degree steel corner braces were used on the frames for greater strength and stability.
Offset hinges and decorative pulls were installed. I attached heavy duty casters under the lower cabinet.
The important final pieces of hardware were flat steel mending braces to connect and stabilize the two cabinets. This keeps them in line and ensures safe, uniform movement around the rack in the kitchen. I installed these in the back with screws.
Fitting the unfinished pot rack
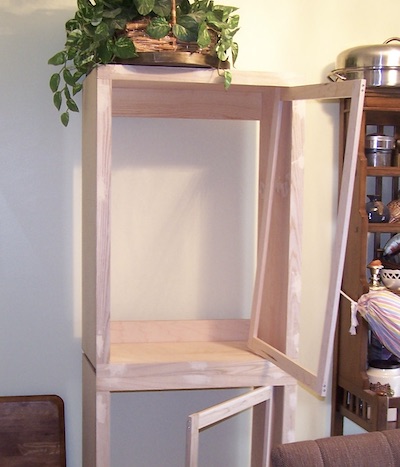
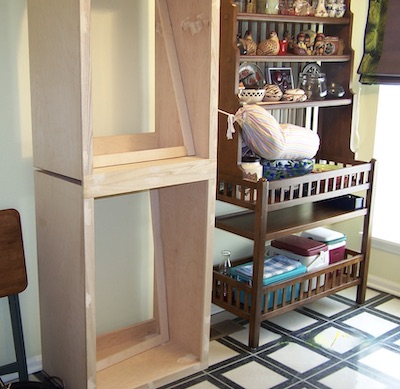
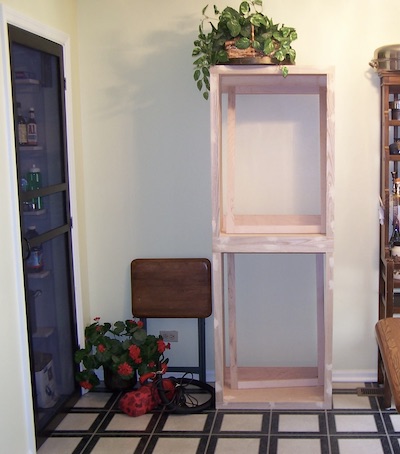
As I always do, I tested the fit of the pot rack in its final location – the kitchen – before installing the door frames. I transported each (individual) cabinet and stacked them to determine if adjustments needed to be made. Then the pot rack was “dismantled” and carried back to the workspace in the garage.
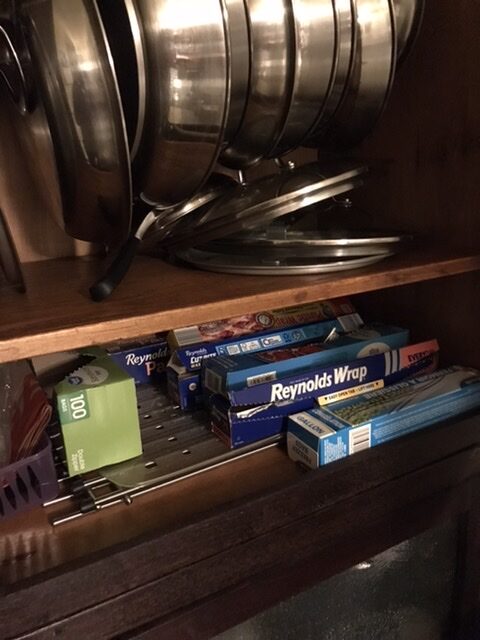
I made three shelves. One divides the upper cabinet beneath the pans. That space holds paper goods such as wax and parchment paper and plastic wrap.
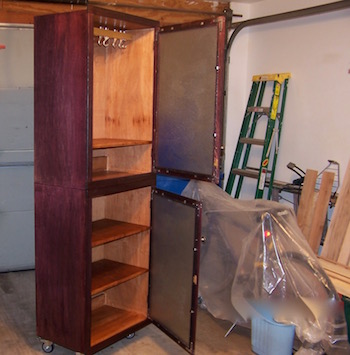
The lower cabinet was fitted with two shelves for pots and oversized pottery ware.
Back in the garage
After a bit of tweaking, I finished the cabinet rack with a mahogany colored stain. Yes, I like this color for wood. The inside was protected with shellac blended with a few drops of the stain. Lastly, a clear water-resistant finish was applied to the entire project, inside and out.
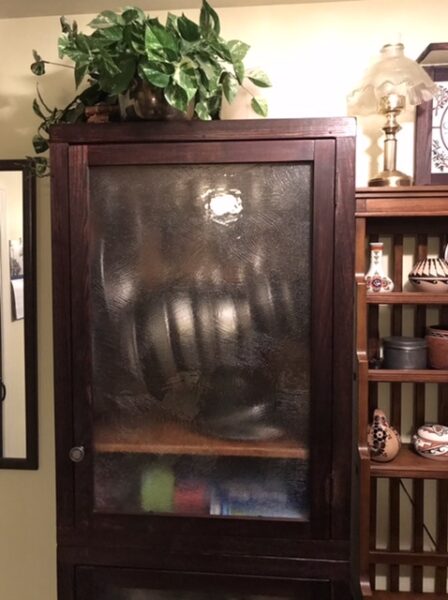
I had art glass cut to size at a local glass house. These were fitted on the door frames. It is the same glass I used to replace the door panels of my upper kitchen cabinets.
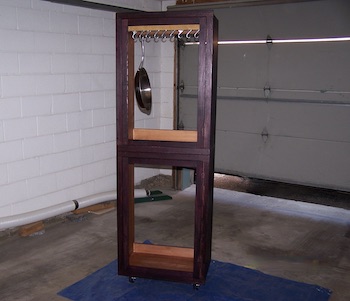
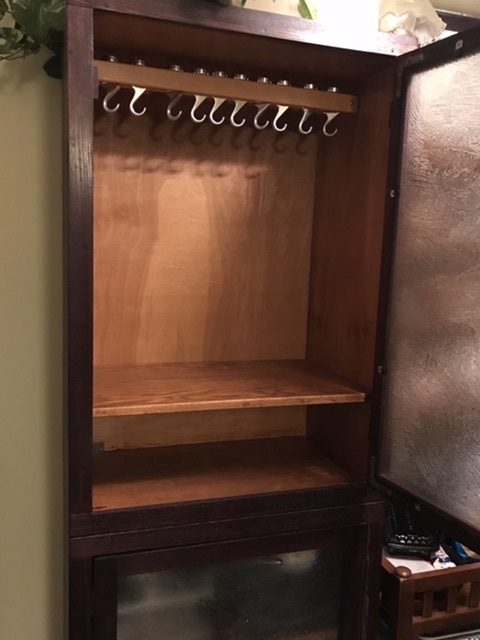
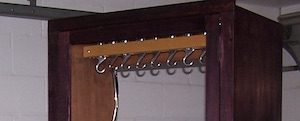
A wood block with heavy-duty utensil hooks was attached inside the upper pot rack cabinet. The hooks swivel and move freely along the block.
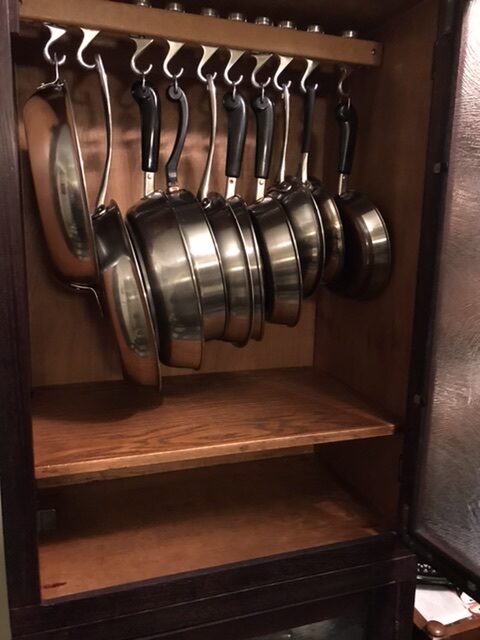
A nice view of the pans on the hooks.
The bottom cabinet holds pots and larger stoneware.

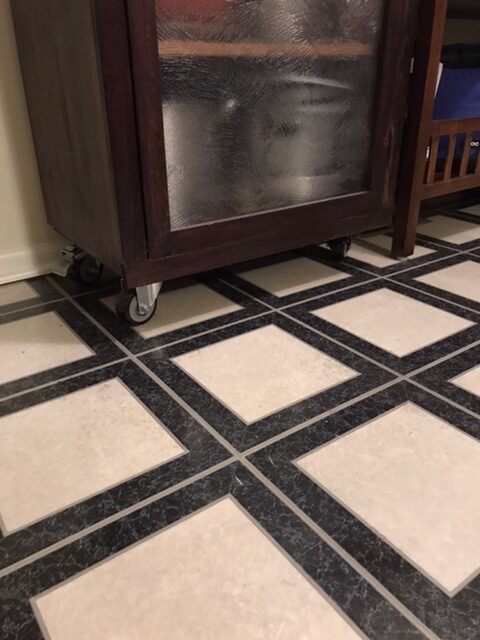
Here is a closeup of the heavy duty casters under the pot rack.
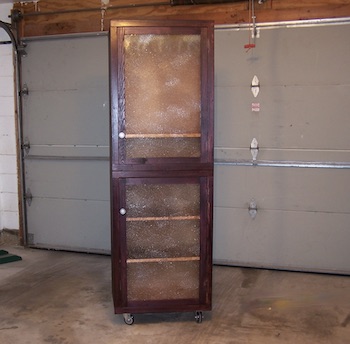
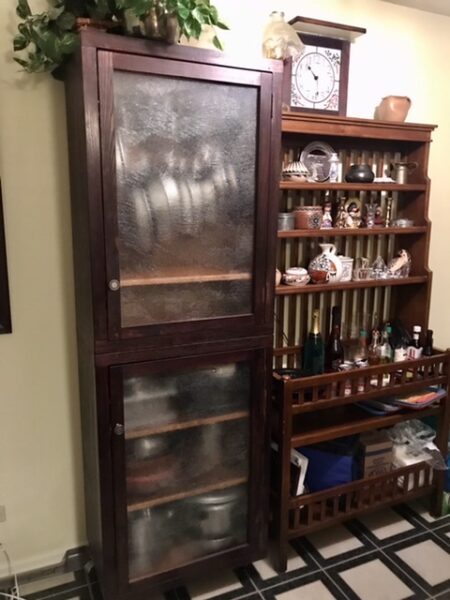
The finished pot rack
The rack is living in the kitchen now. I had to make a little bit of room but it looks like it was always there.
An unobstructed opening is crucial for removing large or awkwardly shaped pots and pans.
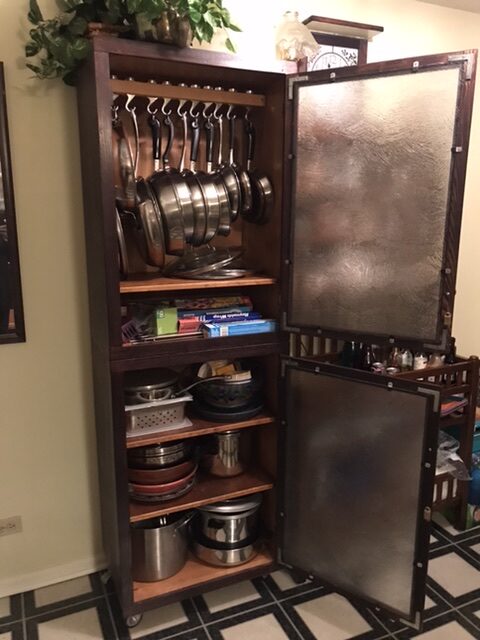
The doors open fully and I can reach into and out of the entire rack with ease.
Views from a room
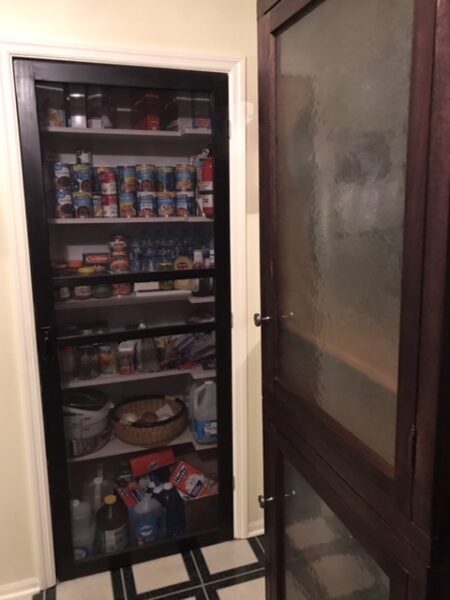
The art glass obscures the view inside the cabinet and gives a little drama.
A long view of the pot rack from the sink!
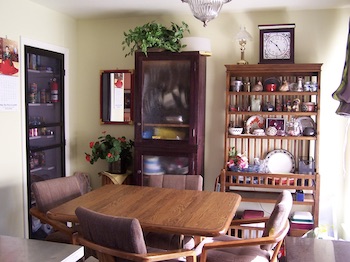
I love this view of the pot rack opposite the pantry and door that I made as another bootstrap project!
What do you think?
Was it worth the moderate investment of time, effort, and cost to do this and get exactly what I wanted?
_____
Baadaye

♥️
Remember: If you are going to make any project, be mindful and be safe.
